WHY?
This customer came to us wanting to improve the audio system in his Ford Raptor, as well as update the head unit to something with modern features. He decided to keep the truck rather than trade it in for a new one, so he wanted to modernize the truck and add an incredible audio system. Once he heard a demo vehicle at the shop, he was set on replicating that exact sound in his truck.
During the one-on-one consultation process, Phil and Don were able to come up solutions that blew away the client’s expectations, while adding a little flare to the audio system and delivering this customer a truly one-of-a-kind setup!
WHAT?
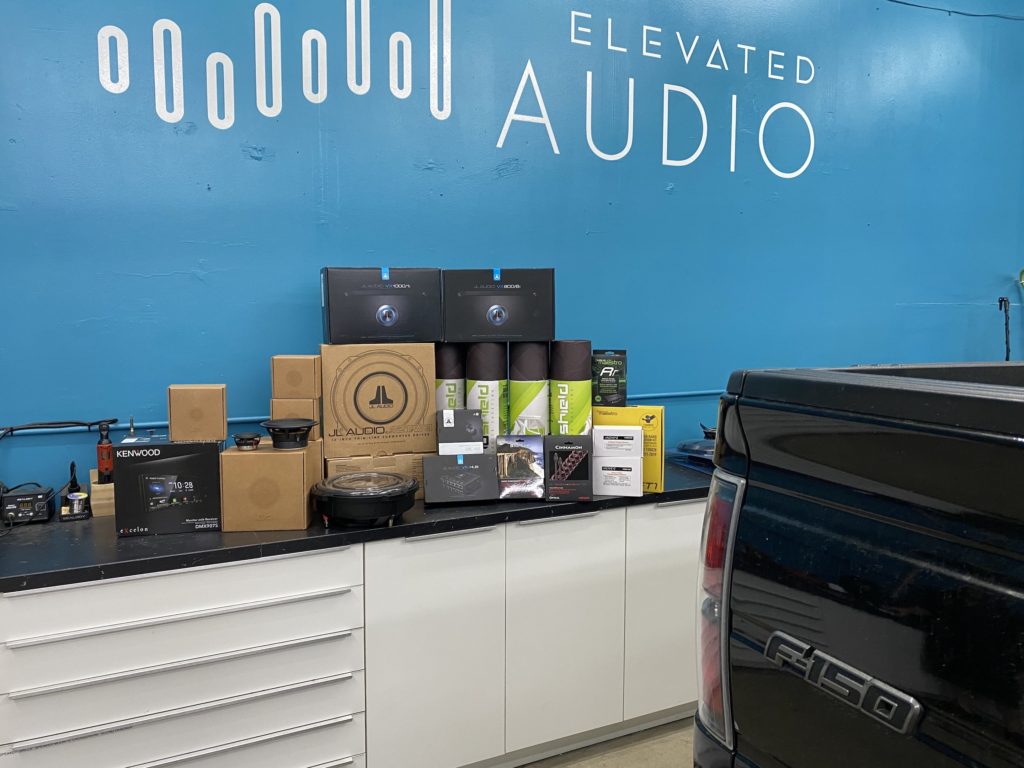
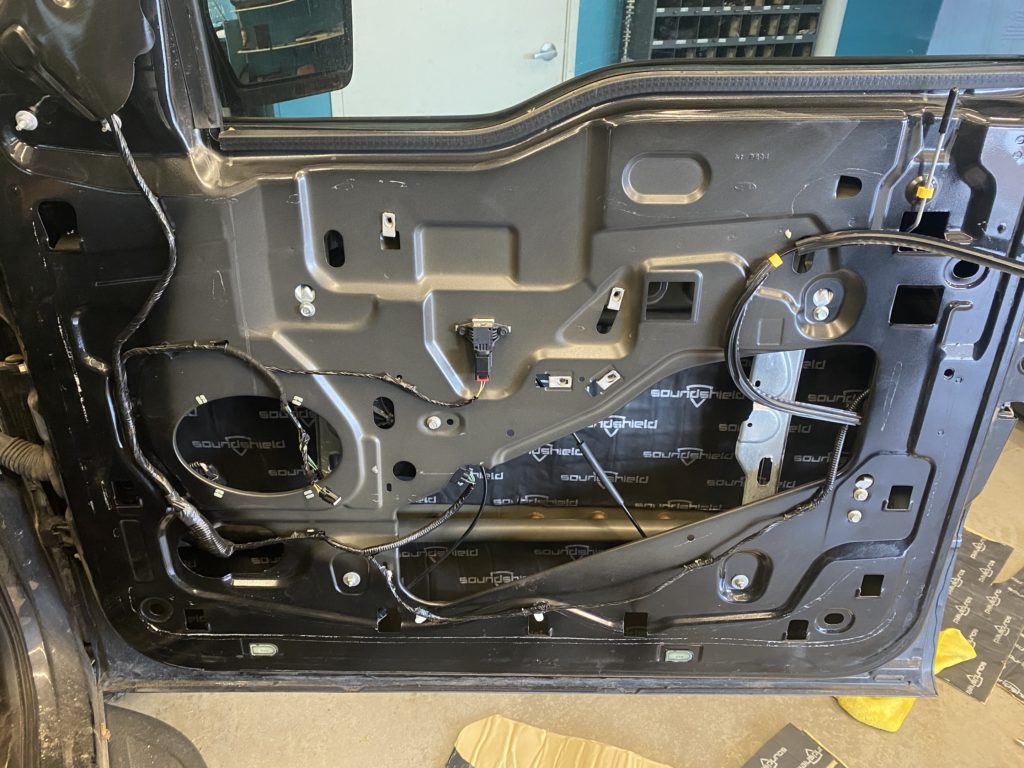
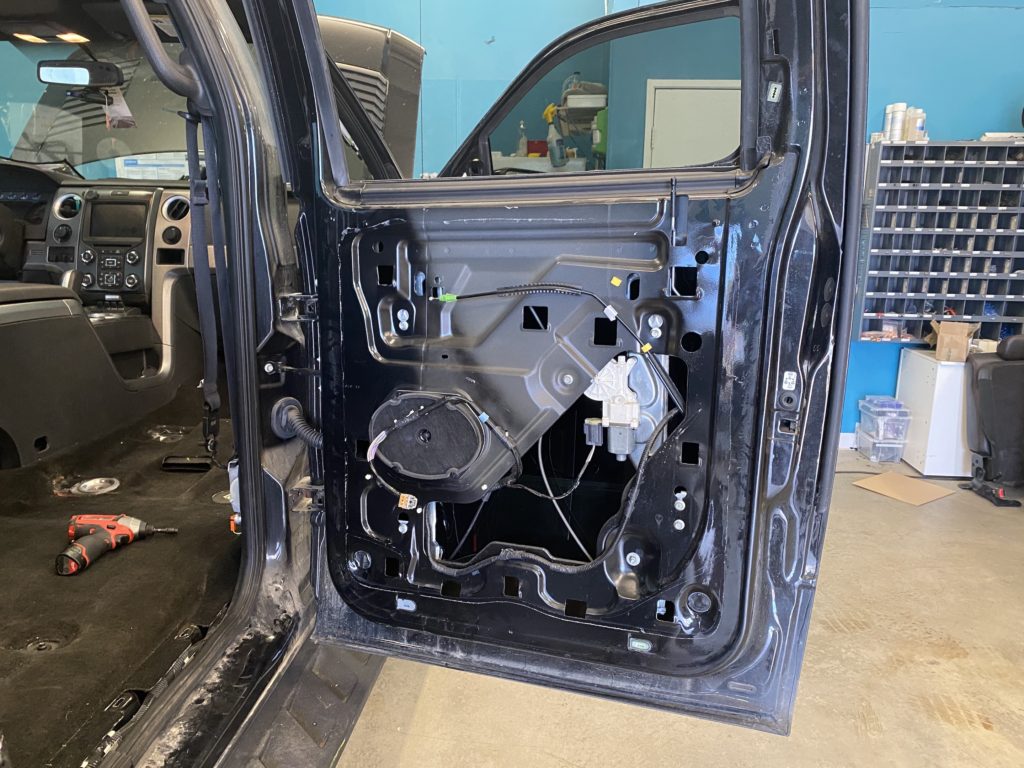
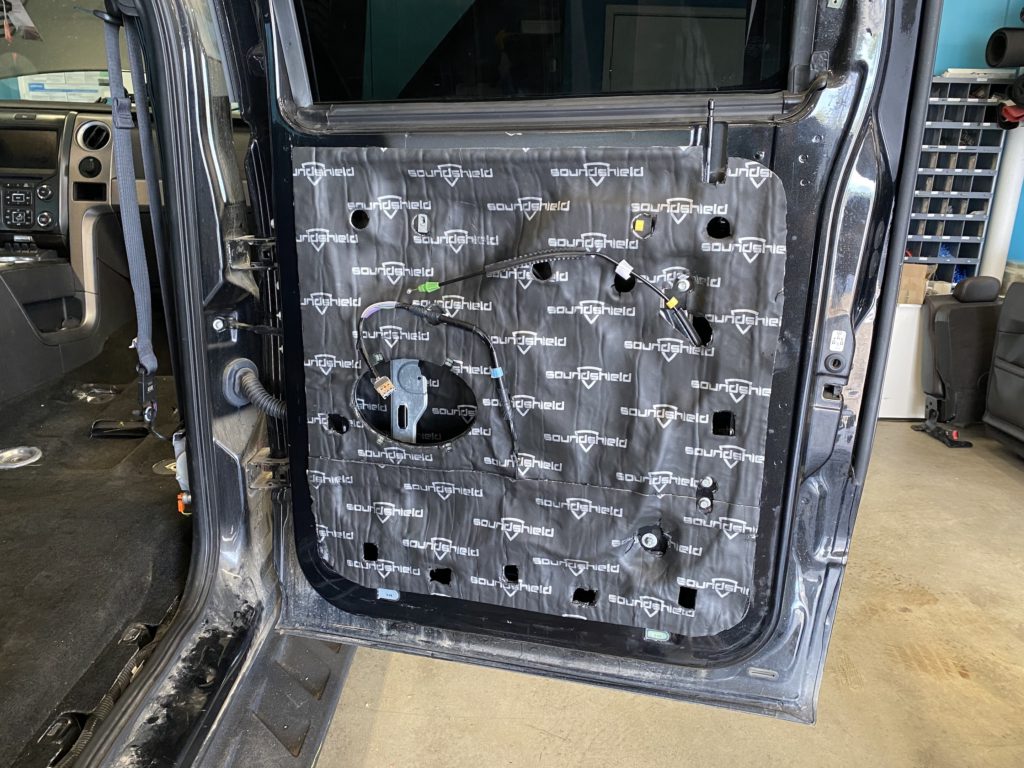
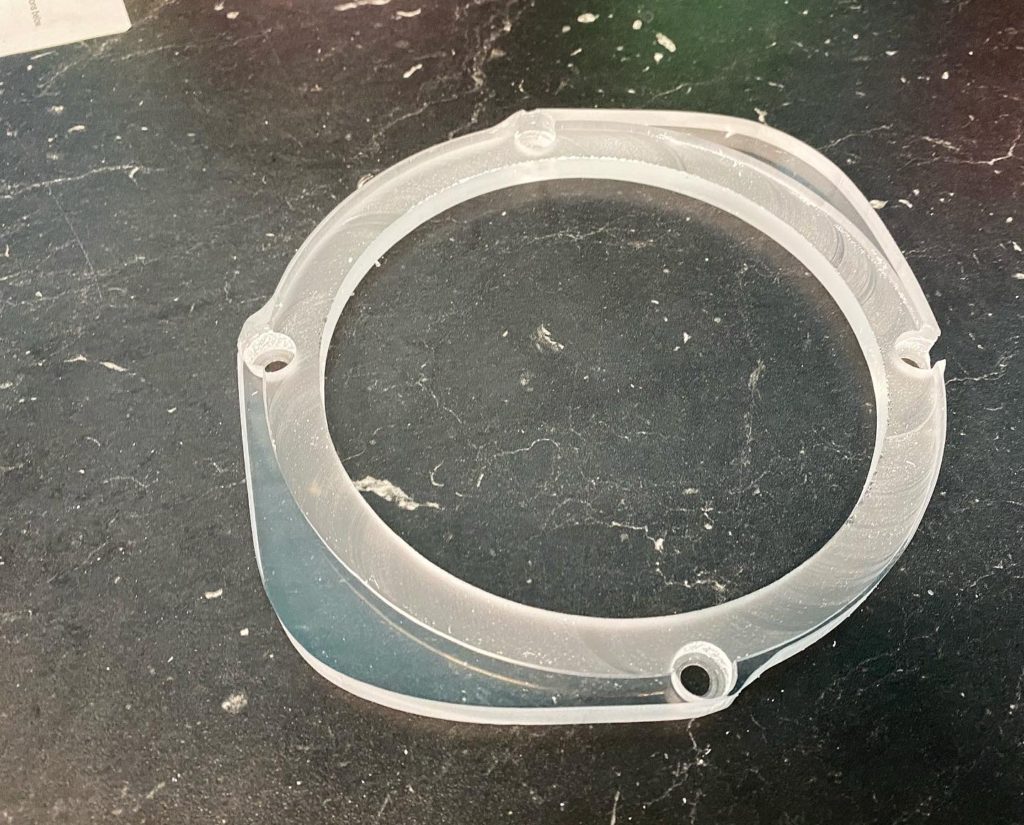
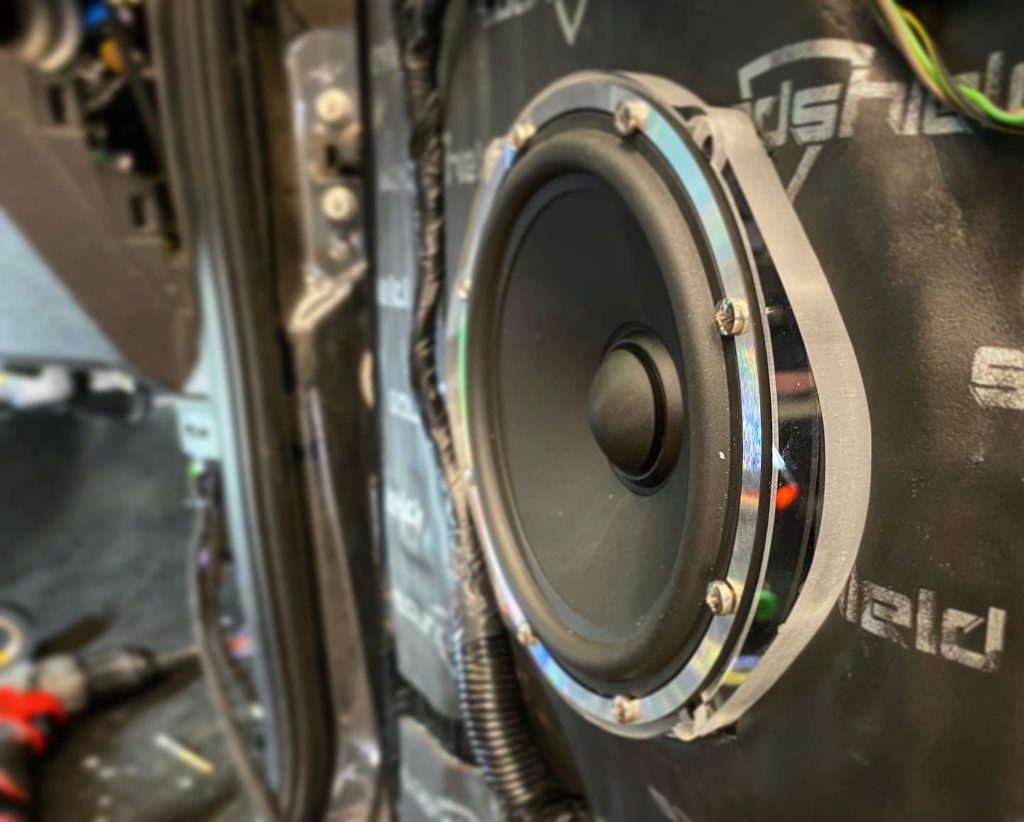
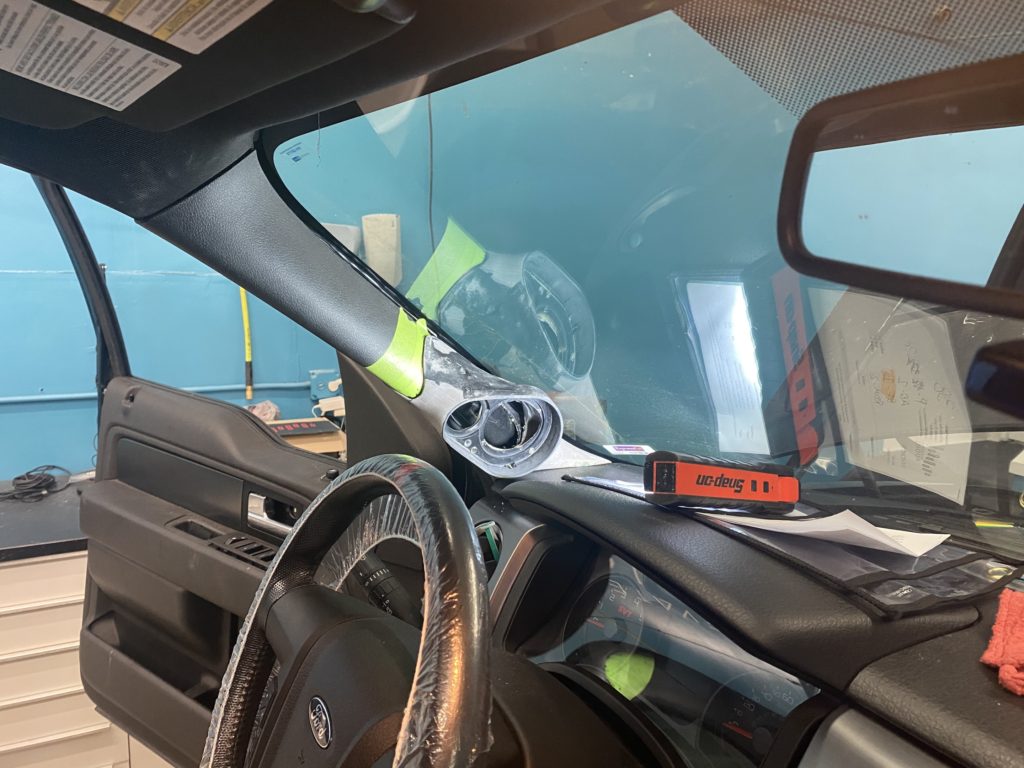
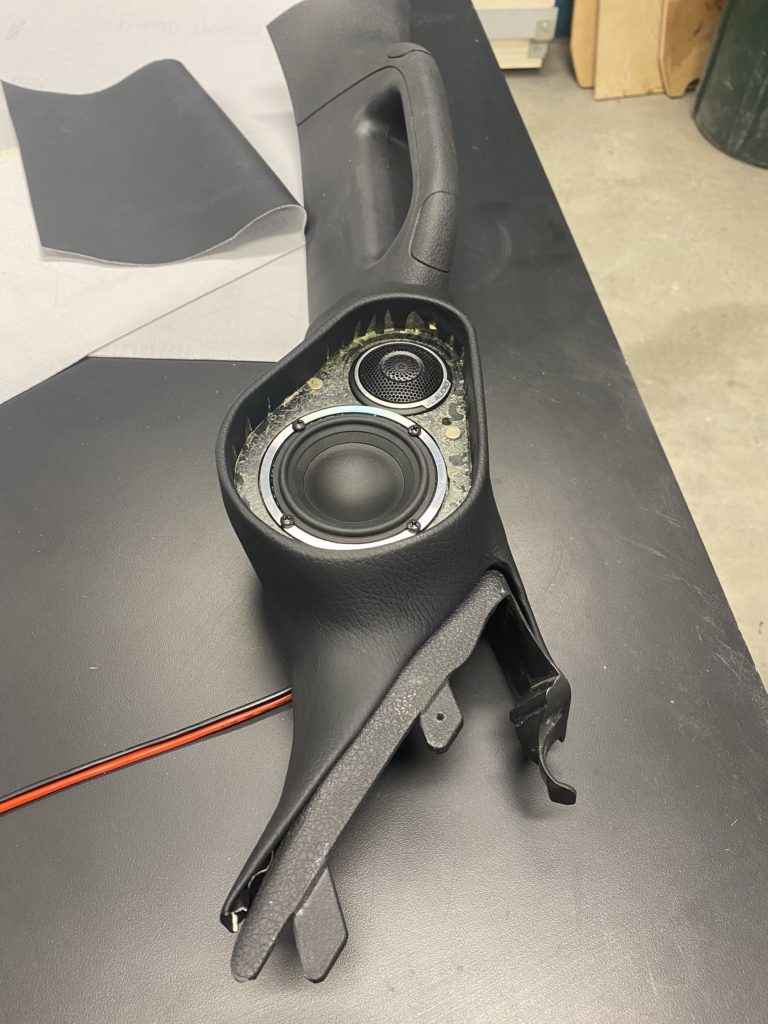
Three-way Front Stage with Custom A-Pillars – After hearing our demo vehicle with JL Audio C7 three-ways, our client was very impressed by the performance of the speakers and wanted to recreate something similar in his Truck. This model F-150, as is common with most F-150’s, only has factory locations for two-way speakers in the front. We decided to fabricate custom a-pillars in order to create mounting locations for the C7 tweeter and mid-range speakers. We fabricated a-pillars and wrapped them in black vinyl for a result that fits with the vehicle perfectly and looks fantastic. The 6.5″ woofer was installed in the front doors, using a custom fabricated acrylic mounting plate that ensures we can utilize factory mounting holes and also provides a solid, flat surface for the woofer to mount to. Of course the doors were sound dampened with 100% Sound Shield coverage, and new speaker wires were ran to the front stage for a fully-active setup.
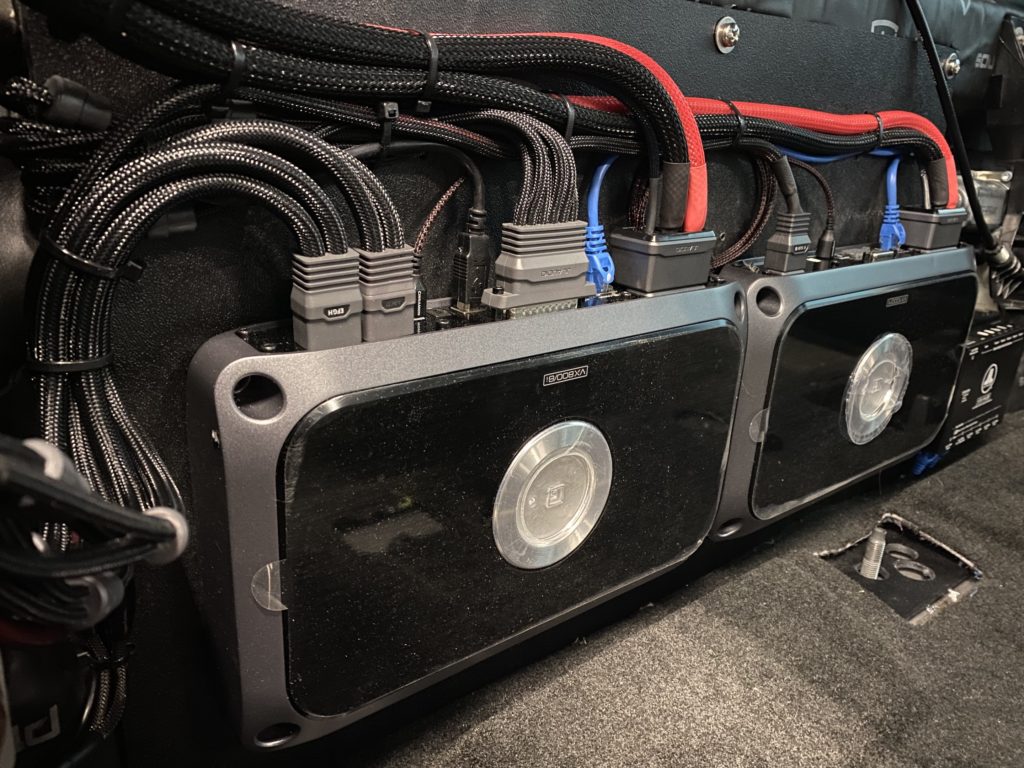
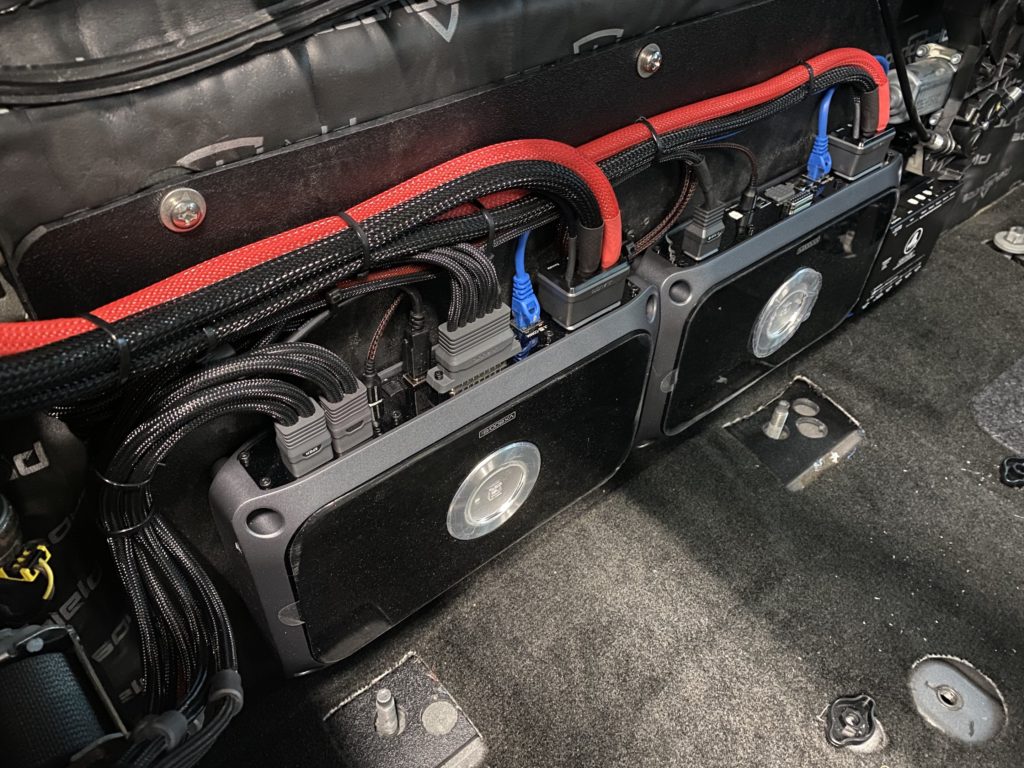
Added two amplifiers with integrated DSP – We added two JL Audio VXi amplifiers with integrated DSP to run the entire system, and networked them using the VXi-Hub. We used the VX800/8i to run the front stage, bridging two channels for each door woofer, and the VX1000/1i to power the subwoofers. If you clicked on the previous link, you already know the benefits of DSP. If not, here’s that link again!
We decided using two amps with integrated DSP for the setup made the most sense and we used the JL Audio VXi-Hub to link the two amps together. From there we can distribute the channels in the JL Audio Tune software in the configuration that they were wired into the amplifier.
Channel Layout
Channels 1 and 2 – Tweeters
Channels 3 and 4 – 3.5” mid drivers
Channels 5+6 and 7+8 – 6.5” Door Woofers
Mono Amplifier – Subwoofers
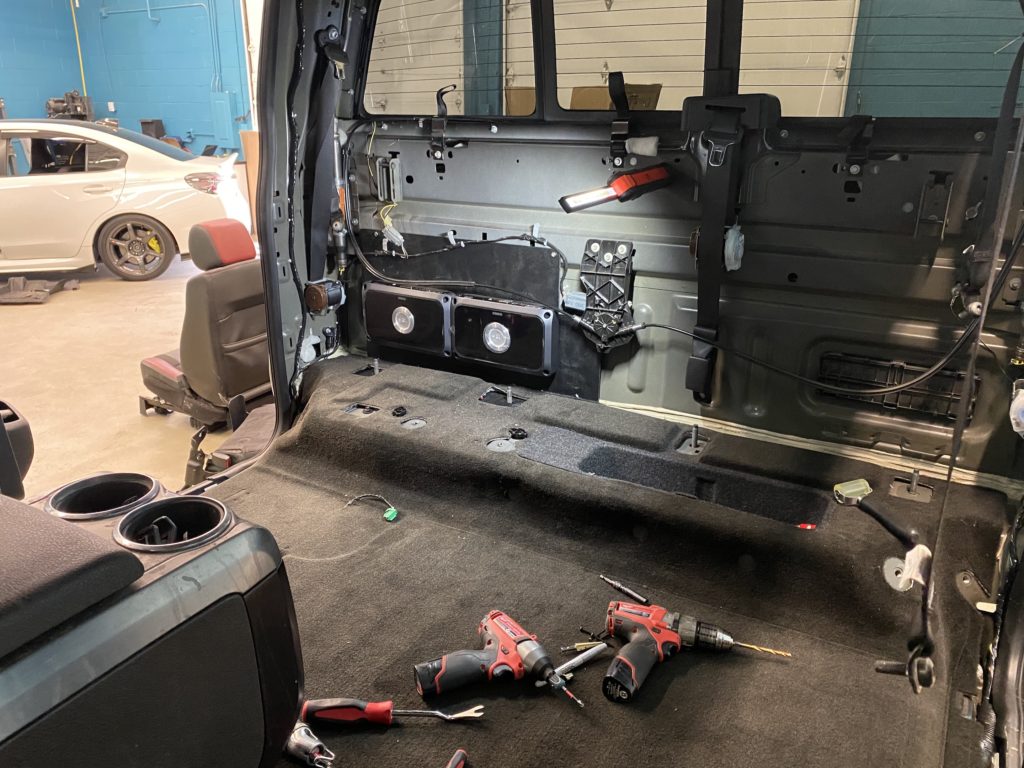
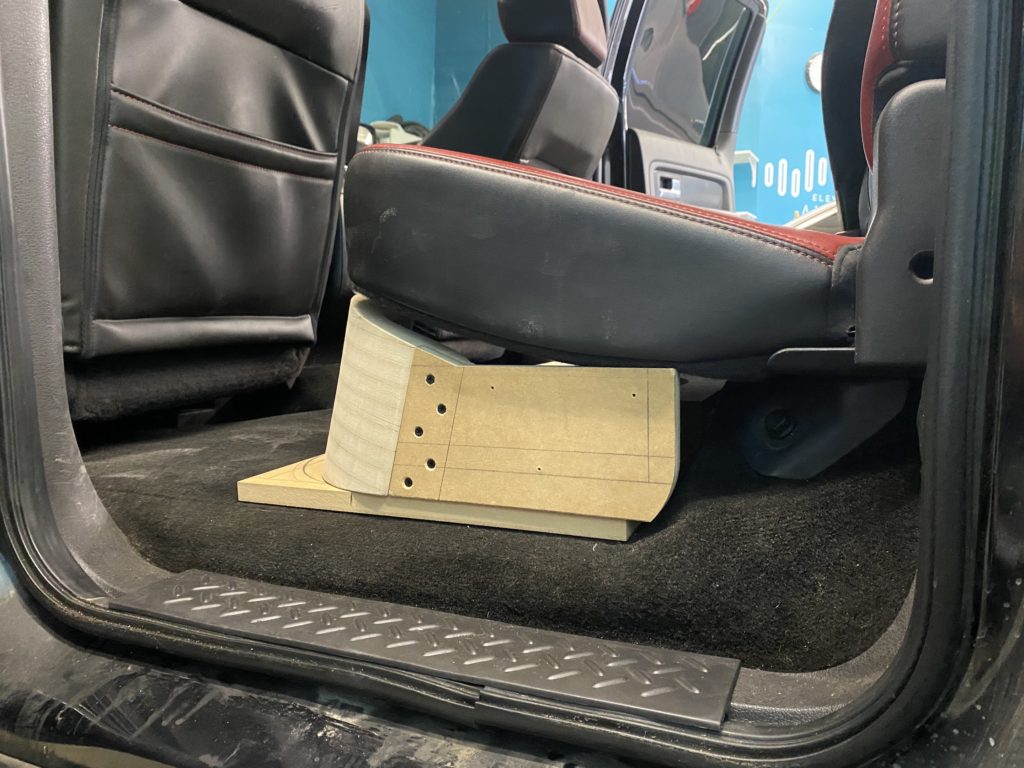
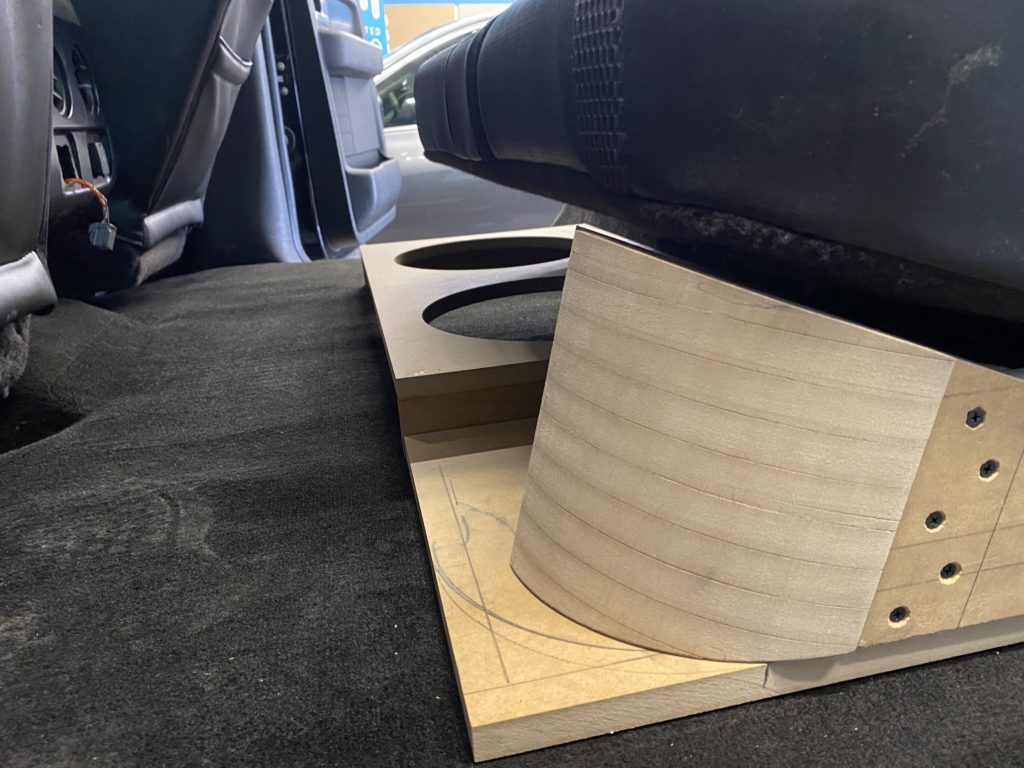
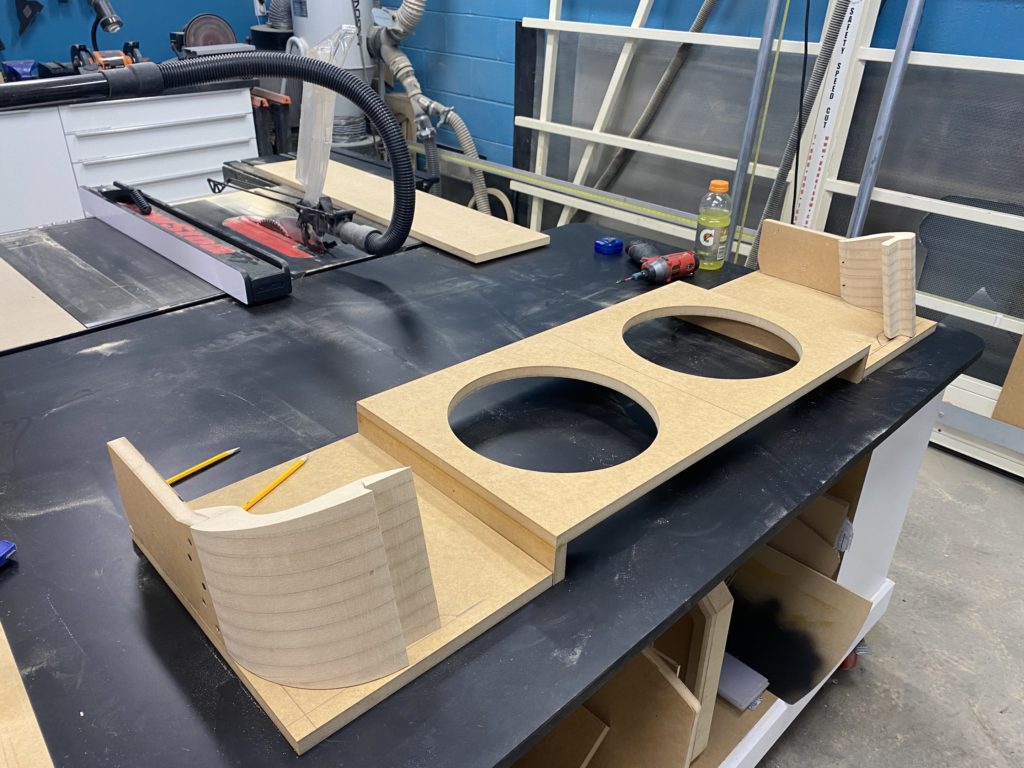
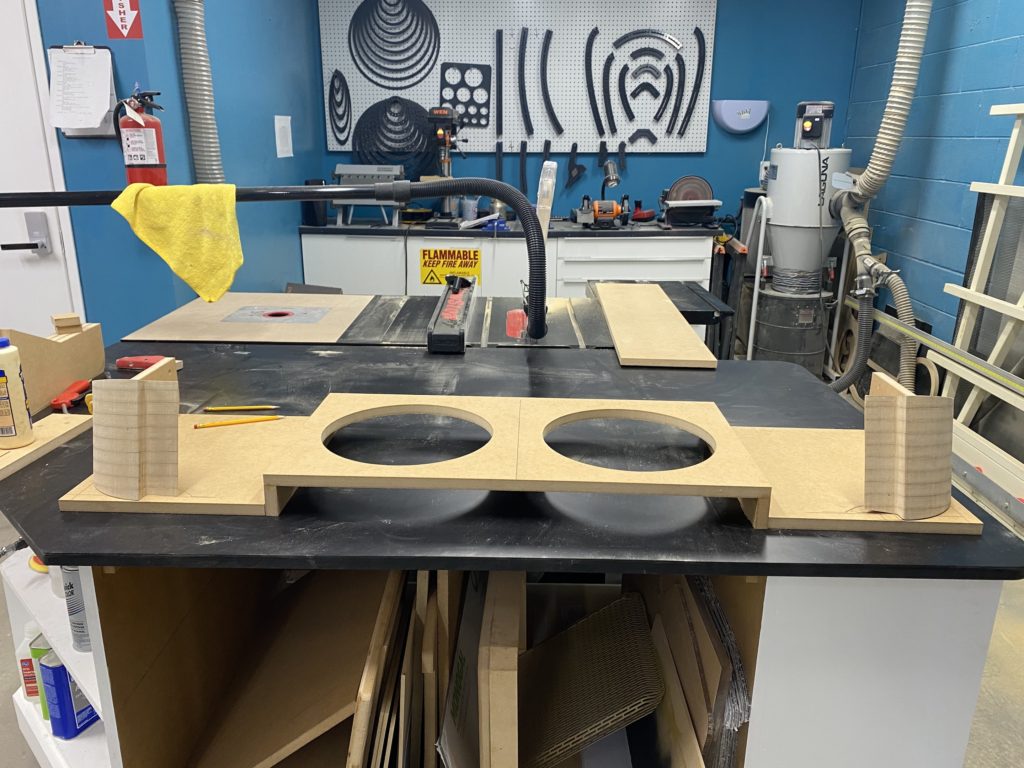
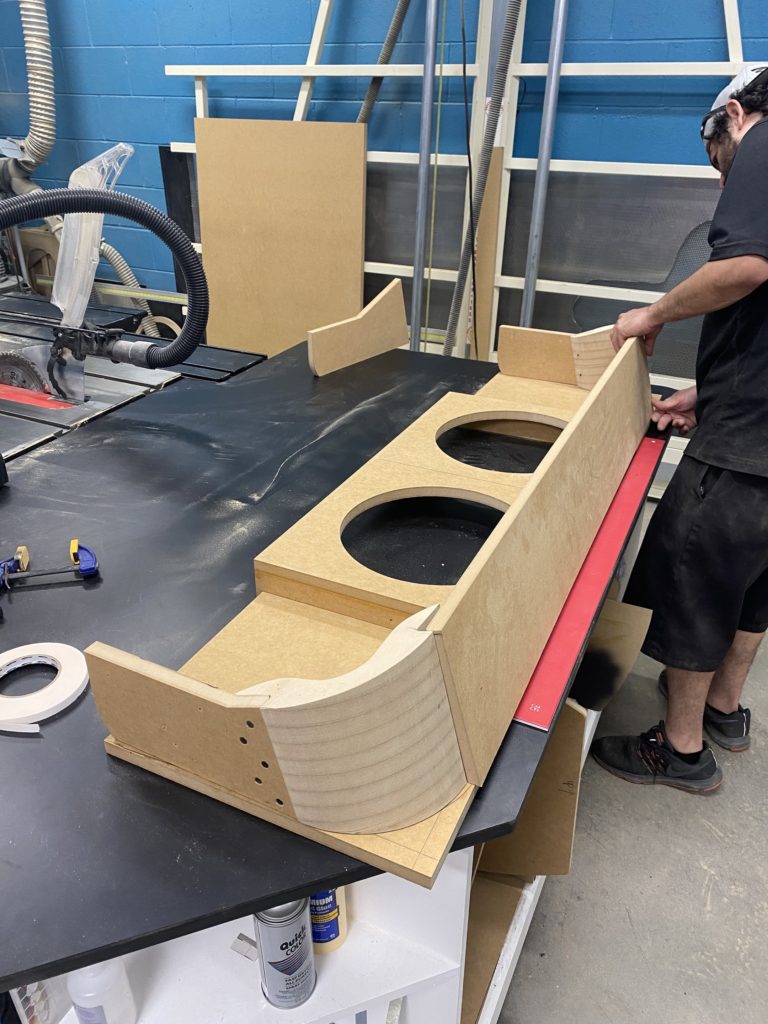
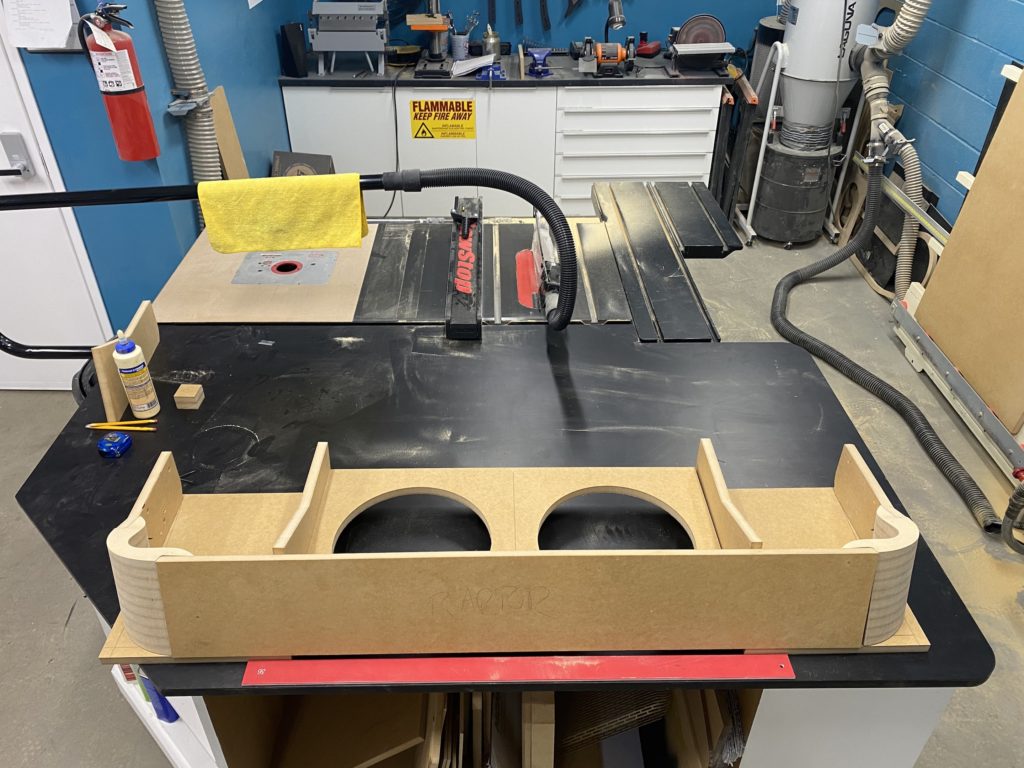
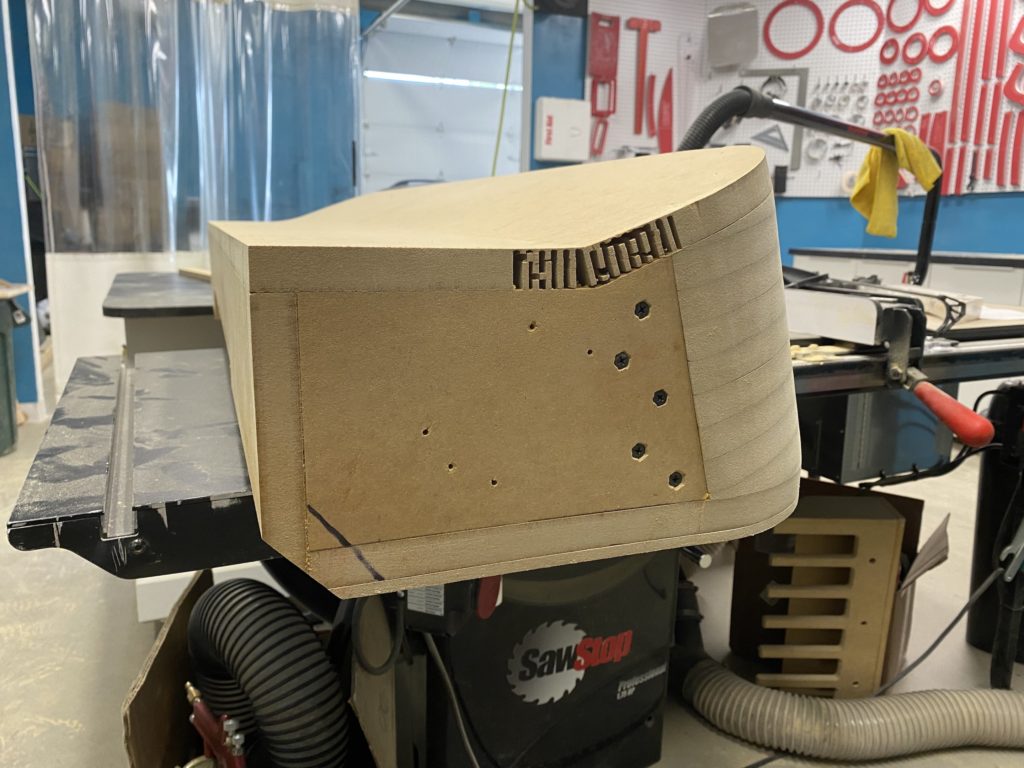
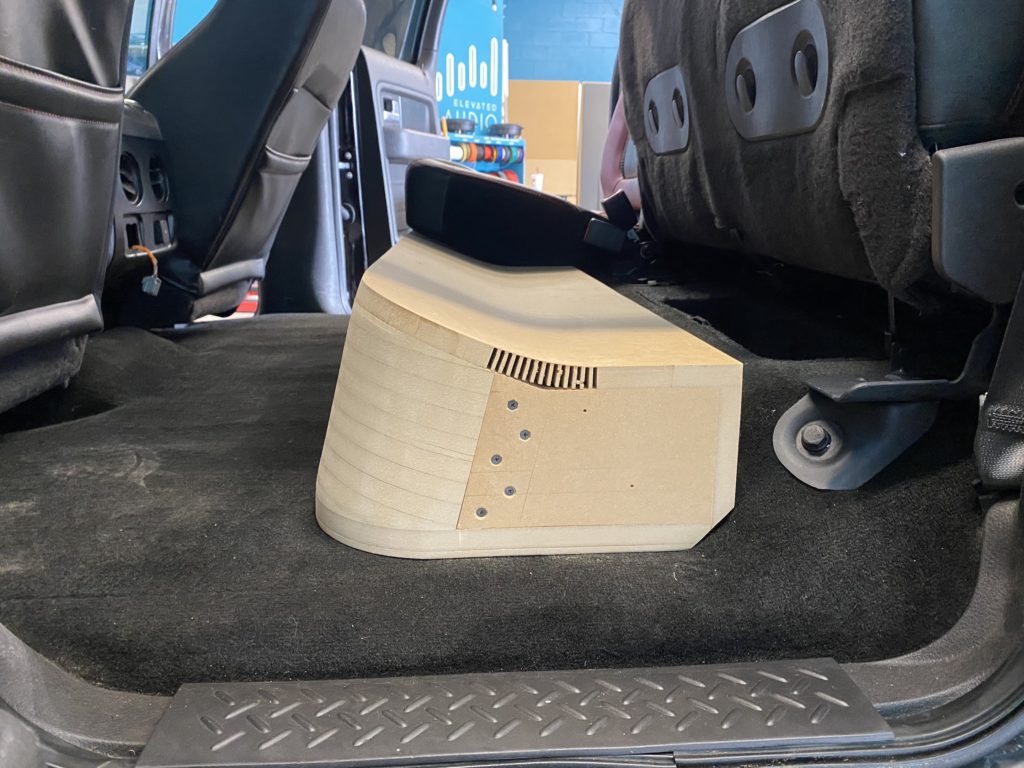
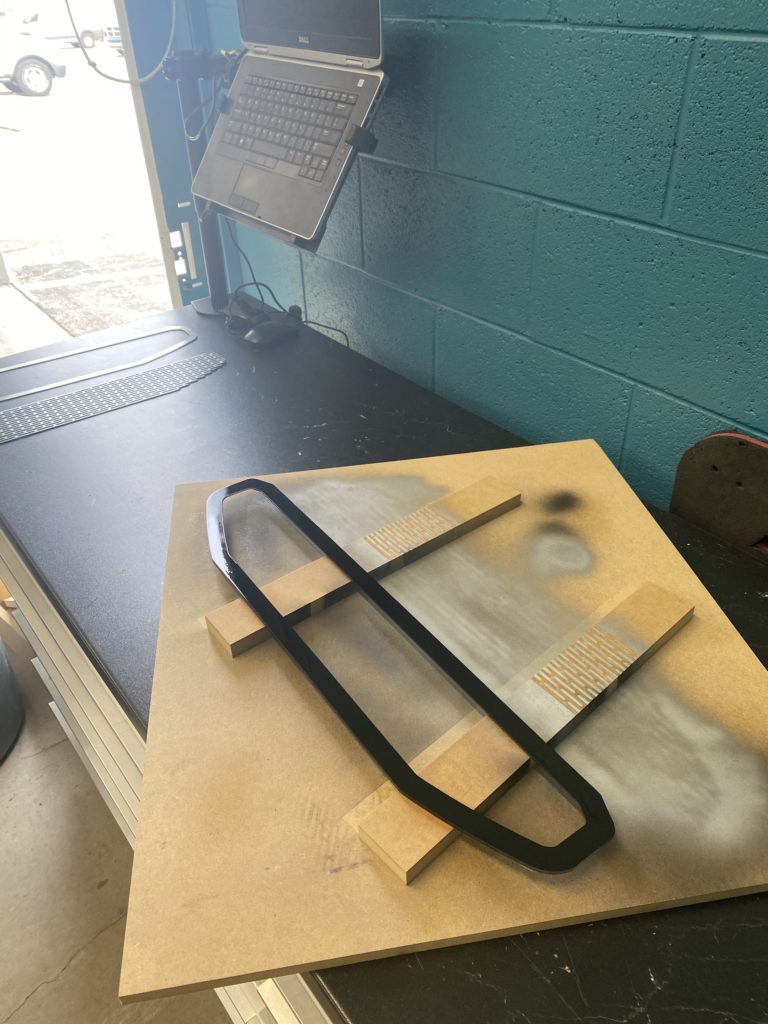
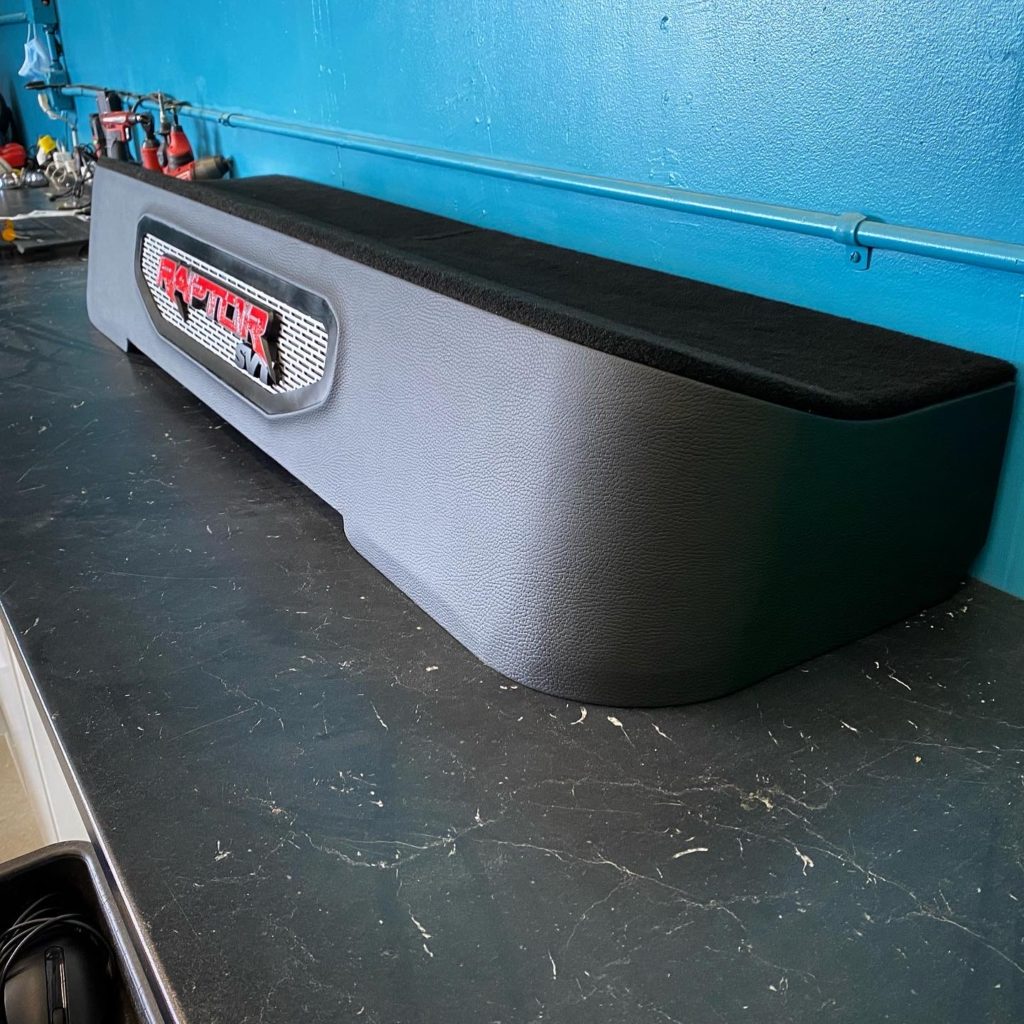
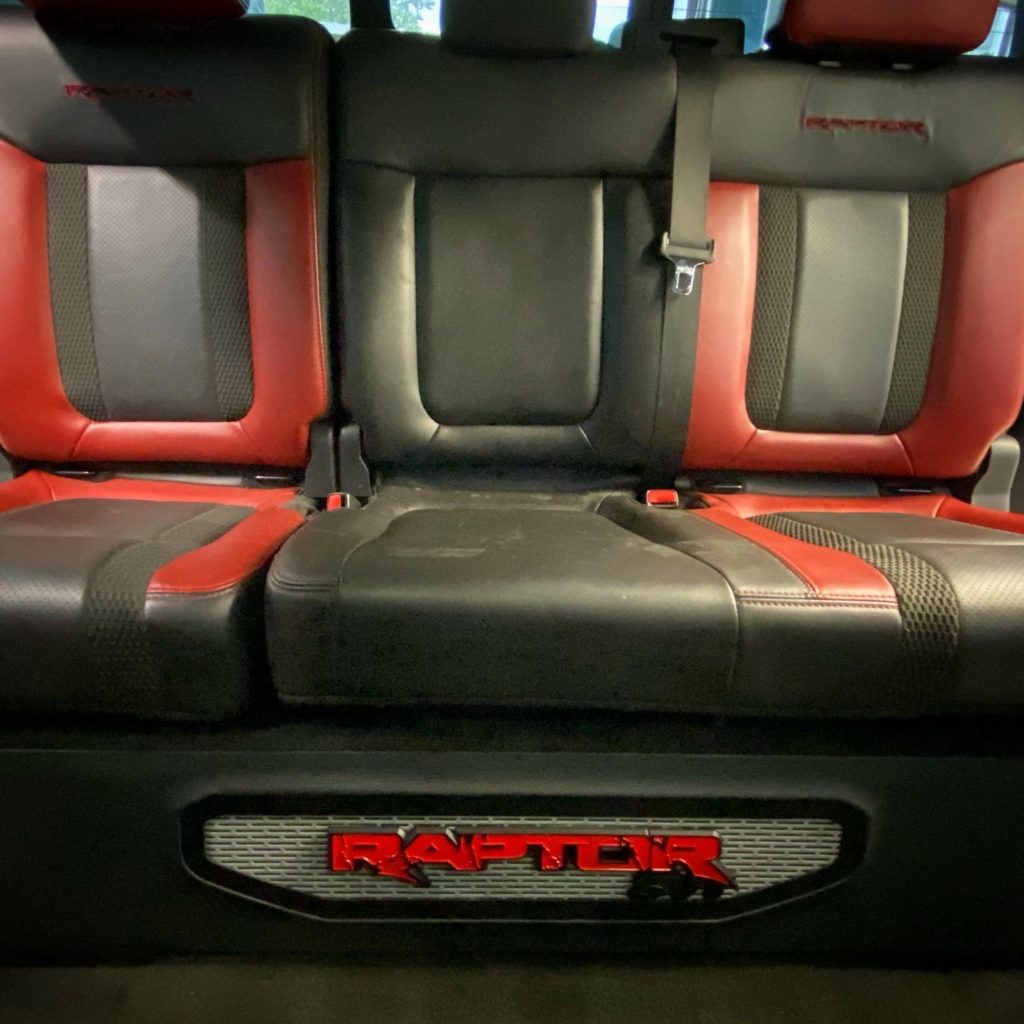
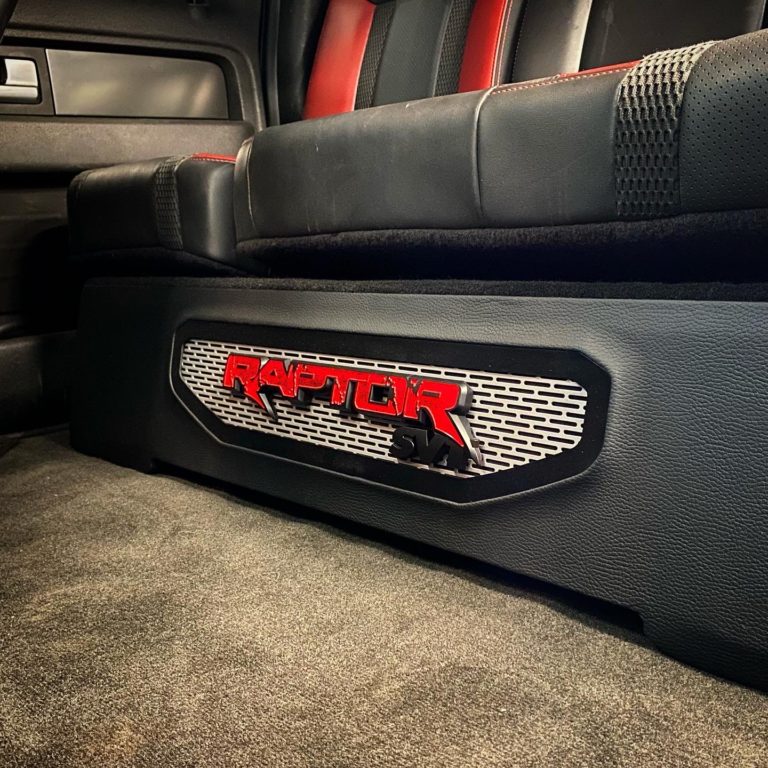
Custom Fabricated Enclosure for Two 12″ Subwoofers – This client really wanted some low-end bass in the truck to compliment the music he often listens to, so we decided to custom fabricate an enclosure for a pair of JL Audio 12″ TW3 subwoofers to ensure we could give the client the look he wanted and still have enough airspace for a pair of 12’s. We built the enclosure so that it would not stick out from under the seat at all and we only had to raise the seat 3/4 inch.
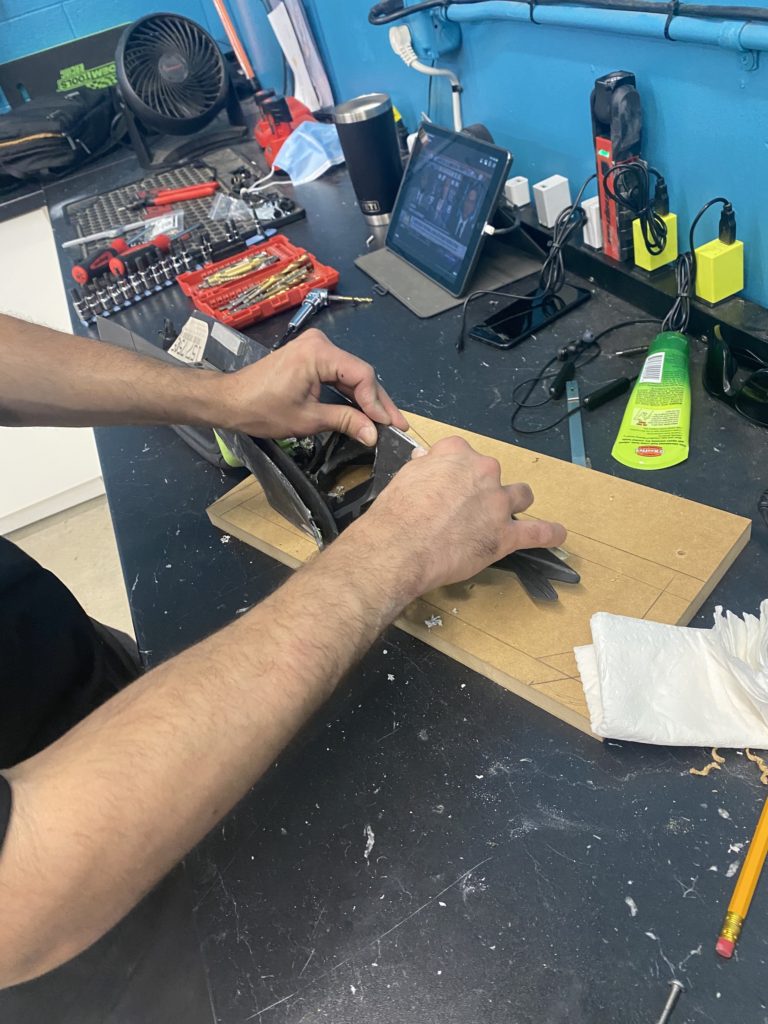
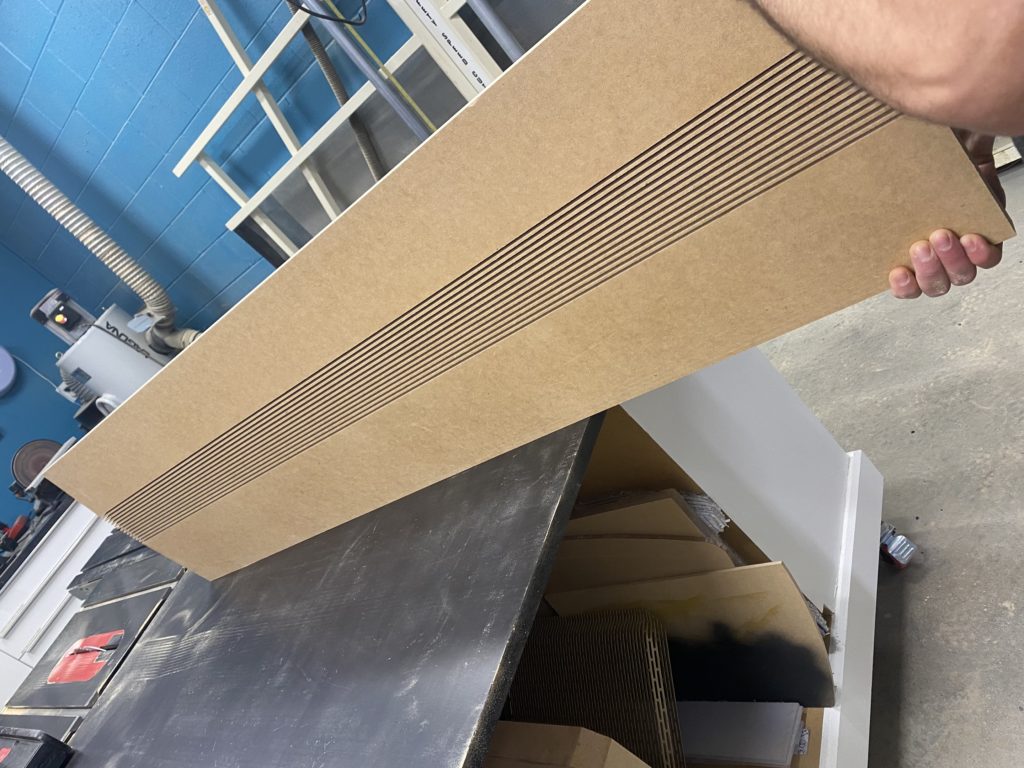
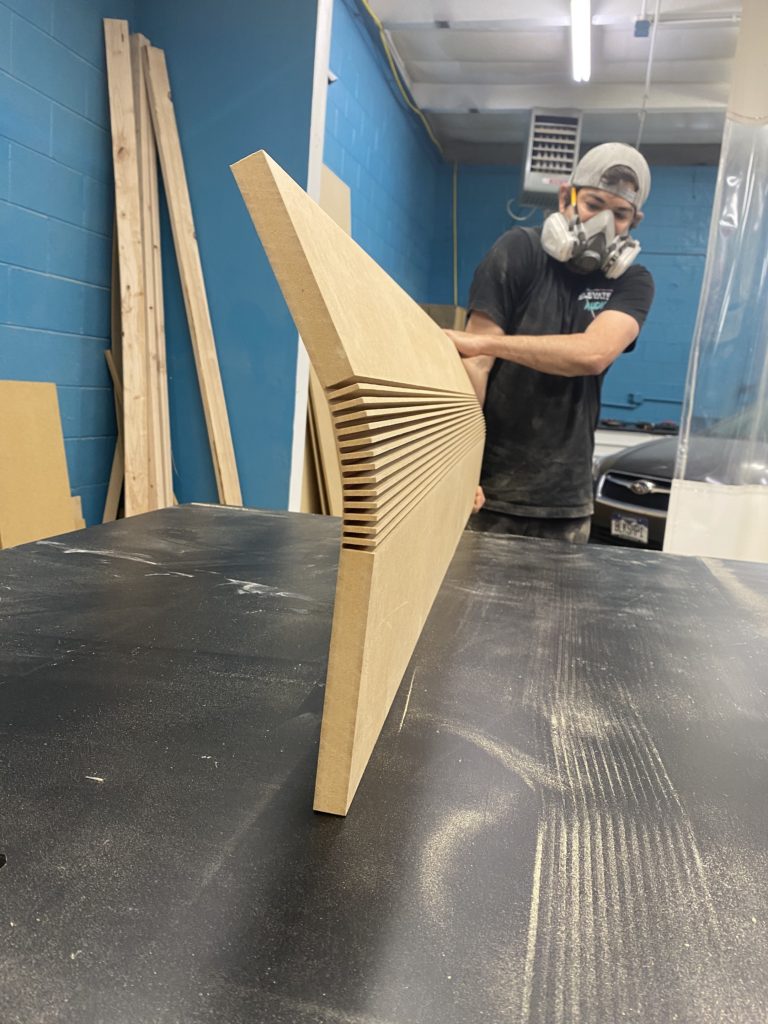
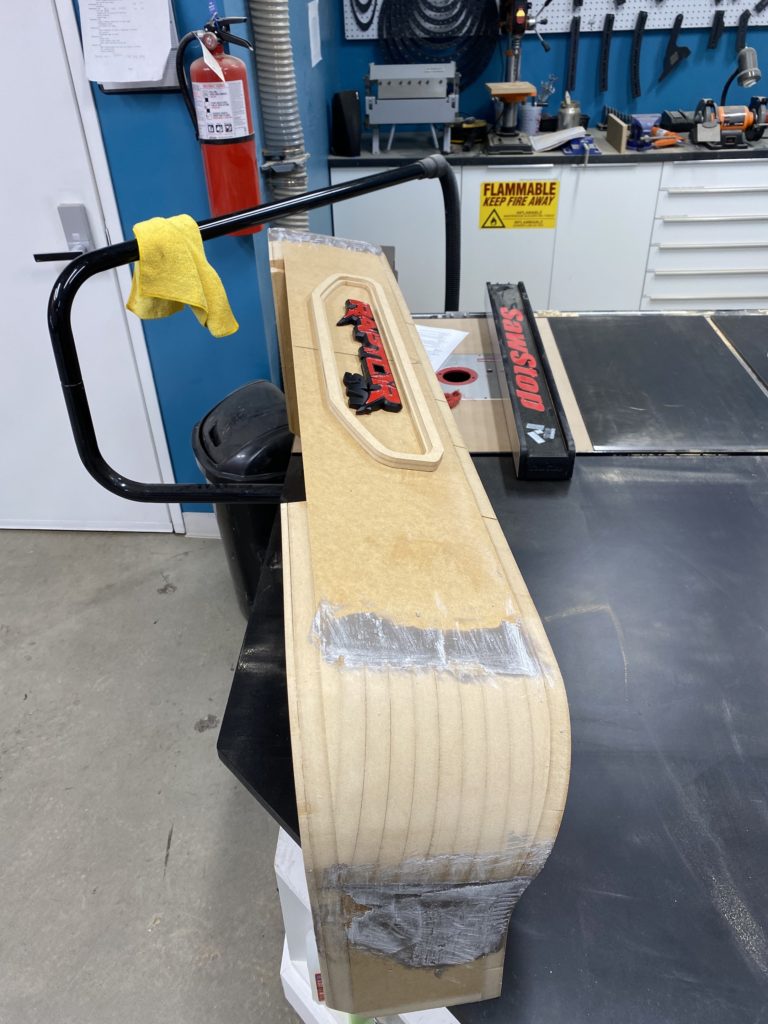
This enclosure required stack-fabrication for the corners of the box in order to get nice rounded corners that take the shape of the rear seat. The top panel for the enclosure needed to be sloped upward in order to achieve proper airspace, so we used a technique called wood kerfing to achieve the shape without using fiberglass. Kerfing is a technique in which you cut slits in the wood until you are able to bend the wood into the shape you want. We then use bondo to restrengthen the wood where we had to make the cuts to get the curved shape.
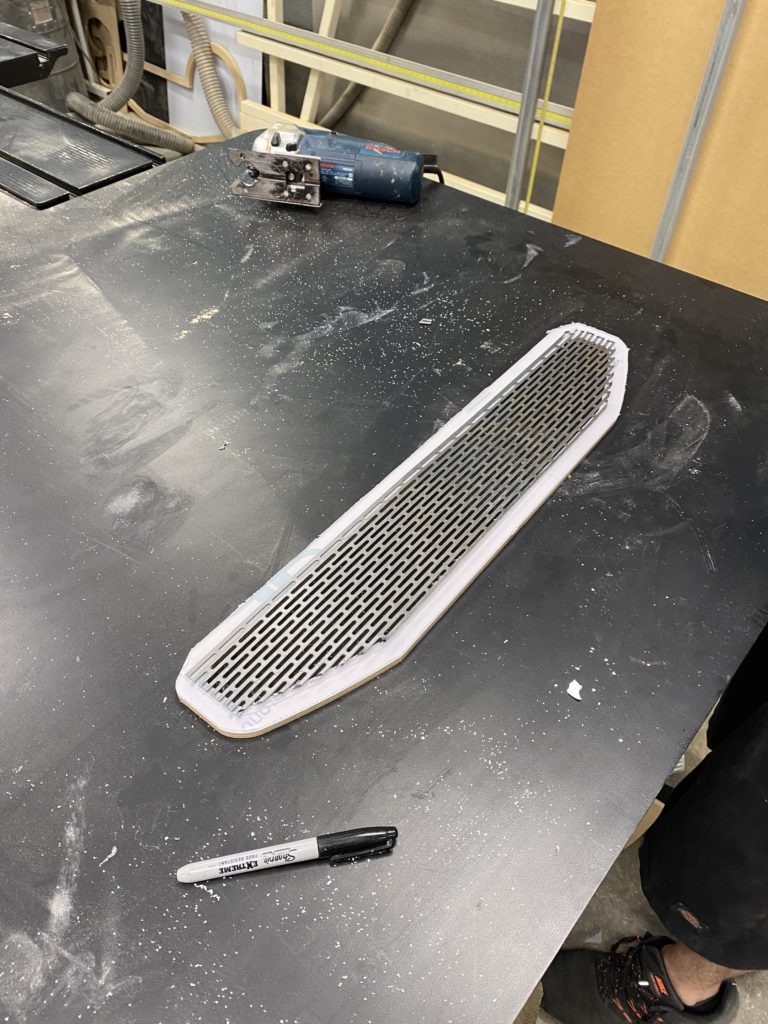
For the finish on the enclosure, we wrapped it in black vinyl to match the seats and on the front of the enclosure we built a custom pressed grill to house a Raptor emblem. We wanted the enclosure to be a part of the truck, so adding this little flair tot he front really made the box unique and stand-out.
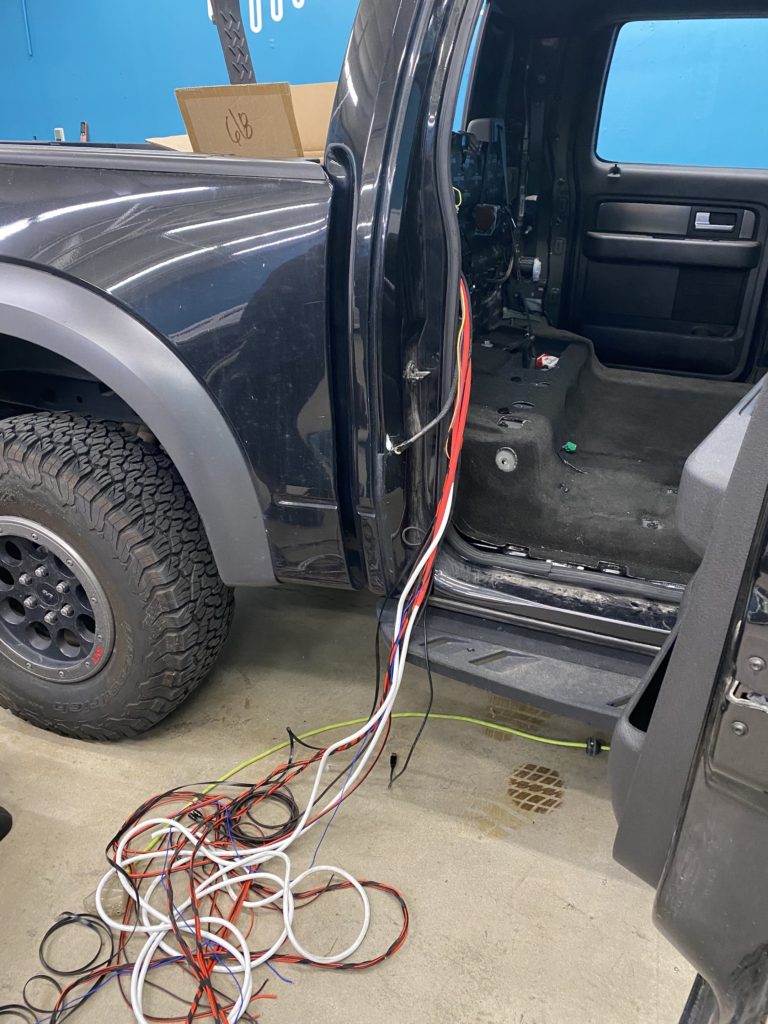
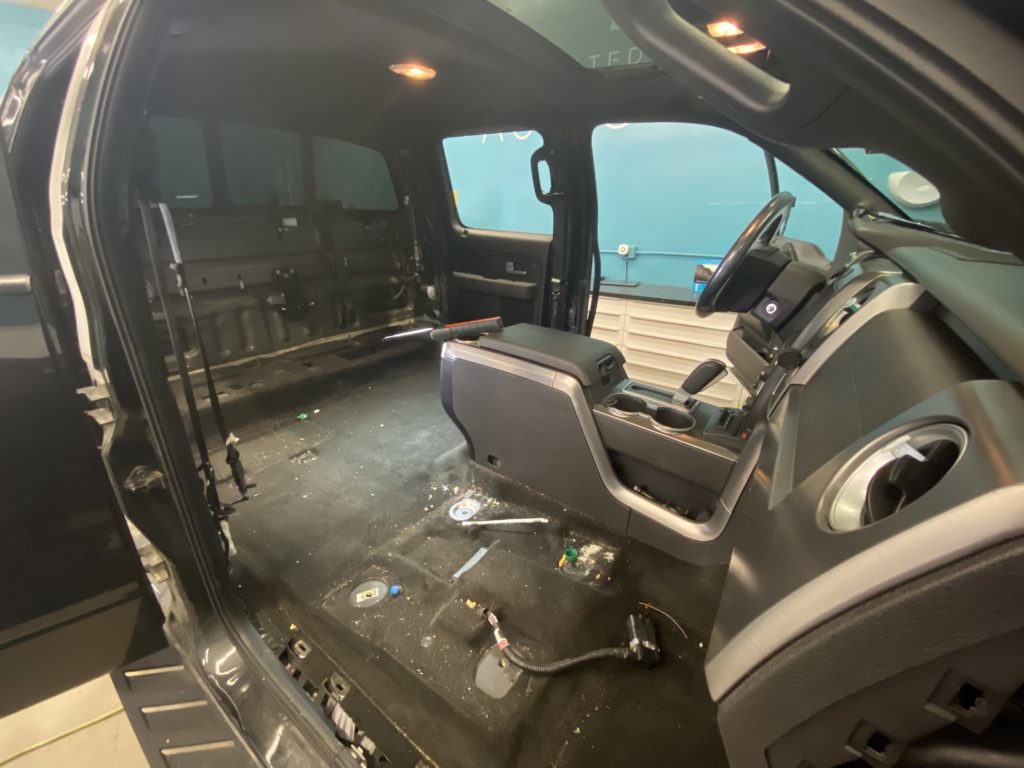
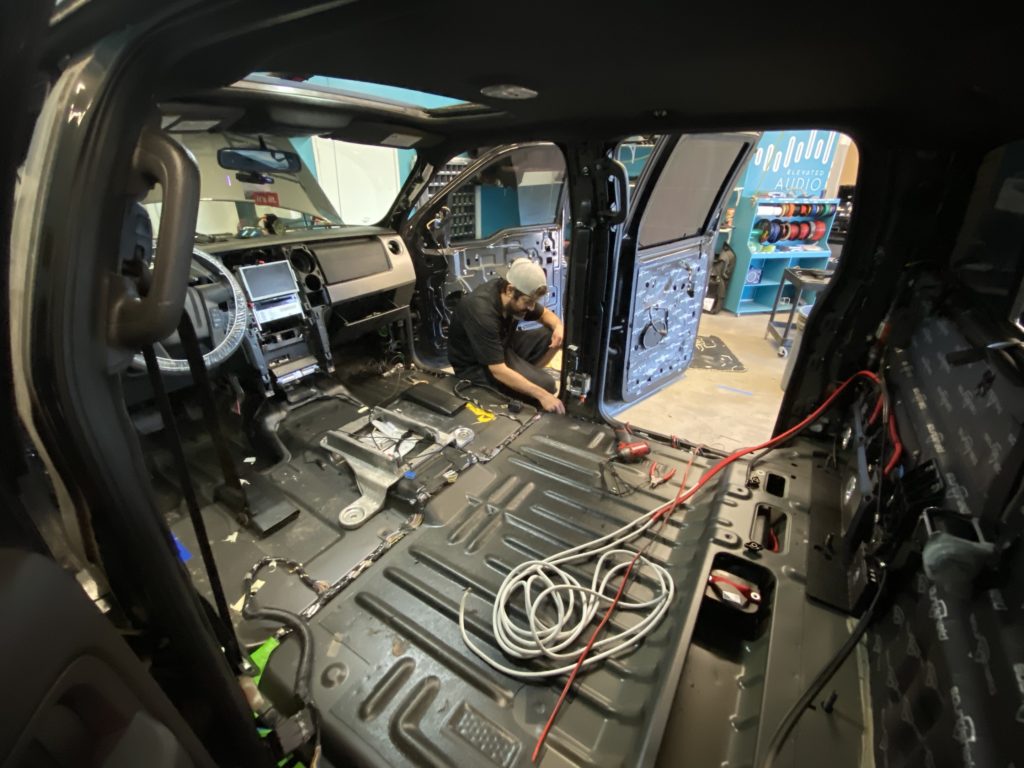
Sound Dampened the Entire Truck – We used 10 rolls of Sound Shield to cover every square inch of metal within the interior of the truck. In order to completely sound dampen the truck, we had to remove every single panel from the truck, as well as the carpet, and we dropped the headliner to access the roof. Not only is this going to prevent rattles and vibrations that the new sound system could potentially cause, but this is also going to insulate the Raptor from outside road noise, thus making the ride more enjoyable.
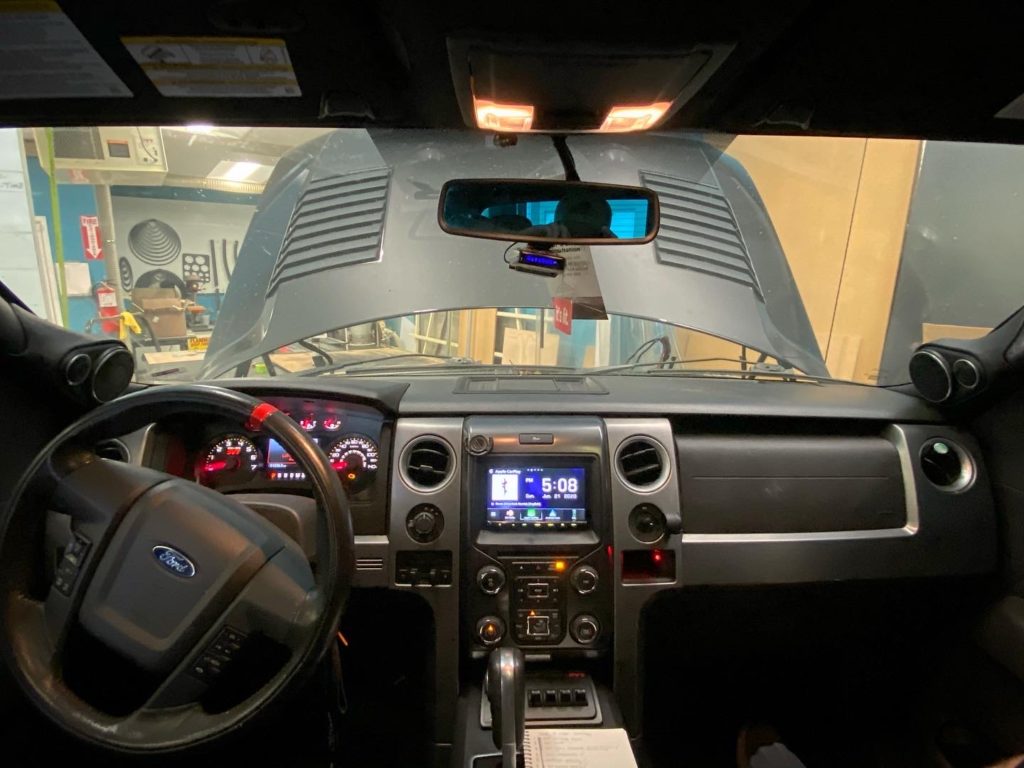
Upgraded the Head Unit – Since the owner of this Raptor decided to keep the truck rather than getting a newer one, we wanted to give him the latest tech as well. Since the truck came equipped with the factory navigation system, we used the Maestro Kit-MFT1 to ensure proper fitment and integration. The Maestro kit is awesome, it even keeps the factory volume knob and tune knob working since those buttons are not replaced with the new kit.
For the head unit itself, we chose the Kenwood DMX907S for the Wireless Apple Car Play and the capacitive touch screen. We rarely install units without capacitive touch panels now, only because an old-school responsive touch screen feels foreign to us now. We are so used to using capacitive touch, from our phones to sell checkouts, everything utilizes capacitive touch panels now.
HOW?
Elevated Audio is known first and foremost for our customer’s overall experience from beginning to end. Winning the North American 2018-2019 Customer Choice Award in the 12-volt industry-validated our commitment to provide trusted interactions between our store in Denver and our customers.
We are using some great equipment in this install so it would be a shame to perform a bad install.
Here’s how we performed the installation.
WIRING AND HEAD UNIT
The signal was found at the new Kenwood head unit and we used Audioquest Big Sur signal interconnects to run signal from the head unit to the VXi amplifiers and DSP. We were able to use the Maestro Kit-MFT1 for factory integration. This piece is awesome because it allows us to retain some of the factory head unit knobs and buttons, as well as the steering wheel controls, OEM backup camera, and OEM heater/AC controls. Even the heated and cooled seats can be controlled thru the new Kenwood head unit now!
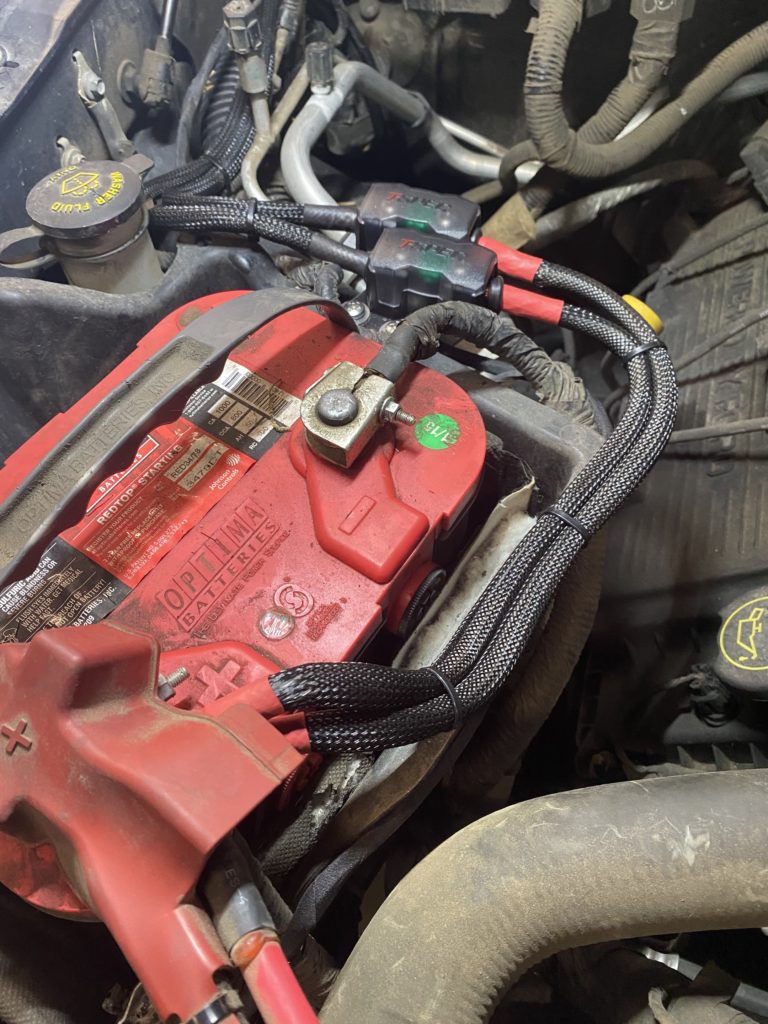
Power is supplied to the amplifiers utilizing our four gauge pure copper wiring. Never use copper clad aluminum (CCA) if you want the best current flow!
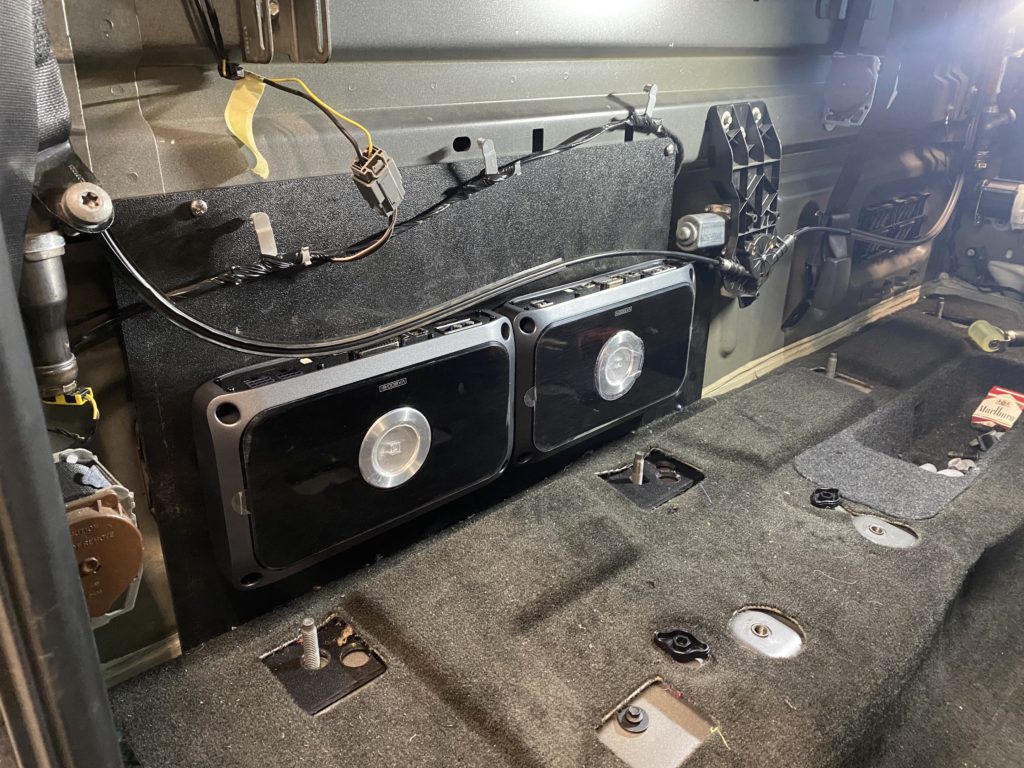
MOUNTING AMPLIFIERS
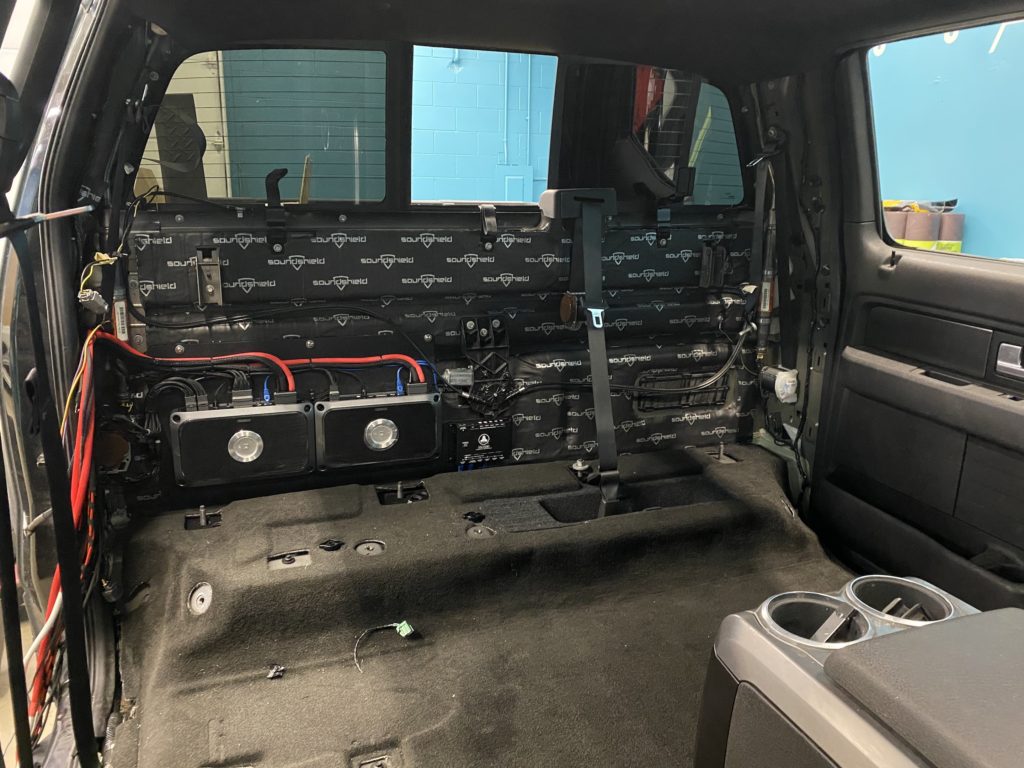
As with most trucks, the best place for the amplifiers is behind the rear seat or under the front seats. Being that we were installing two amplifiers and the VXi hub to network the amps, we decided that behind the rear seat on a custom fabricated amp rack was the best location. By putting everything in one spot, we are able to make the wiring look perfectly clean and easily serviceable, while also keeping them out of site.
All wiring is protected with Tech Flex for a factory look and feel. The wiring routes in factory channels throughout the vehicle and is not merely “tucked” under panels, which always find a way to wiggle out after a few months. It’s our goal to make it hard to differentiate factory wiring from aftermarket.
DSP TUNING
Since the JL Audio VXi amplifiers have the Digital Signal Processor (DSP) integrated, this allows us to modify the whole audio experience. We set a microphone in the vehicle to capture the pre-tuned sound. and figure out what may need to be adjusted. We use this data to offset any peaks and valleys in the acoustic response to meet a particular response curve that our ears love. This creates music that sounds like the artist intended it to sound.
Another powerful tool in the DSP is the ability to time the sound. We measure the distance from each speaker to determine the firing order of the speakers. This process allows them to all hit your ears at the same exact time.
This process, along with level matching, allows a stage and image to be created on top of your dash. Now our customer can hear and imagine the artist and their band playing on top of his dash.
This system was designed to sound perfect for the driver and really good for all other passengers in the vehicle. We are typically tuning for a single position tune, only because we can create a much more accurate stage by tuning for a single position. We also find that most people are in their vehicle alone often, and/or do not really care if their passengers have the perfect listening experience.
LEVEL CONTROLLER
We used the DRC-100 for the sub control on this audio system. We were able to mount the knob in the factory cigarette lighter location and it looked like it came there from Ford! This knob is acting like a dimmer for the subwoofer bass, this way the customer can adjust the bass as necessary for each song.
SPEAKERS
As mentioned previously, the customer heard the JL Audio C7 three-ways in one of our demo vehicles and was blown away by their performance. The JL Audio C7’s are a popular speakers for us to install, they always sound fantastic and they can produce plenty of clean volume for most of our clients. We fabricated a custom acrylic speaker plate to ensure proper OEM-like fitment, but also providing a more solid mounting surface for our high-end door woofer. We ran new speaker wires into the dash and doors for our JL Audio speakers since we were running them active, which means we are going directly into the amplifier with each speaker line, rather than going through a passive crossover first.
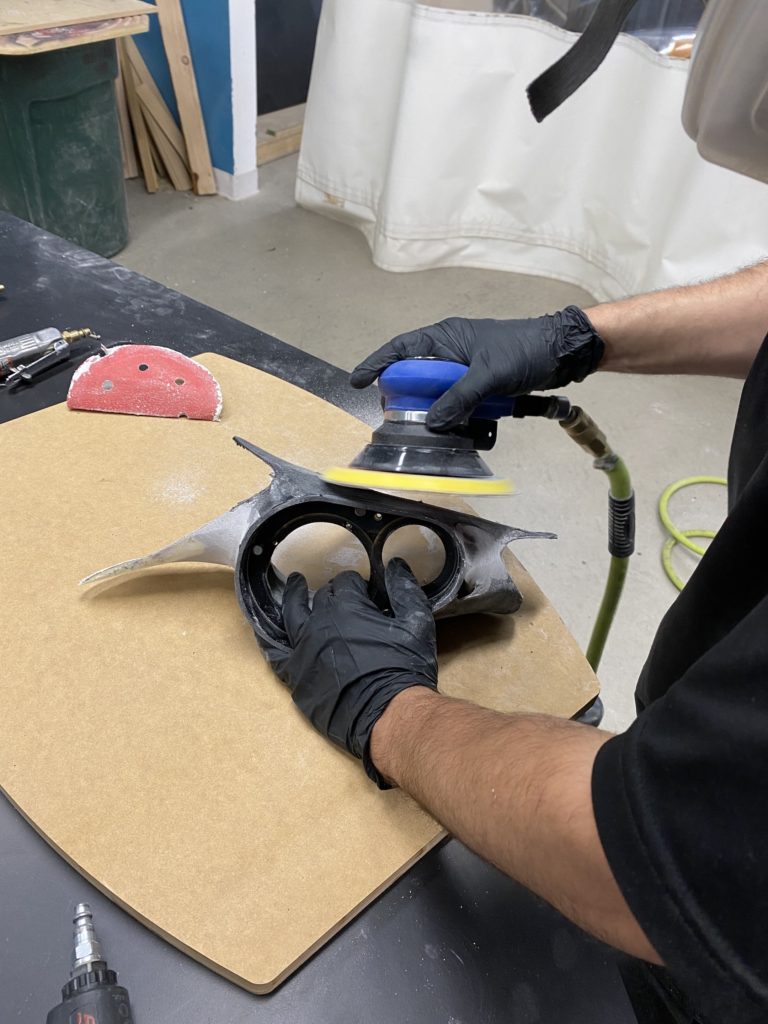
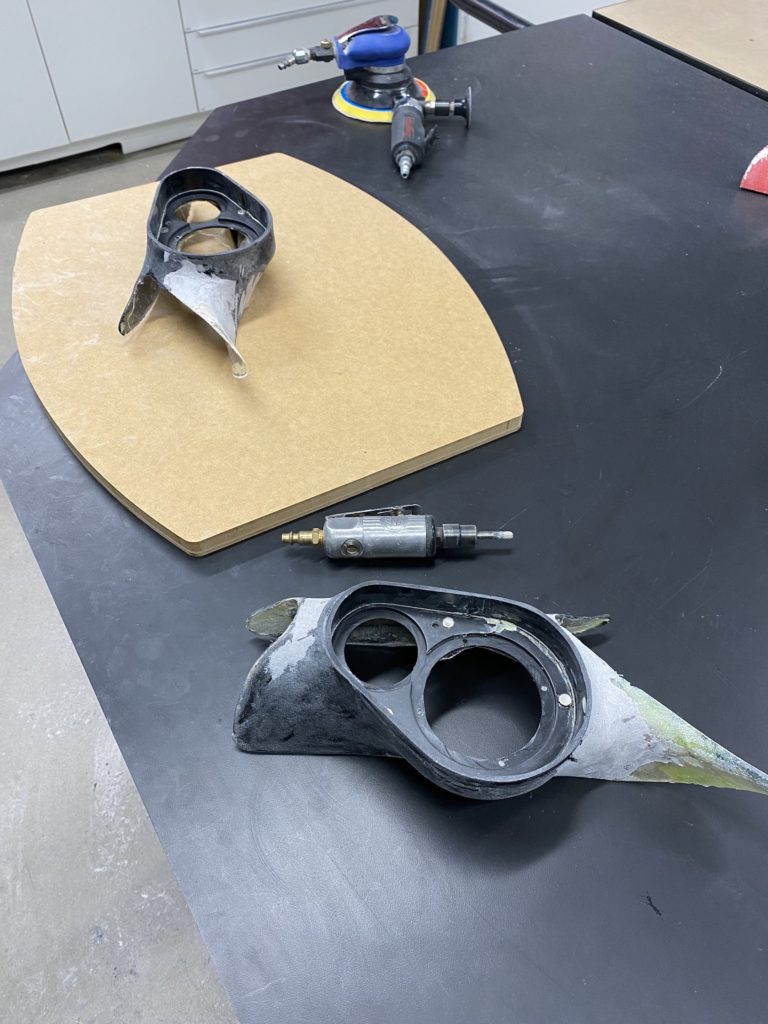
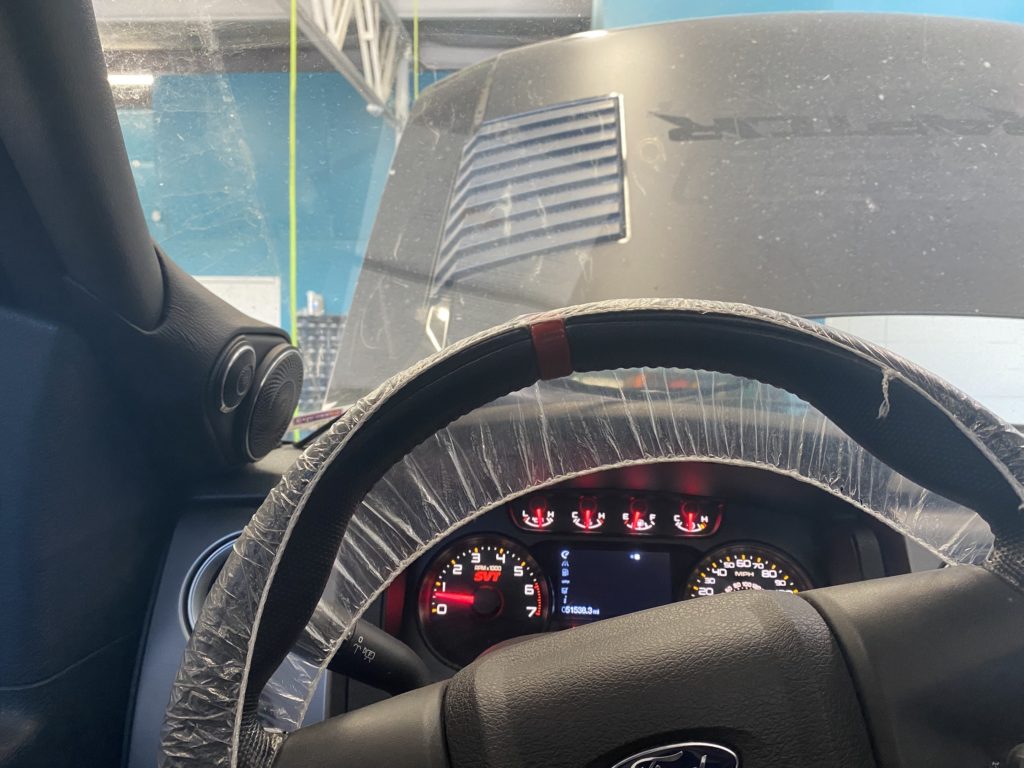
As mentioned at the top, we did need to fabricate custom a-pillars for this truck in order to properly fit a mid-range and tweeter in the dash of this Ford Raptor. We use a combination of wood, fiberglass, and bondo to create and mold our new a-pillars into shape. We then wrapped then pillars in black vinyl to match the factory style of the Ford a-pillars. The end result is a new a-pillar that smoothly blends into the trucks interior, while sounding fantastic and creating an accurate image and stage on the dash.
SOUND DEADENING
While you’re performing any upgrade to your sound, it is crucial to slow down the transfer of energy throughout the door panel and to cut down the external road noise. At Elevated Audio, we use Sound Shield premium sound deadening to achieve both results. We went all-out on this truck and covered it head-to-toe in Sound Shield. Each of the four doors received a little more than a full roll to provide the best possible environment for our C7 to play in, and also insulate the road noise from the cab of the truck. We also dampened the floors, the rear wall, and the roof, thus creating a quiet and more comfortable ride.
SUBWOOFERS
Since we were limited on depth and airspace under the rear seats of this Ford Raptor, we decided the JL Audio 12TW3’s were going to be the most effective subwoofer to give our customer the low bass drops he was after in an under-seat truck enclosure. We fed 1000 watts RMS to the pair of 12″ subs and the result was outstanding bass that could play low enough to hit any bass drop.
THE RESULT!
This was a very exciting build to be a part of. Not only did we make the vehicle’s audio system sound incredible, but we also provided something one-of-a-kind that our customer can showoff to his friends. The front stage sounded great and had a deep stage with a well-planted center-image. The subwoofers were able to dig extremely deep and had plenty of output, which was enough to shake the entire store! Best of all, we were able to add all of this sound without sacrificing much space at all, and that is crucial in a truck.
Our customer left the shop with a huge smile on his face, which is this most rewarding feeling for us! There’s truly nothing like seeing the excitement on someone’s face when they turn their system on for the first time.
Do you have an F-150 or another truck that you’d like to sound incredible? Contact us today to schedule your free personalized consultation to discuss options for your vehicle.
Music. It’s What Moves Us.
-Elevated Audio