WHY?
This client brought us his Volvo in 2018 for an audio upgrade, but had to settle for a more modest upgrade than he had hoped for. He had heard one of our demo vehicle’s at the time and decided he needed that sound in his Volvo at some point in the future.
Fast forward a couple years and the Volvo is back at Elevated Audio for a first-class audio upgrade. This vehicle’s new audio system sounded fantastic and the additions made to the door panels look seamless.
WHAT?
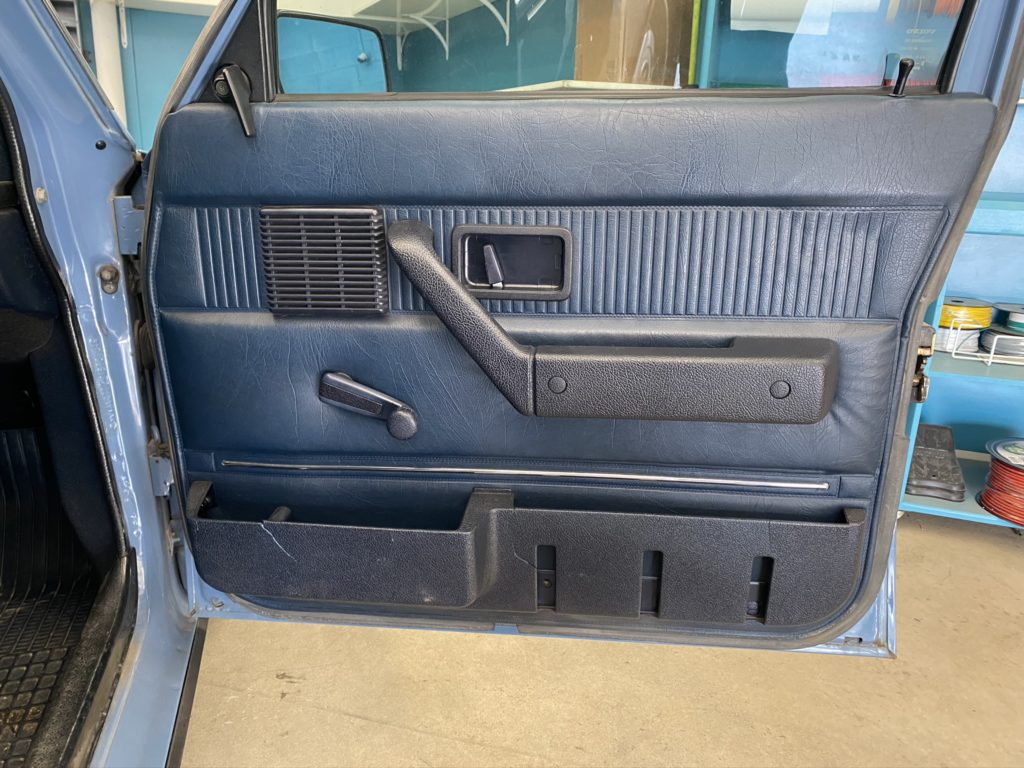
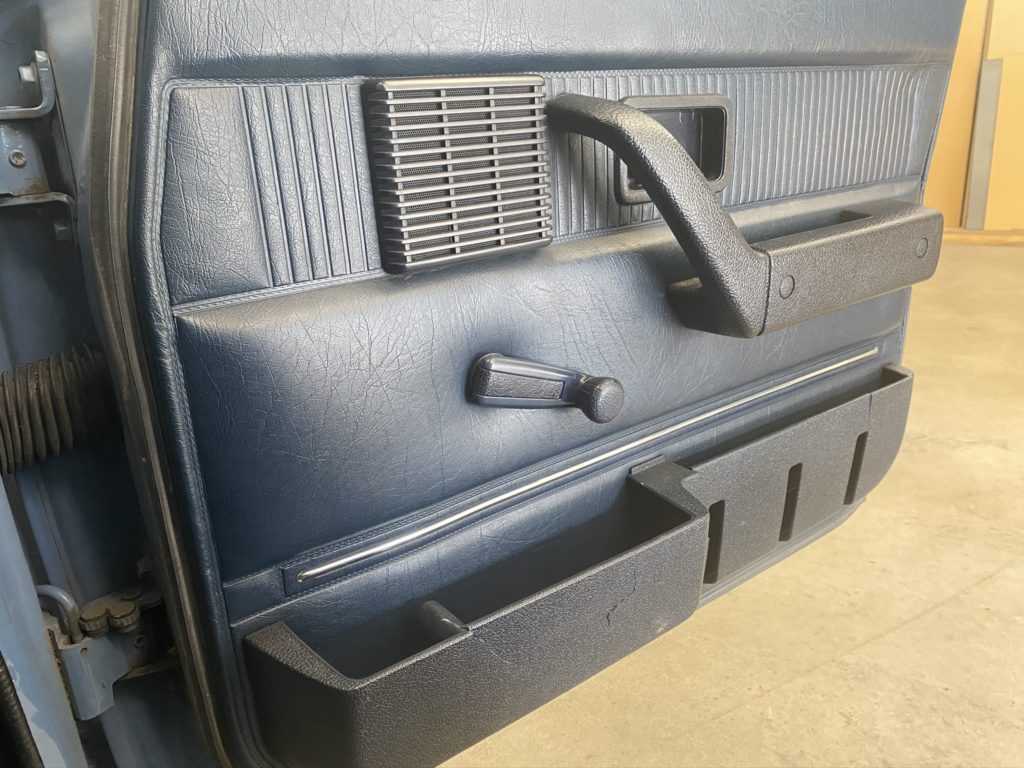
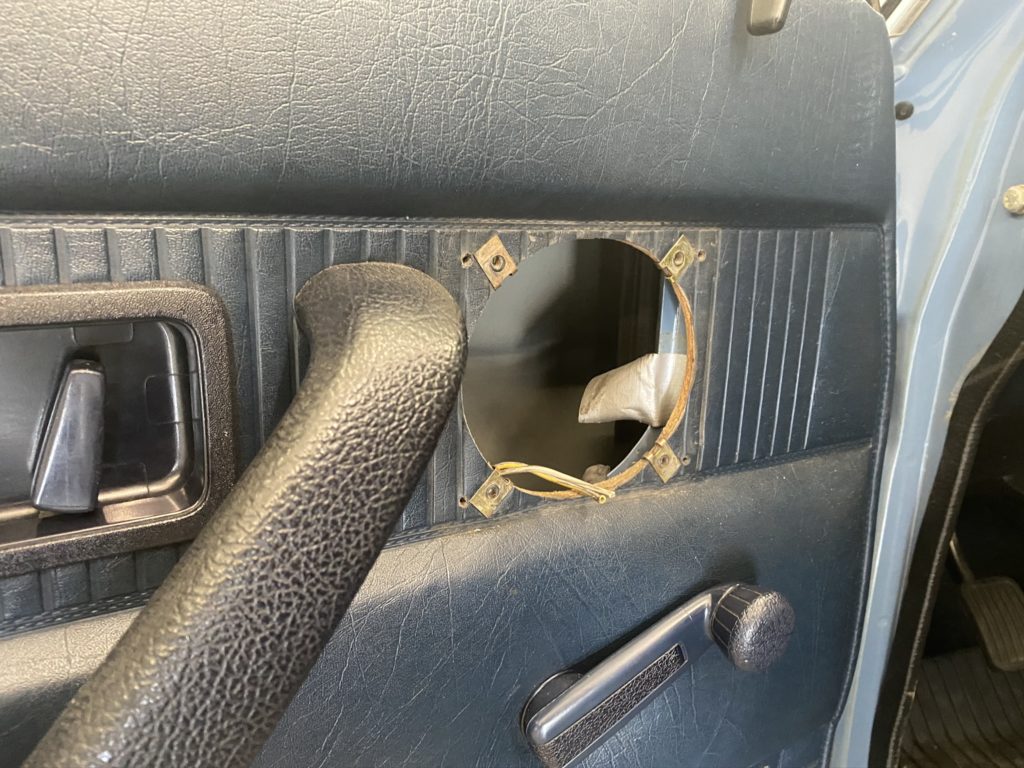
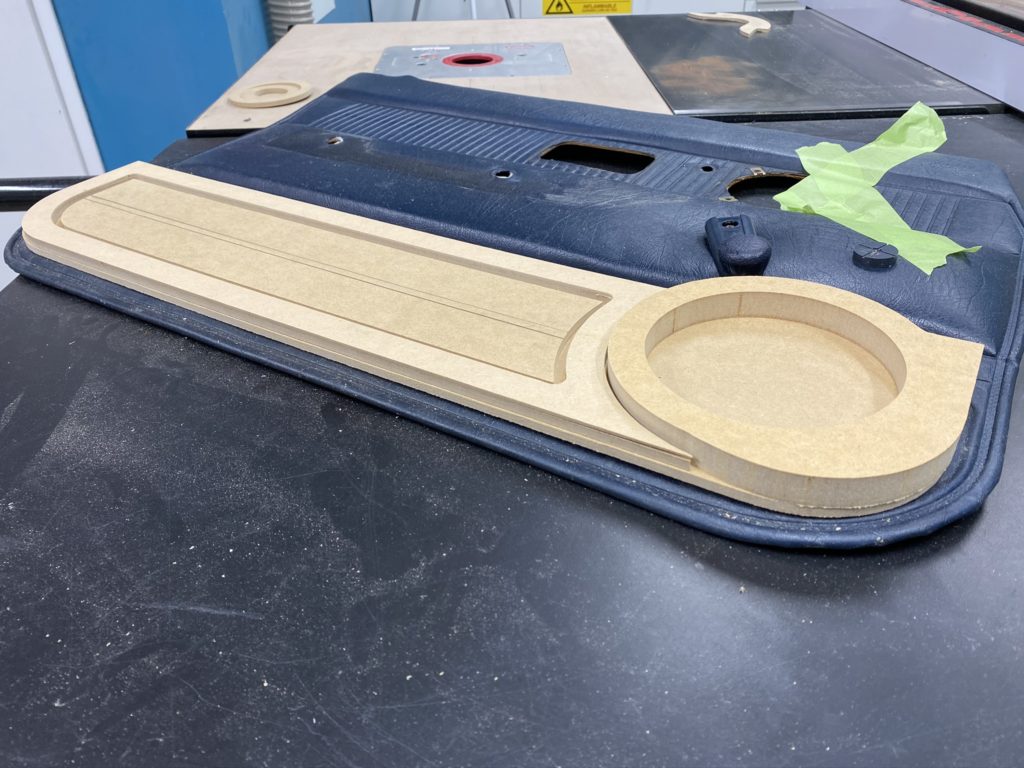
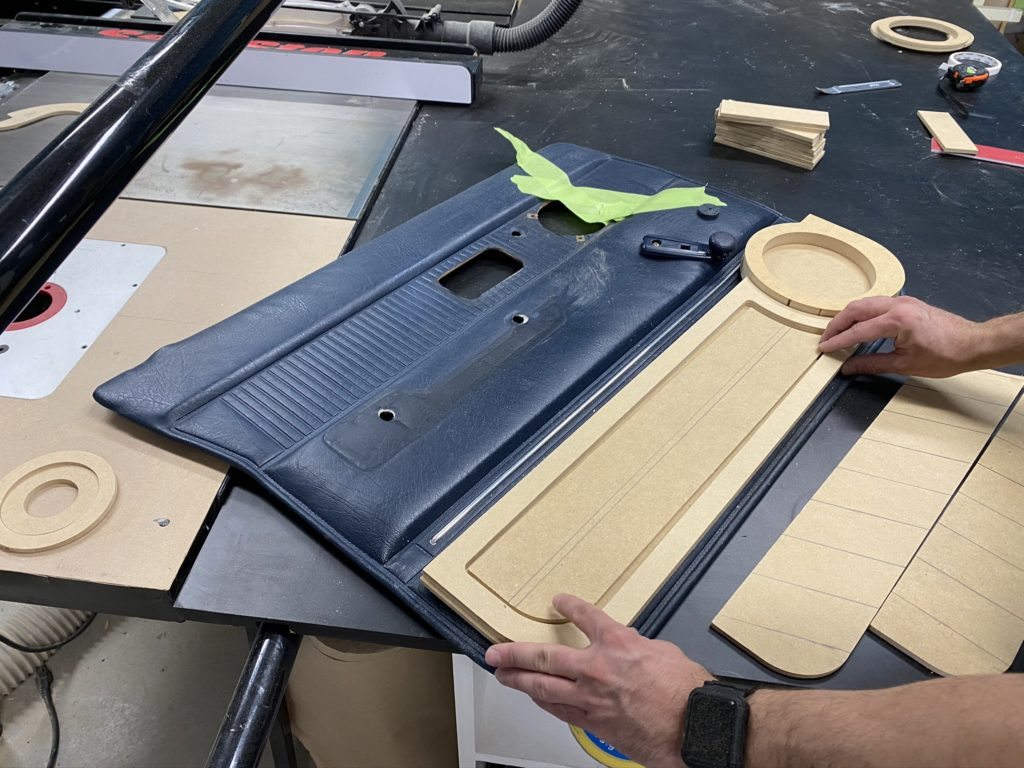
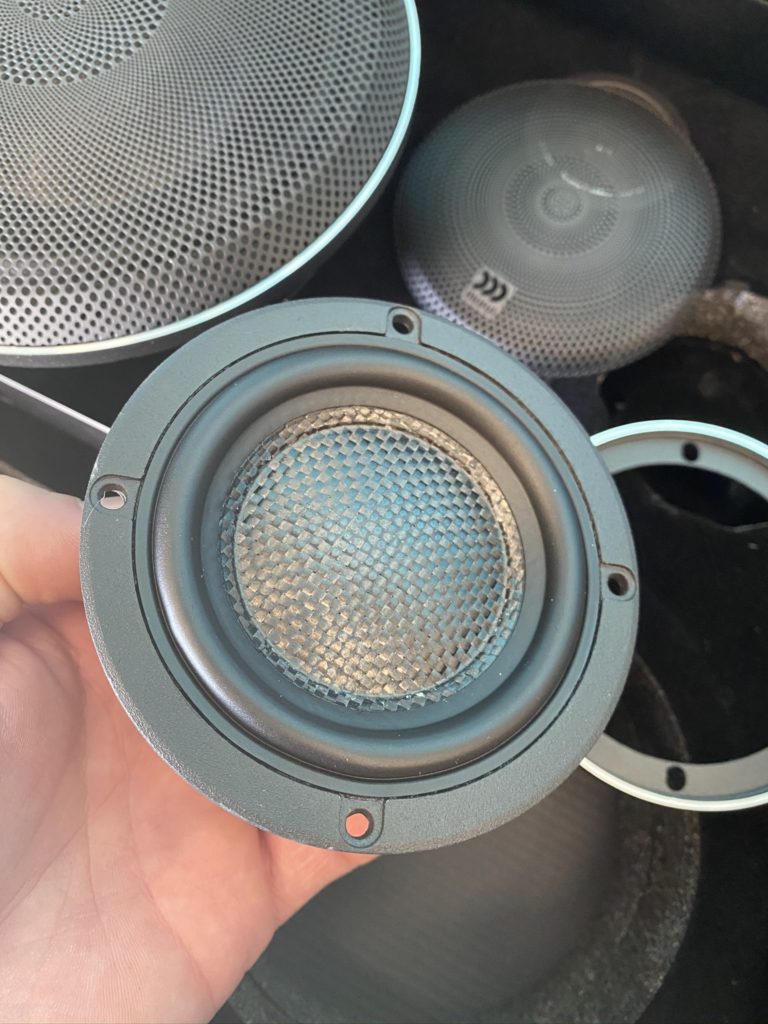
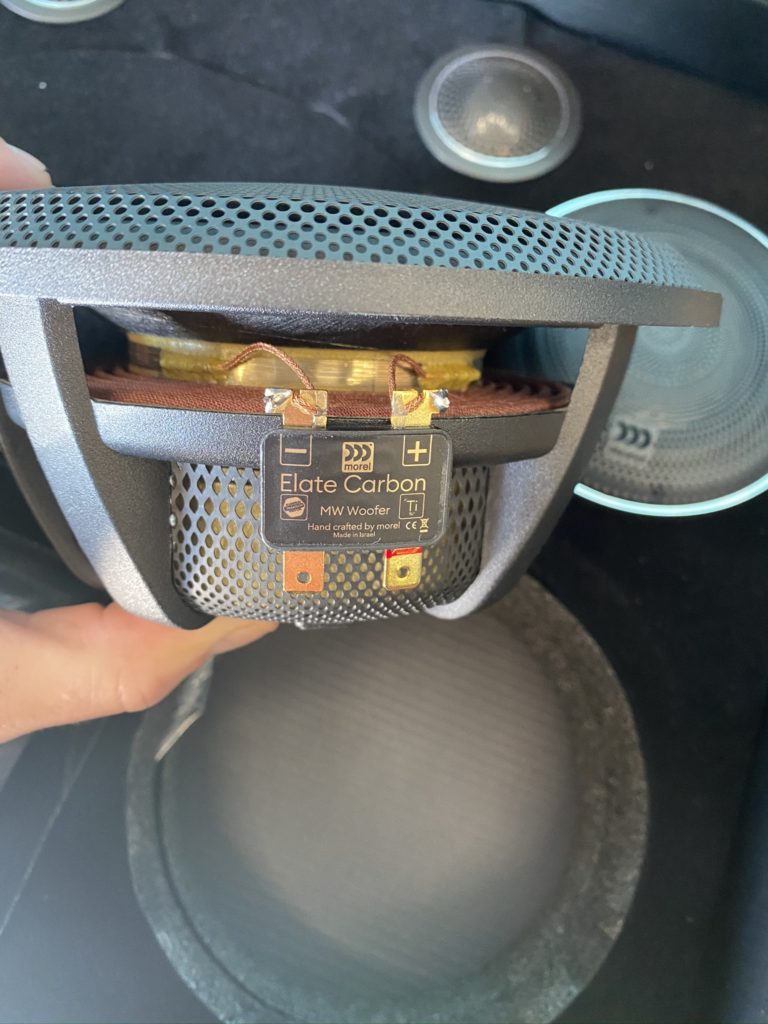
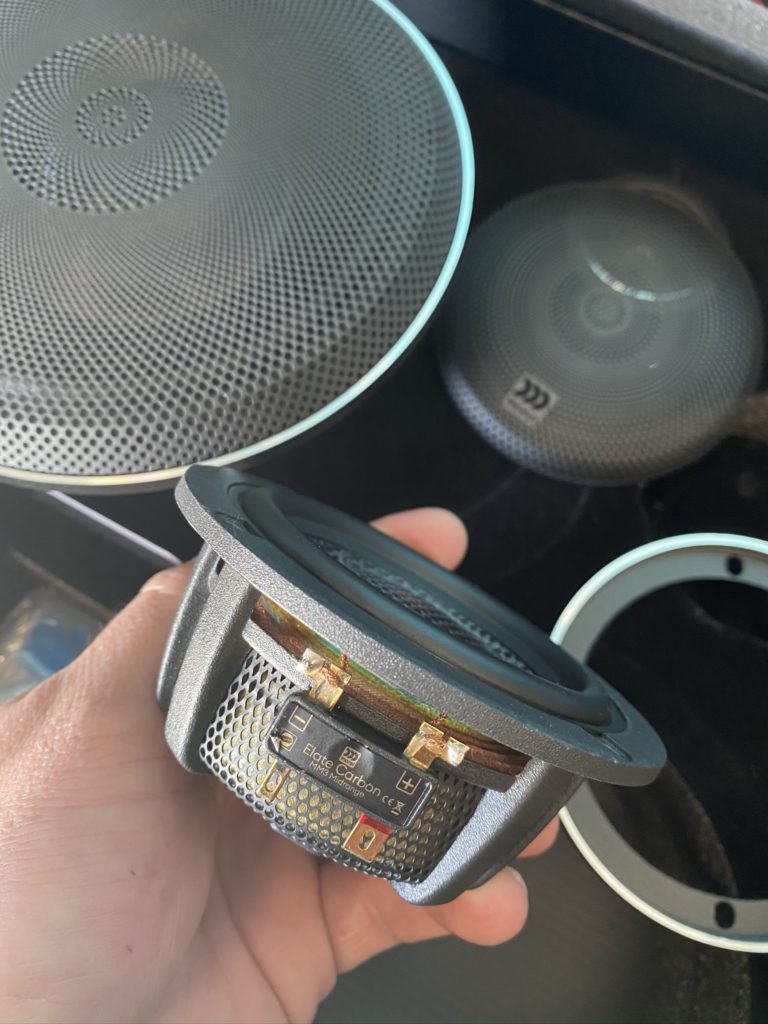
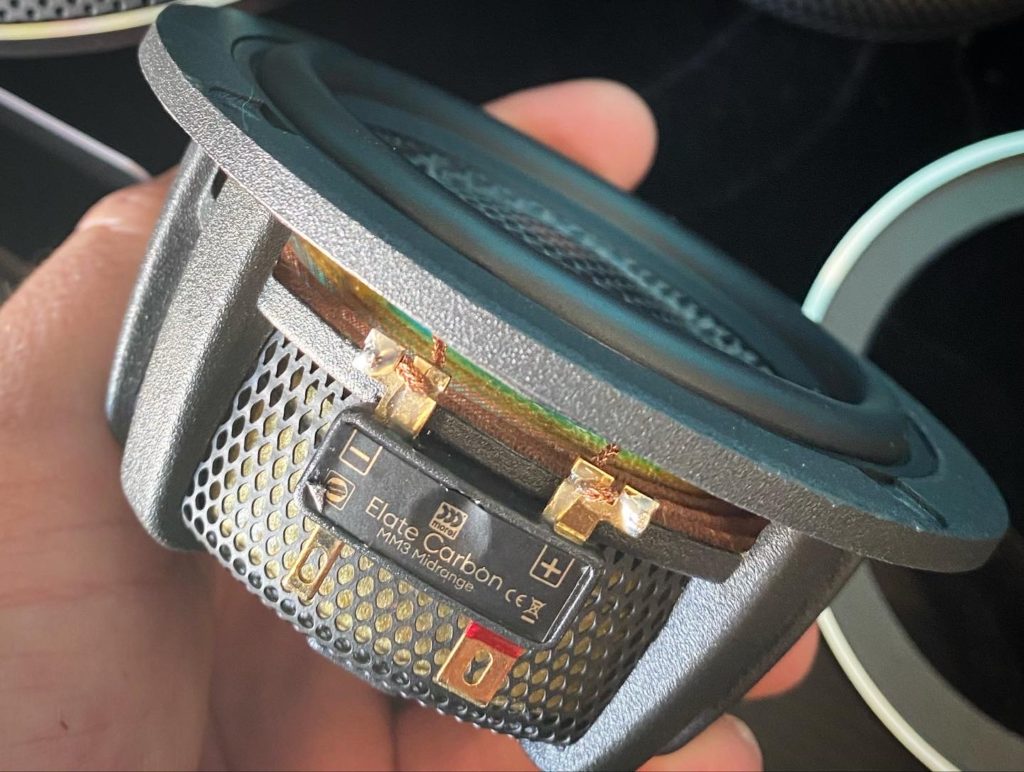
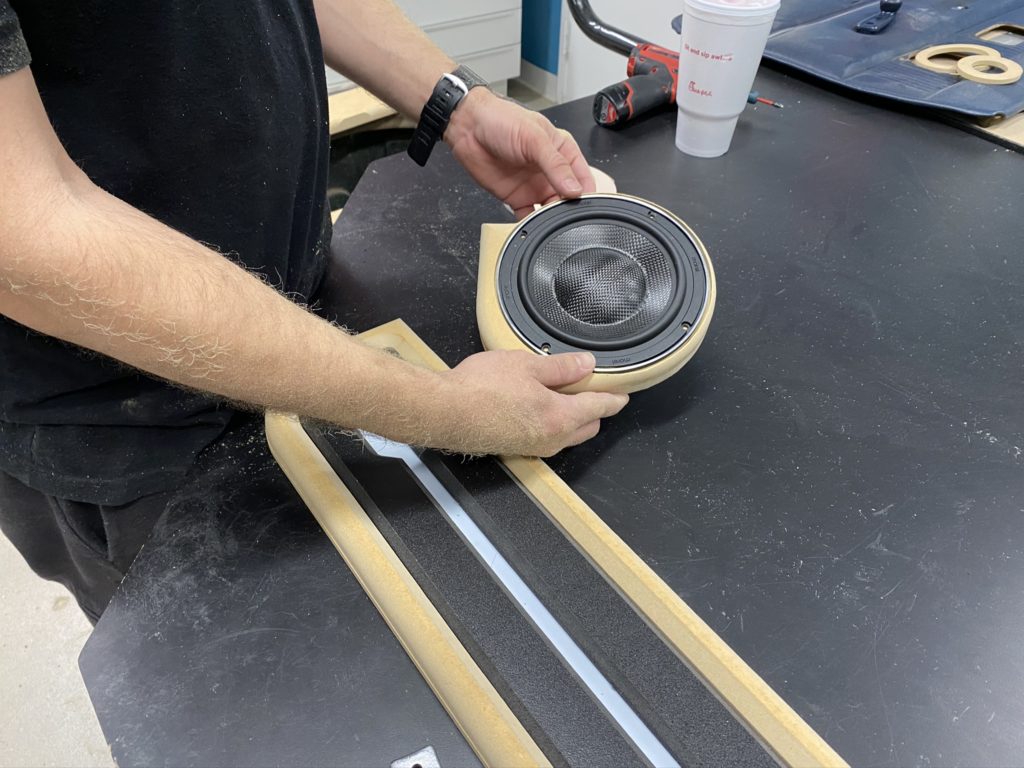
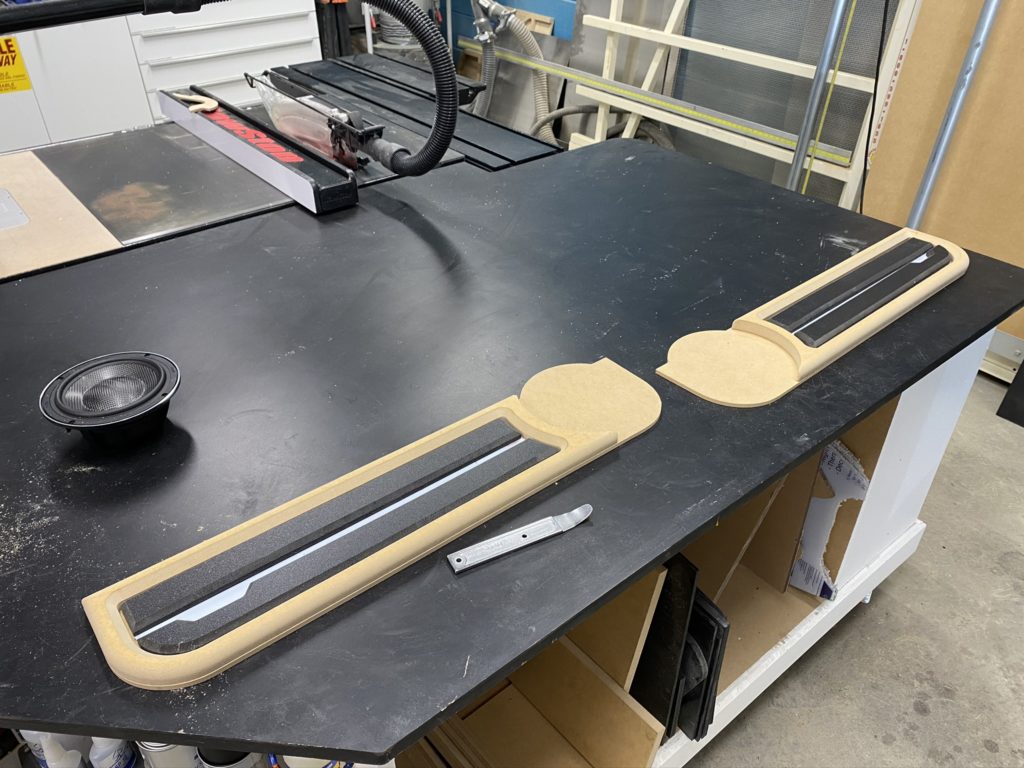
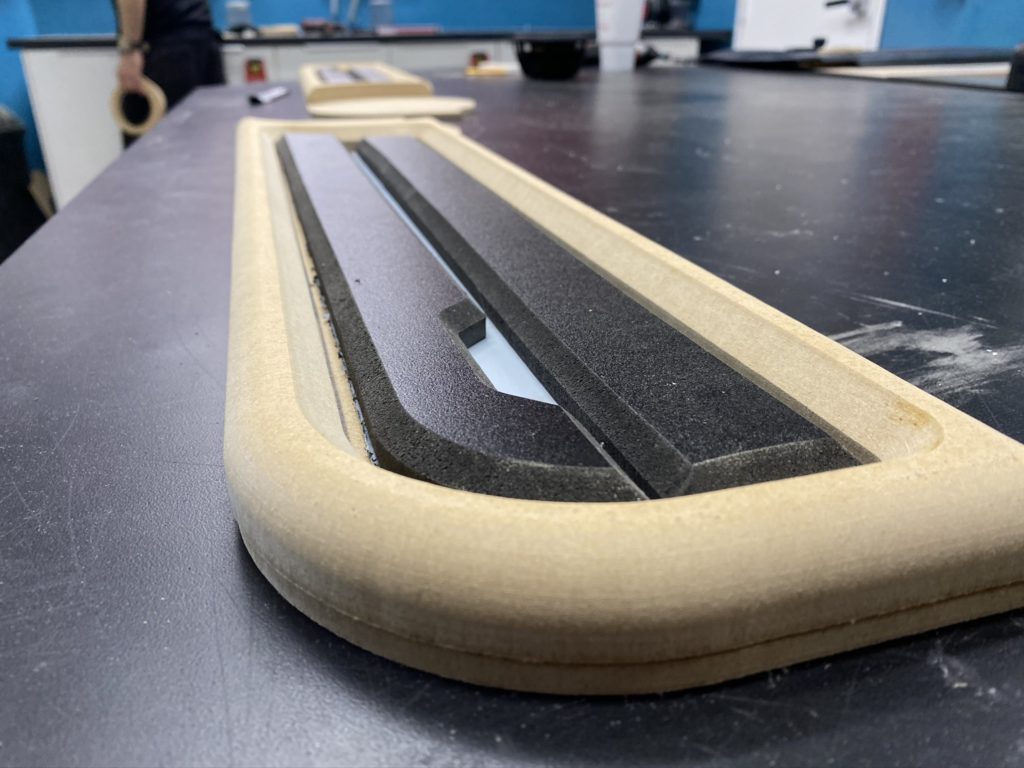
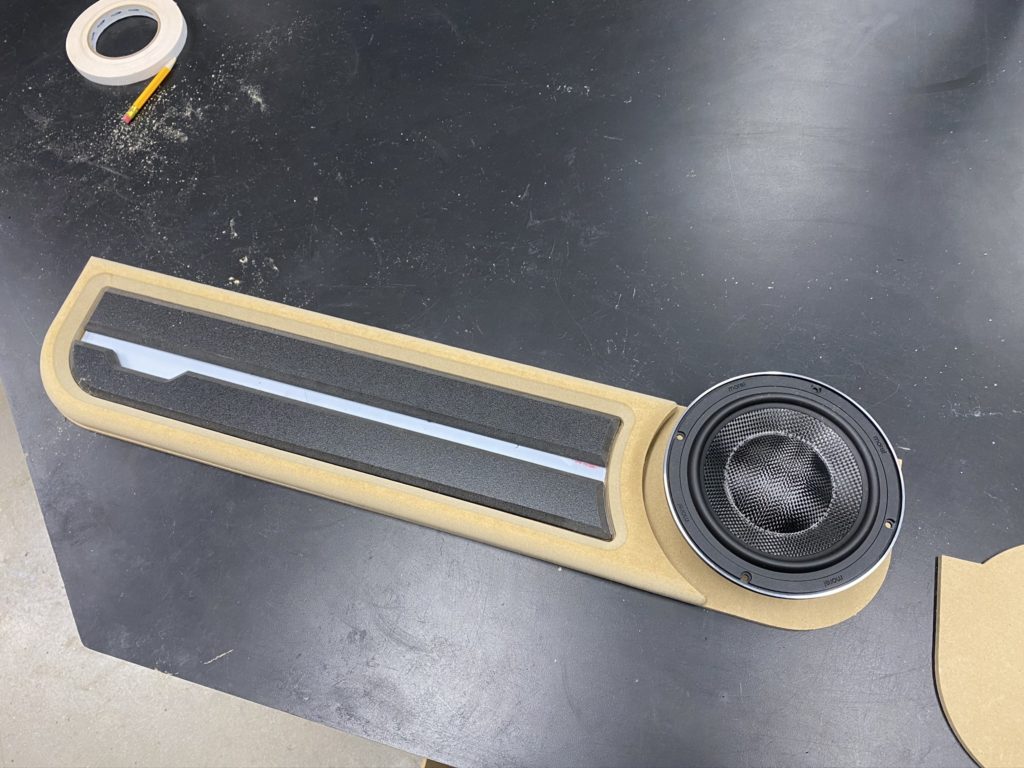
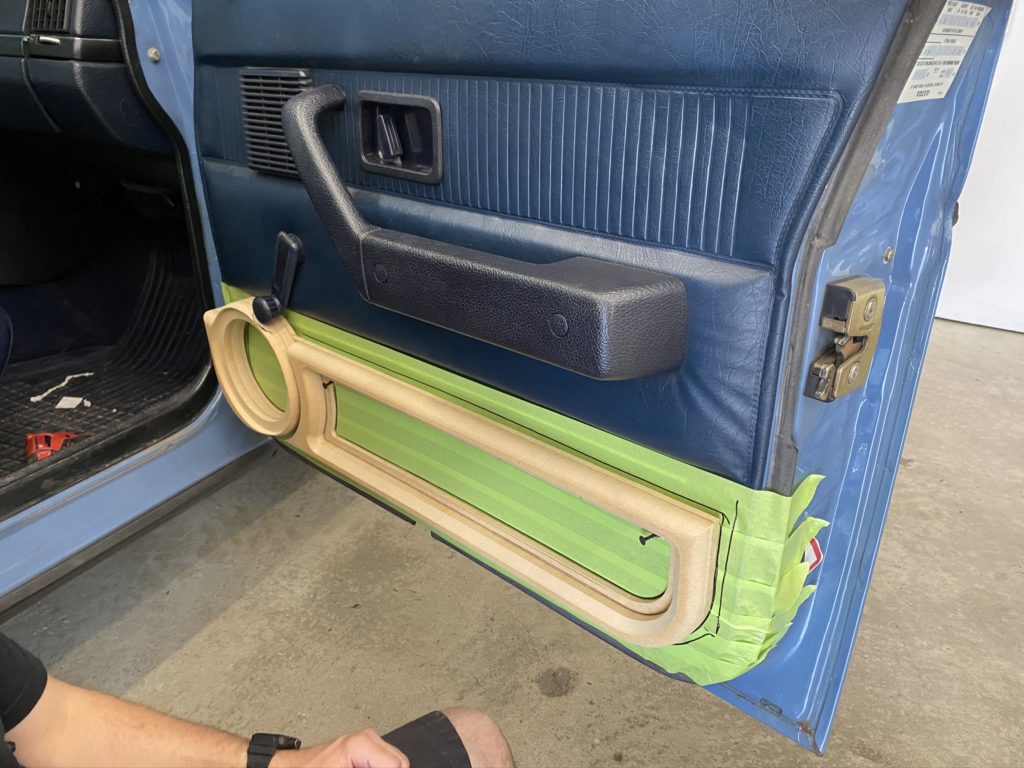
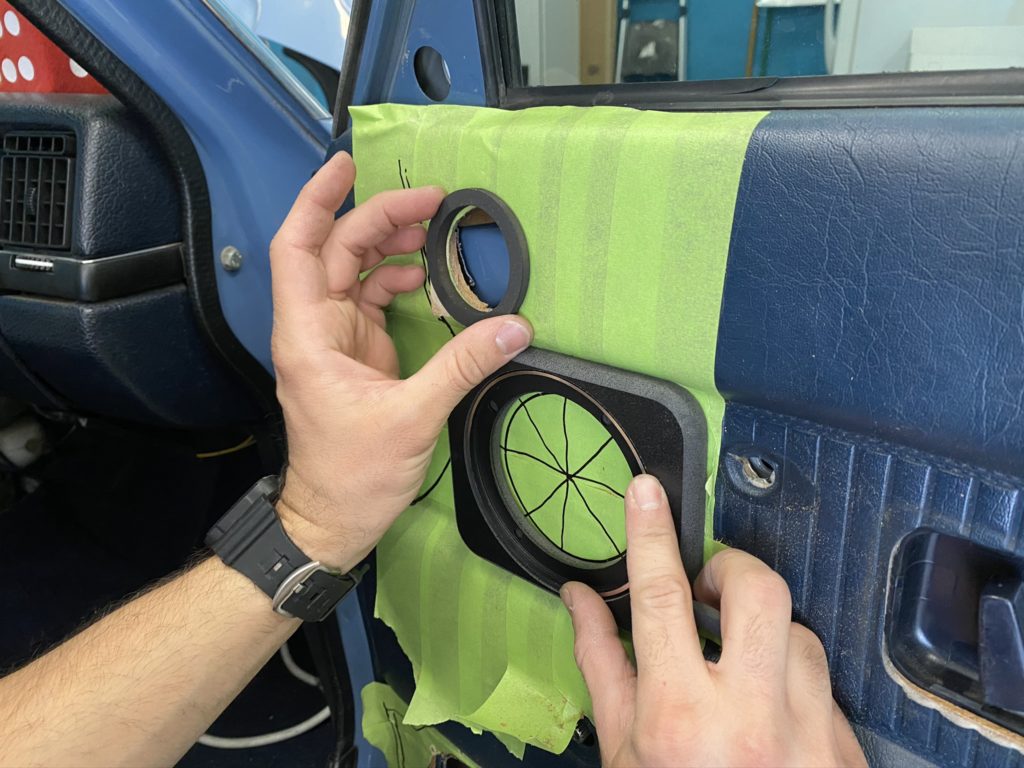
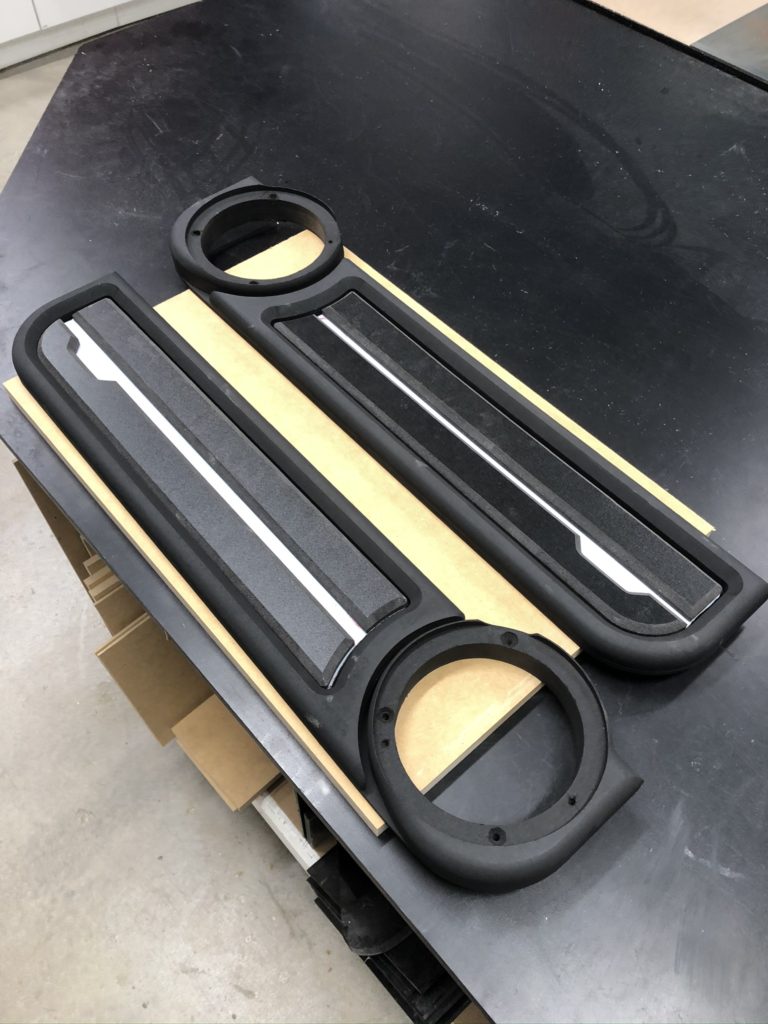
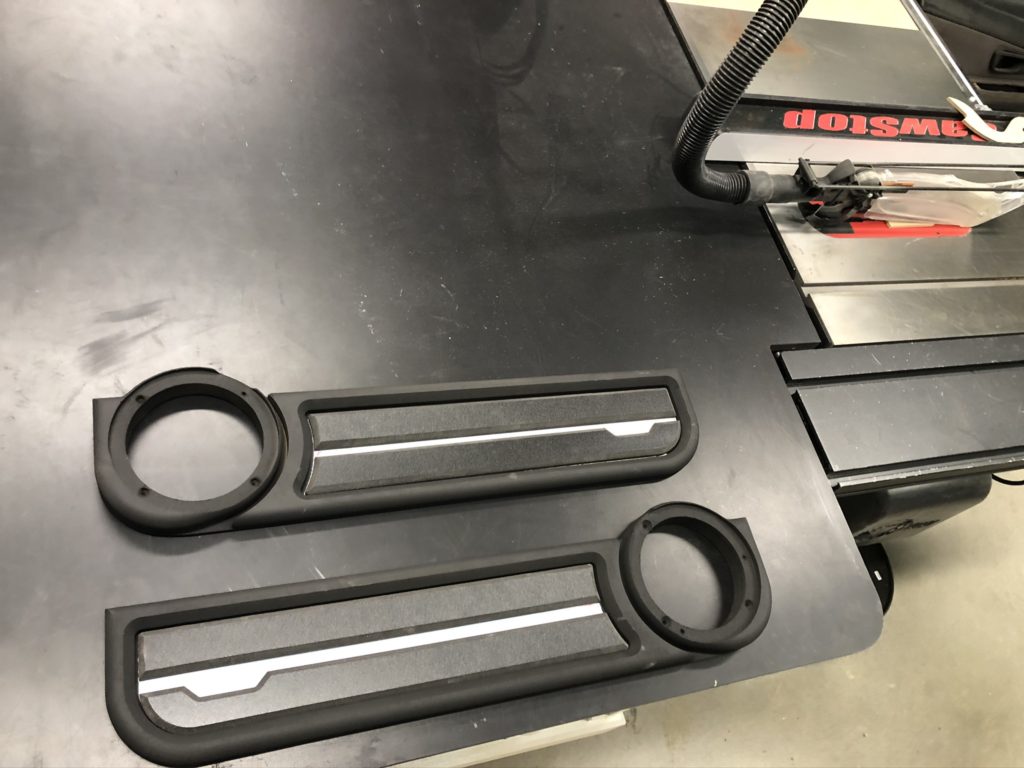
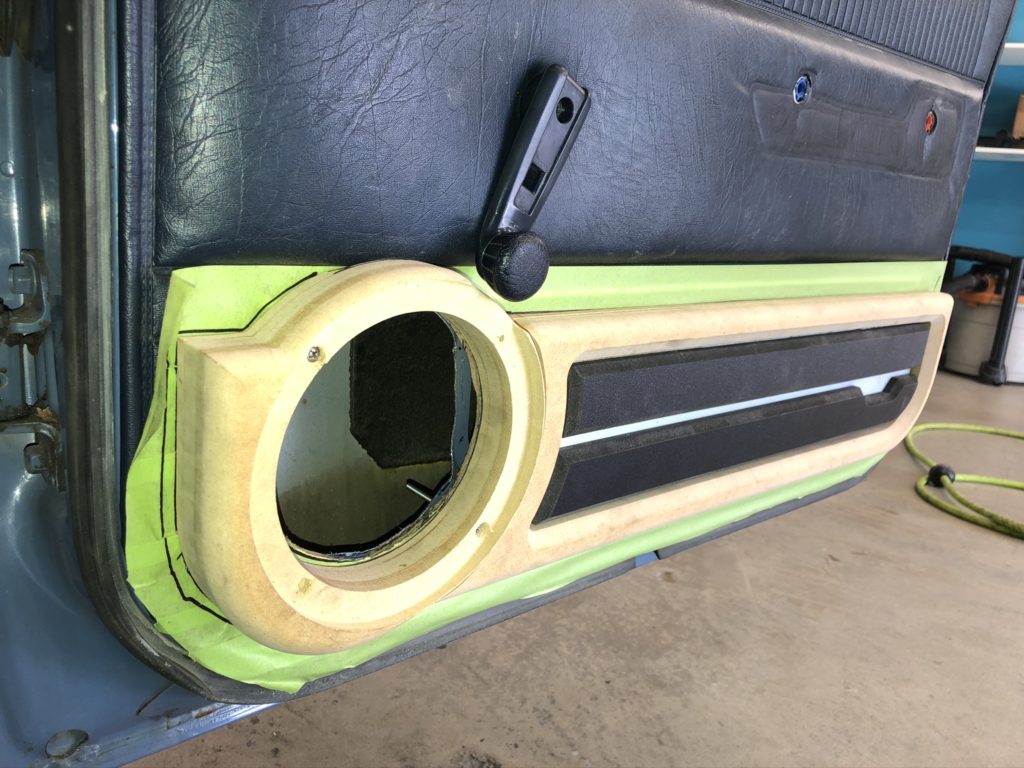
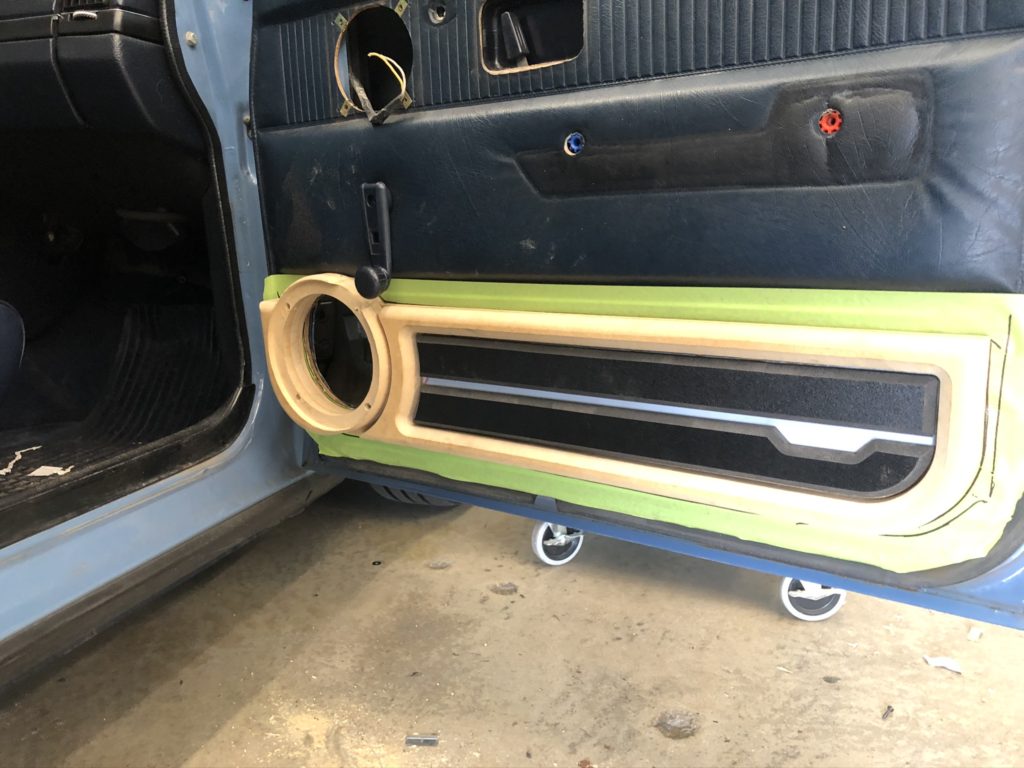
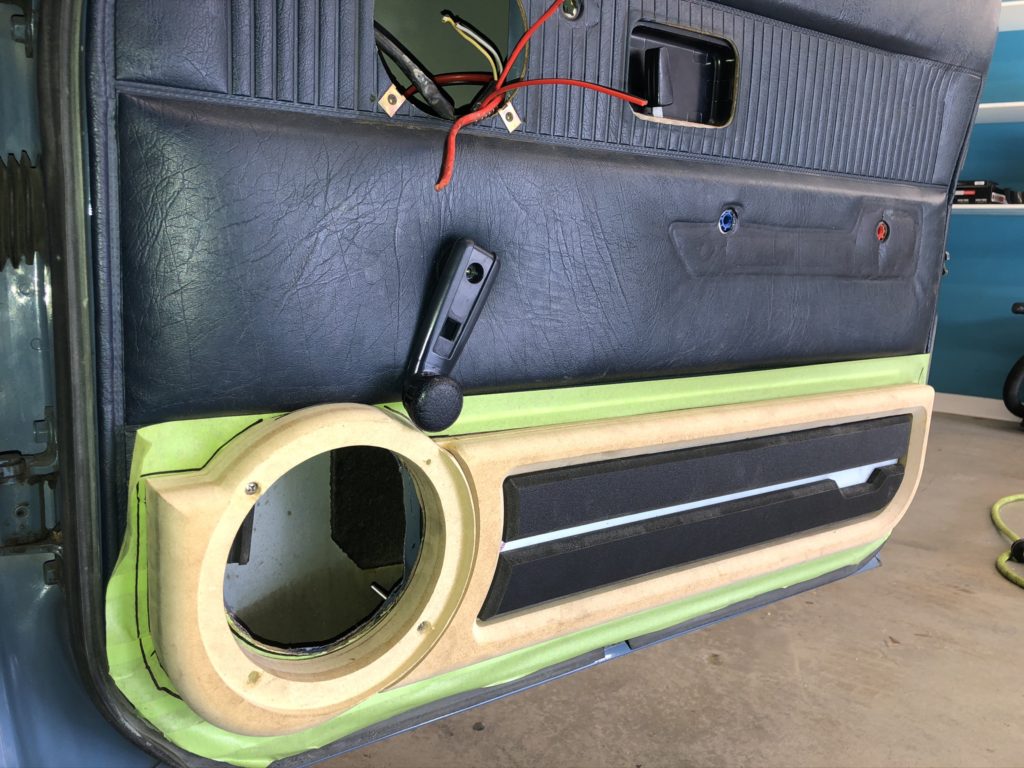
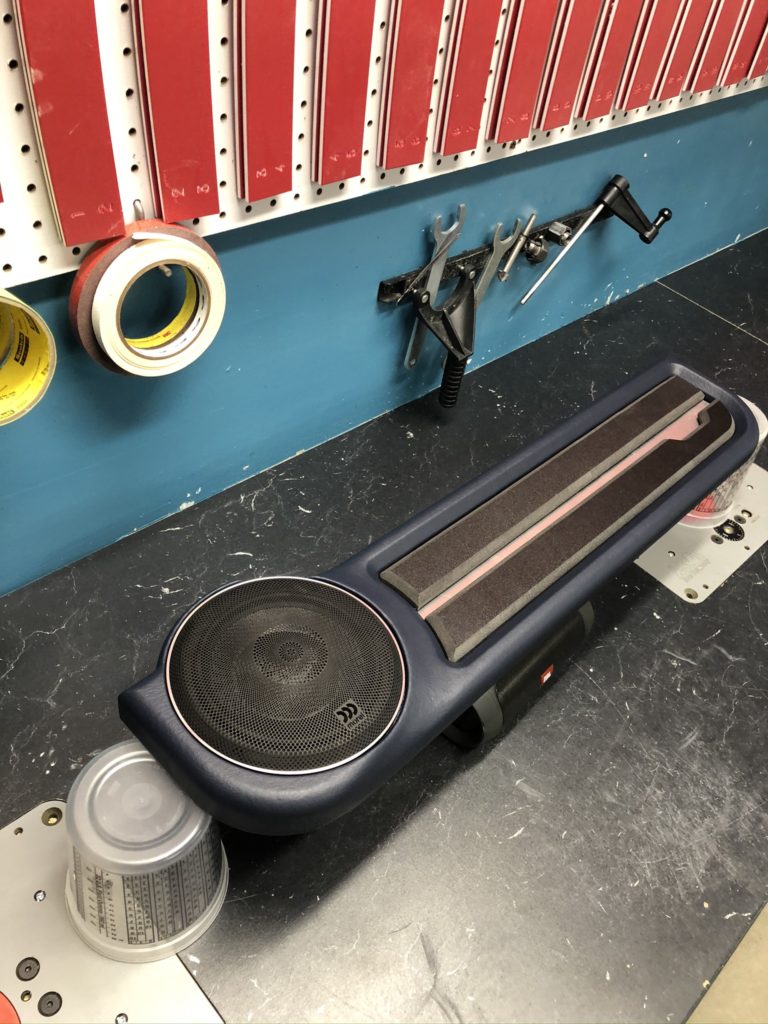
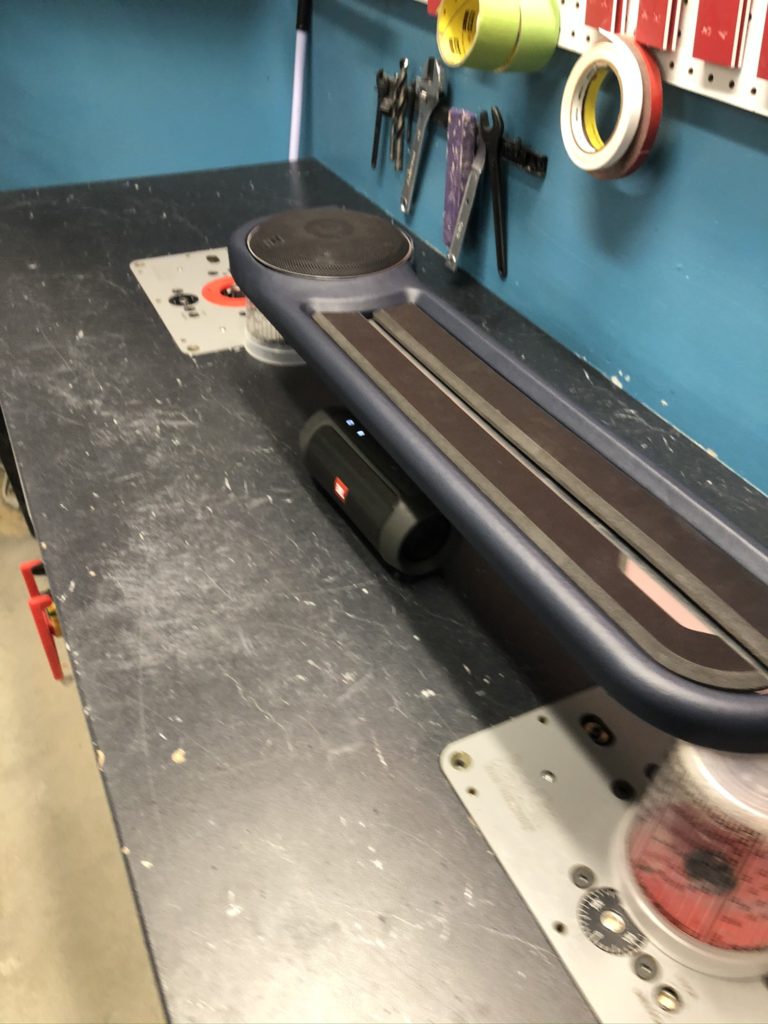
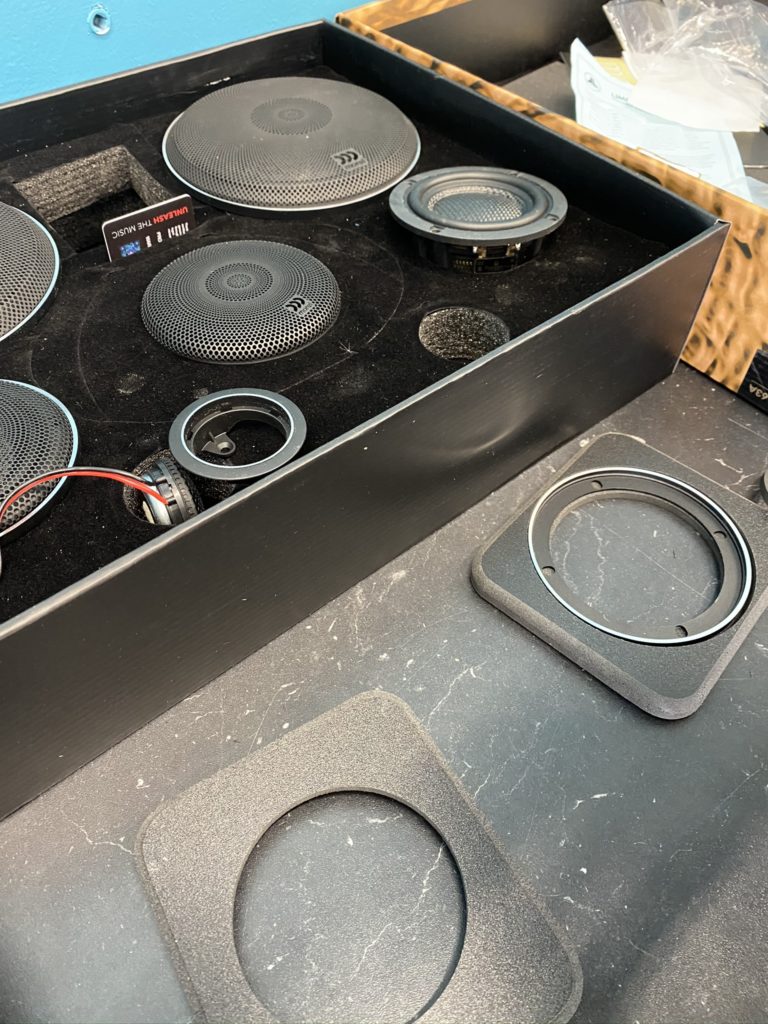
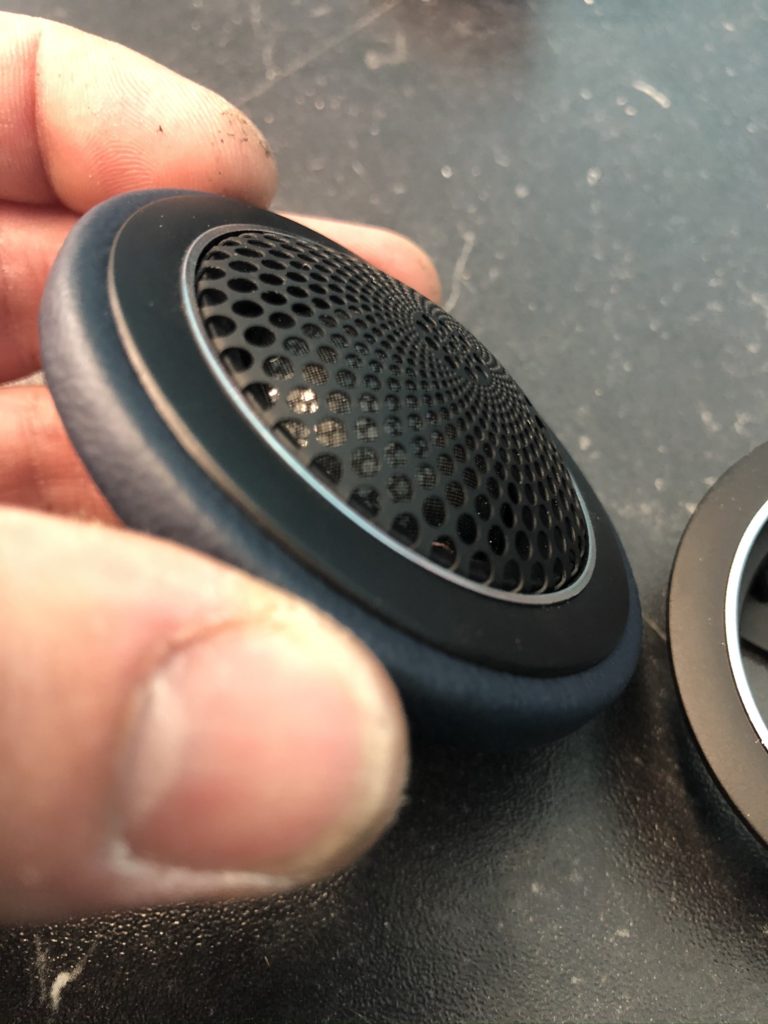
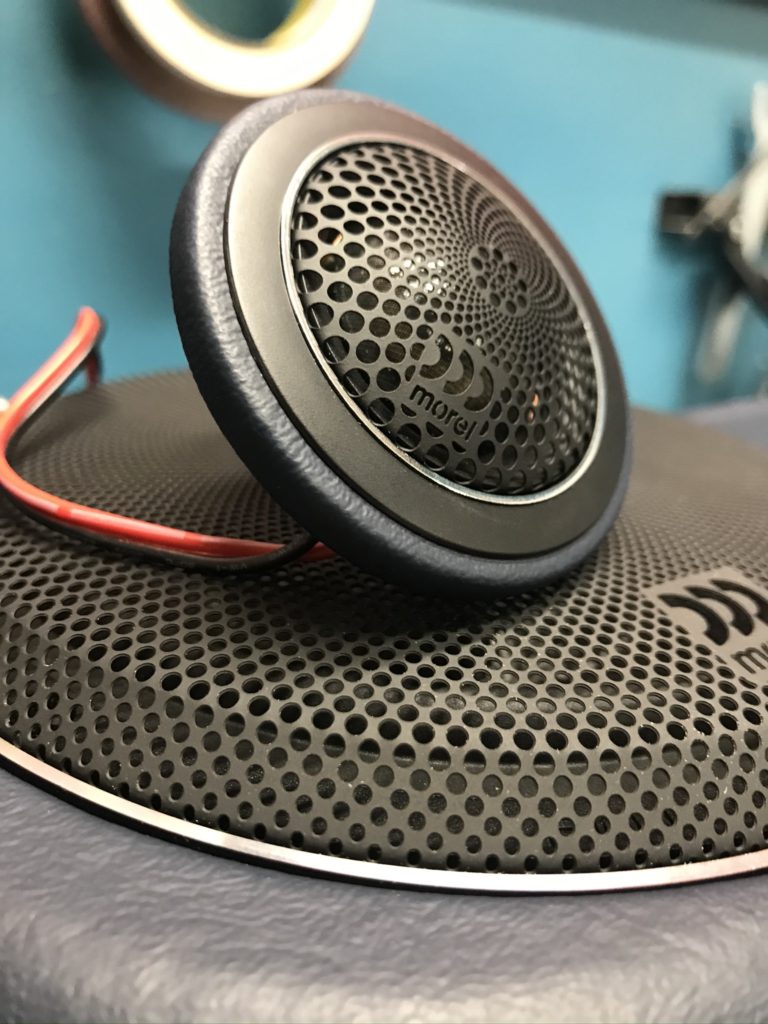
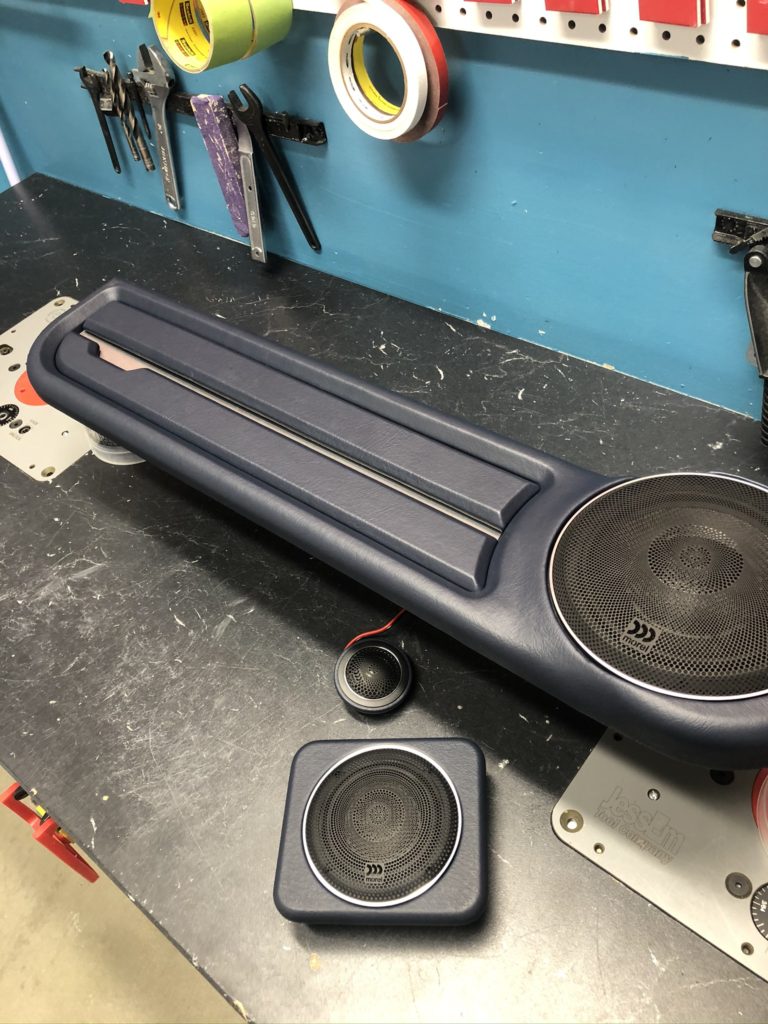
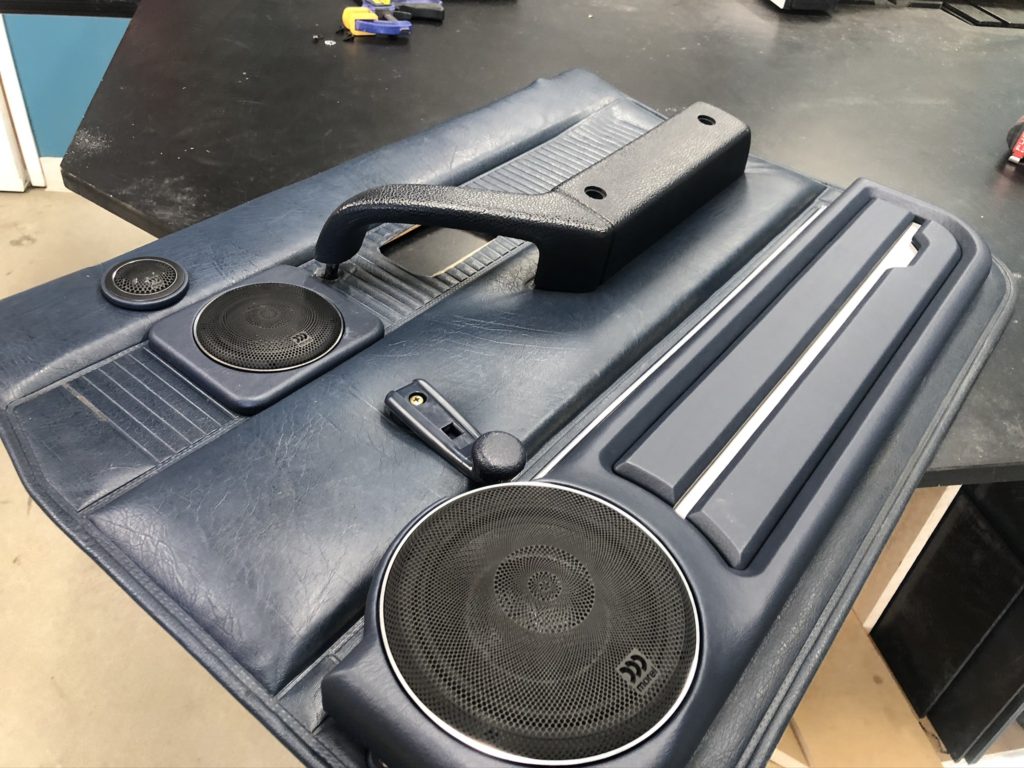
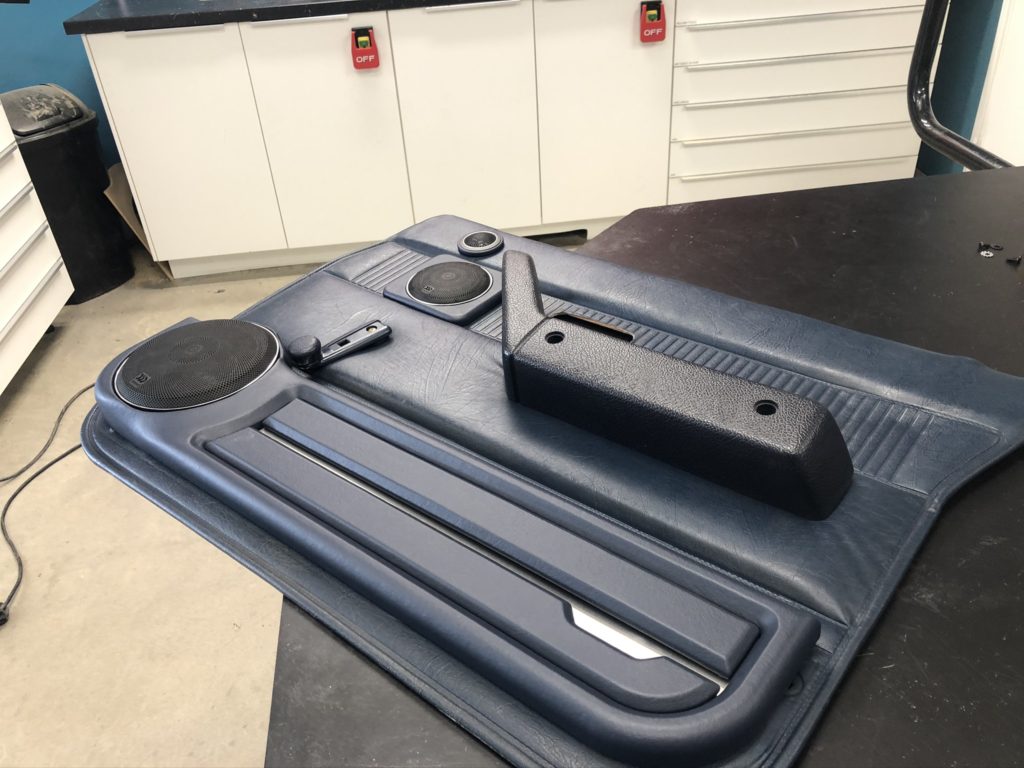
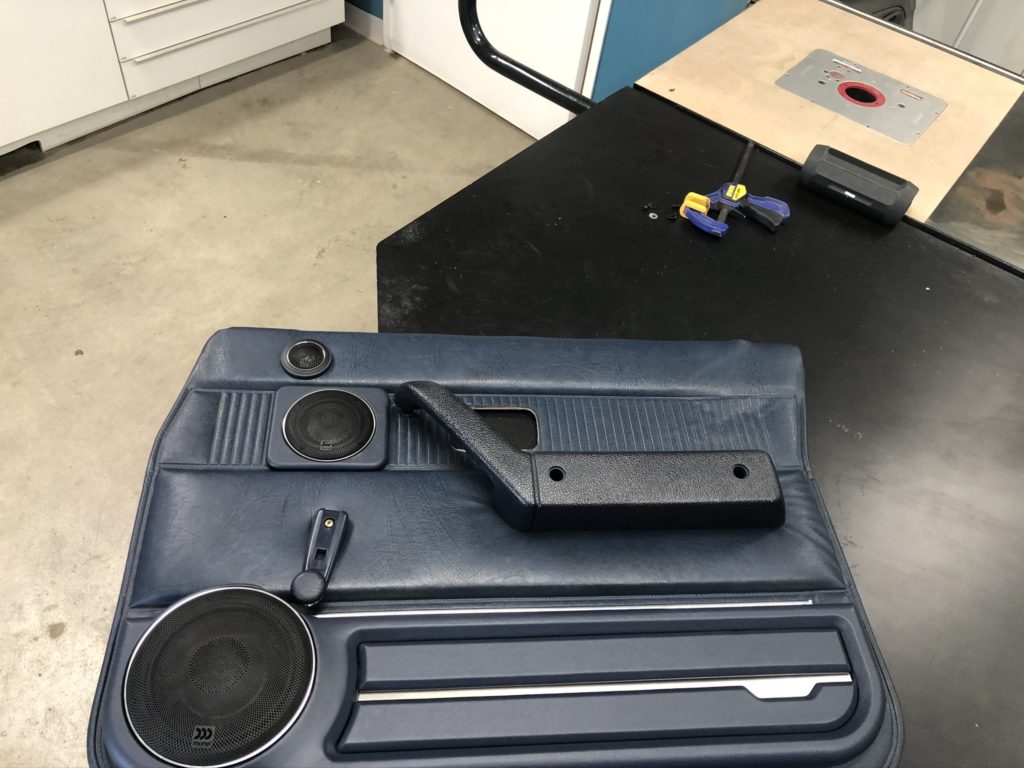
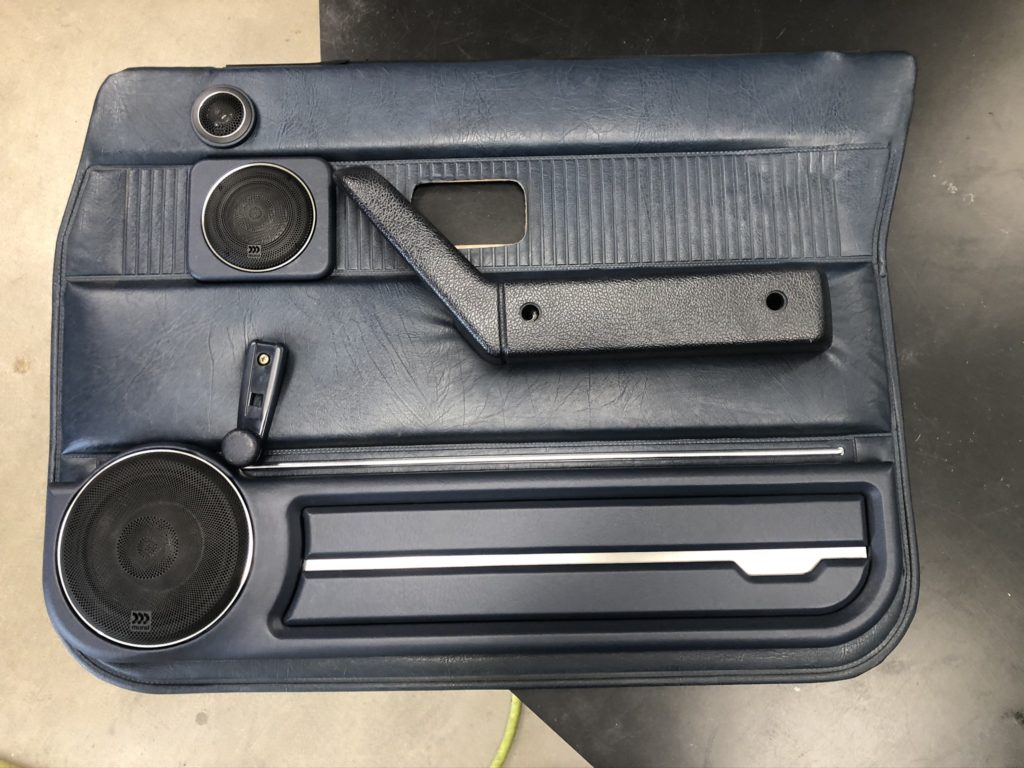
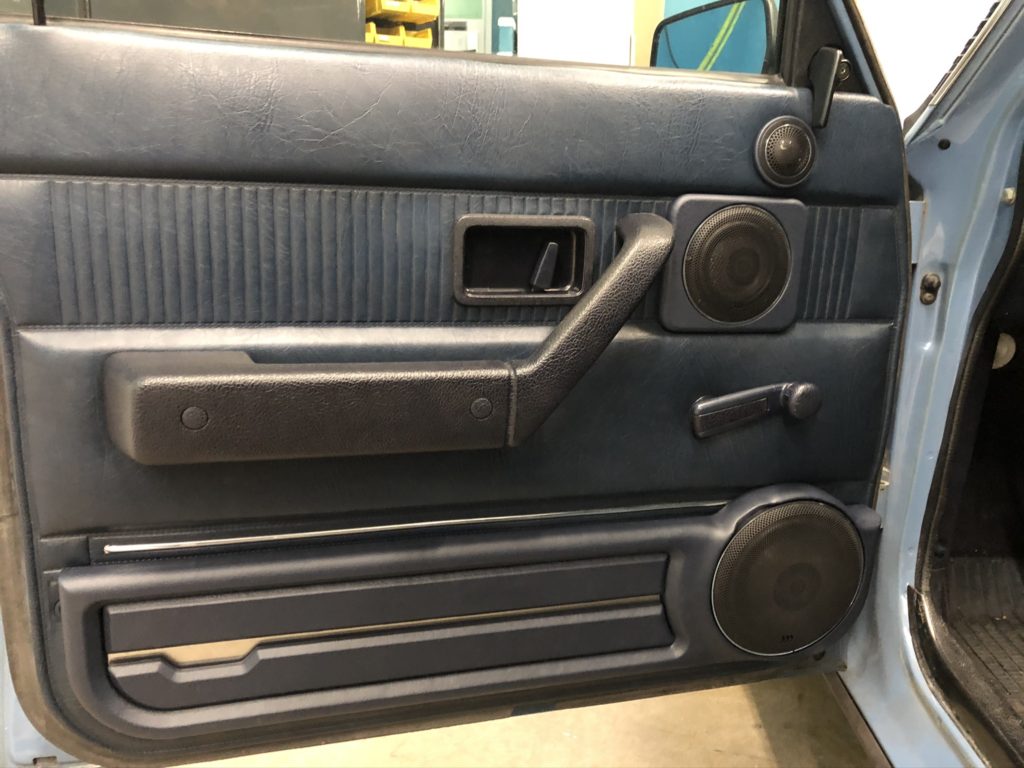
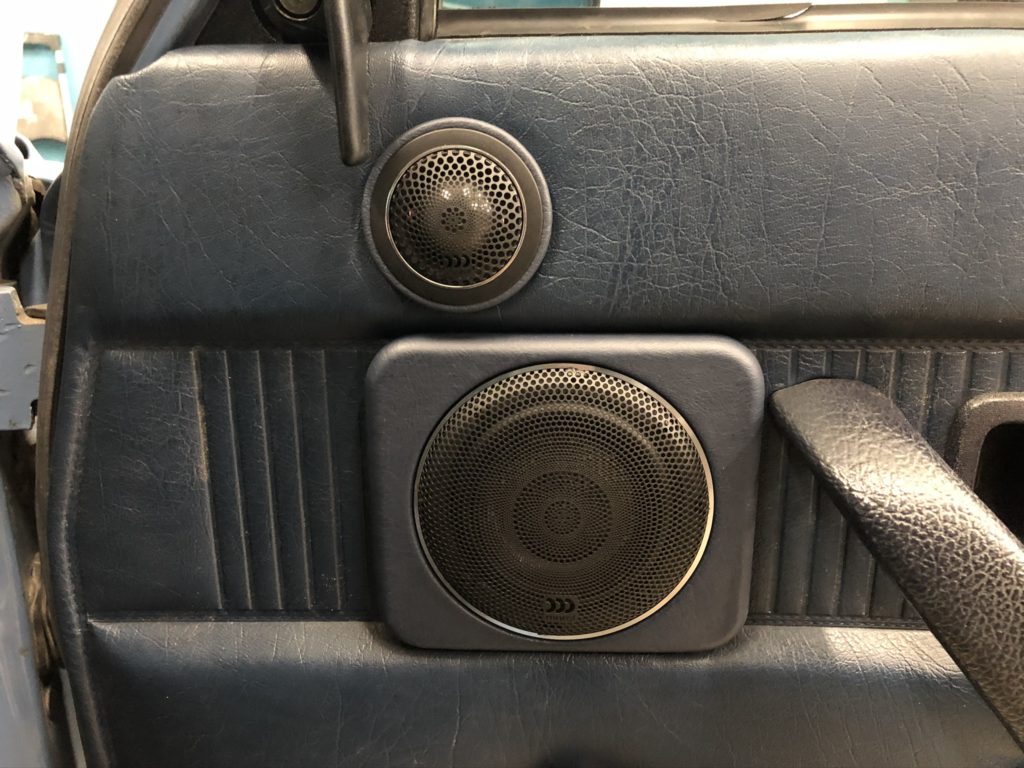
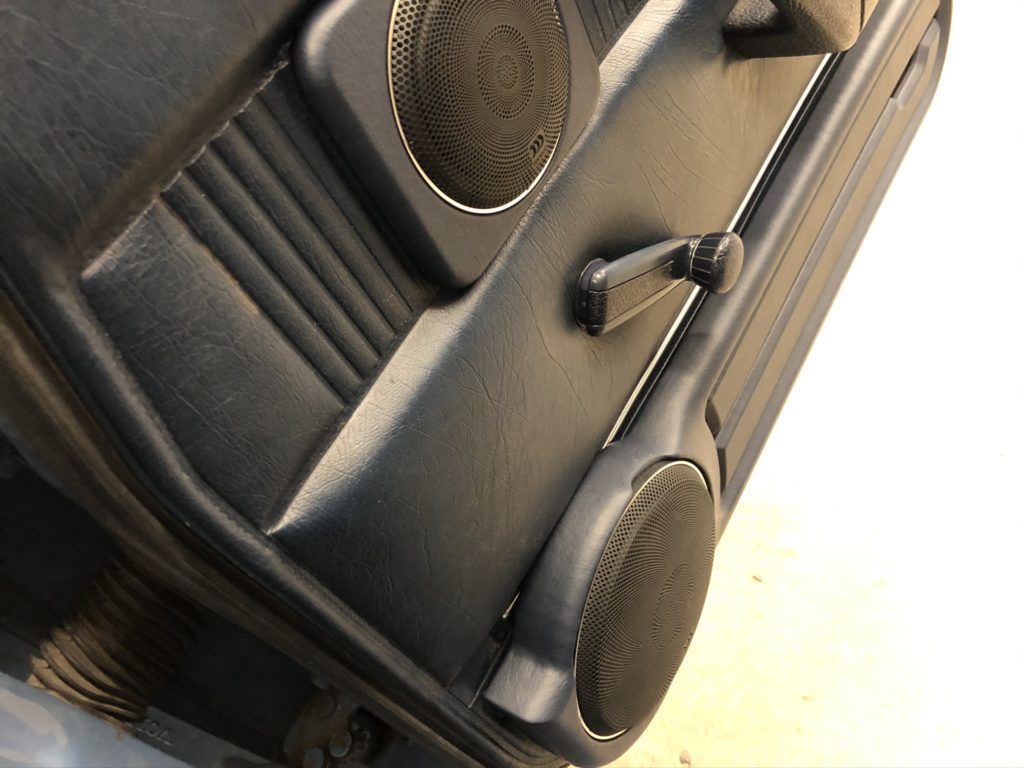
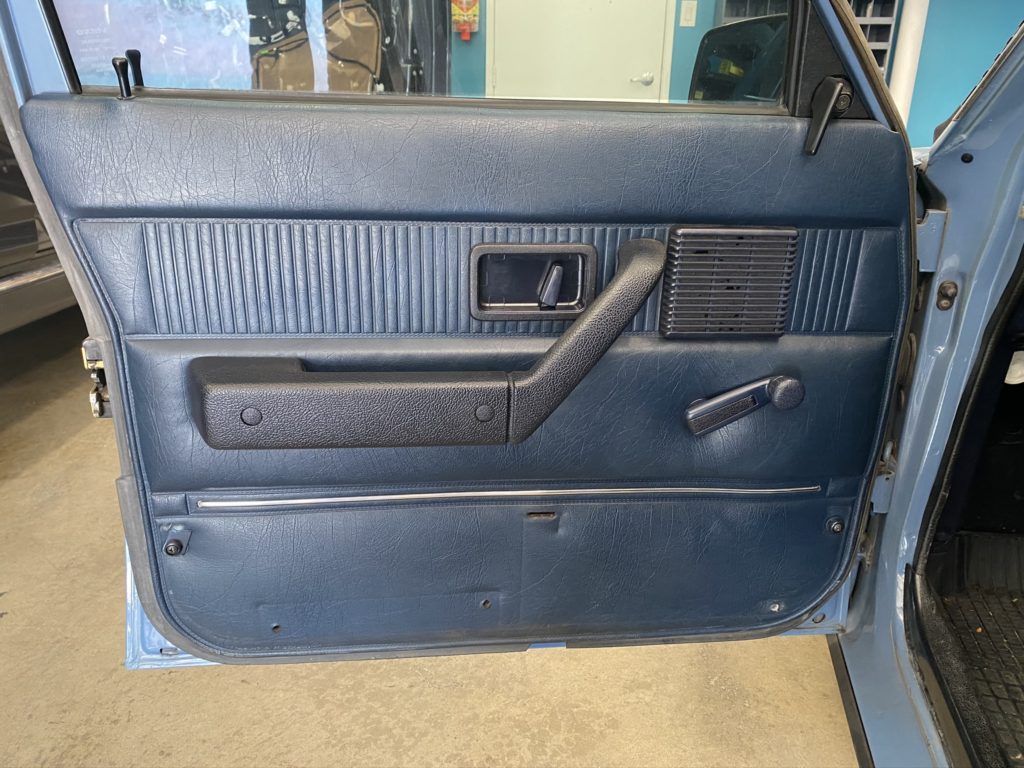
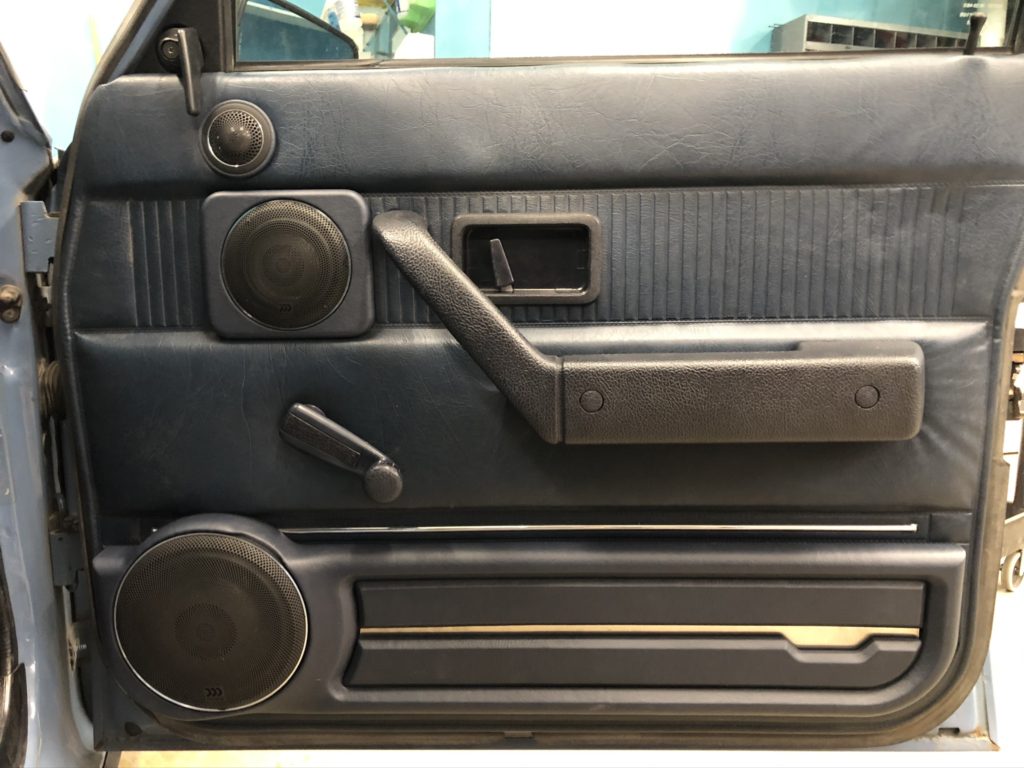
Upgraded the Front Stage and Fabricated Custom Door Panels – One of my favorite projects to ever leave the Elevated Audio install bay, these custom door panels truly looked incredible when they were done. From the factory, the vehicle came with a four inch speaker in each front door, while we needed to fit three new speakers in each door. Our customer decided to go with the brand new Morel Elate Carbon components for his front stage, which include a 6.5″ woofer, a 3.5″ mid-range, and a 28mm tweeter.
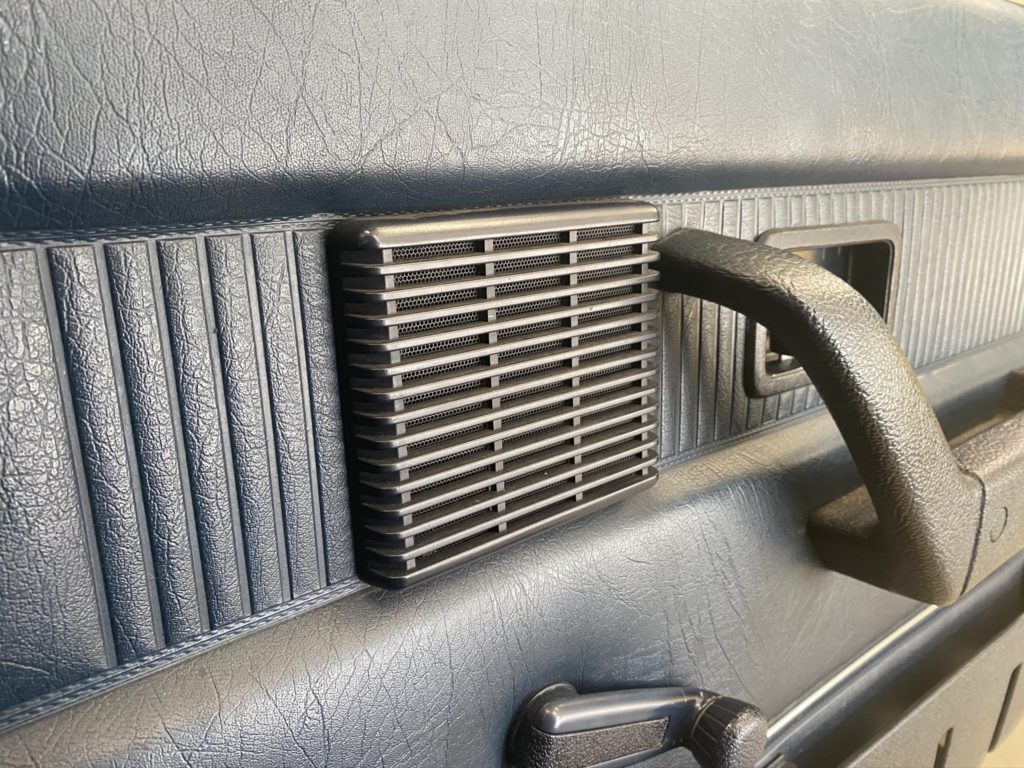
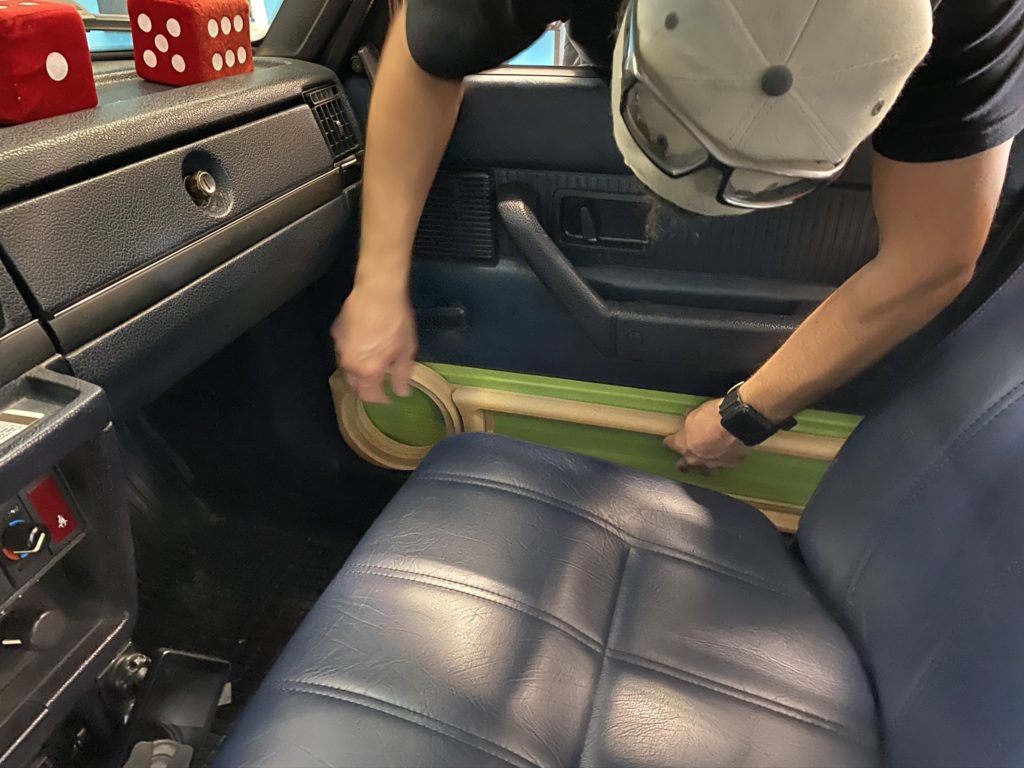
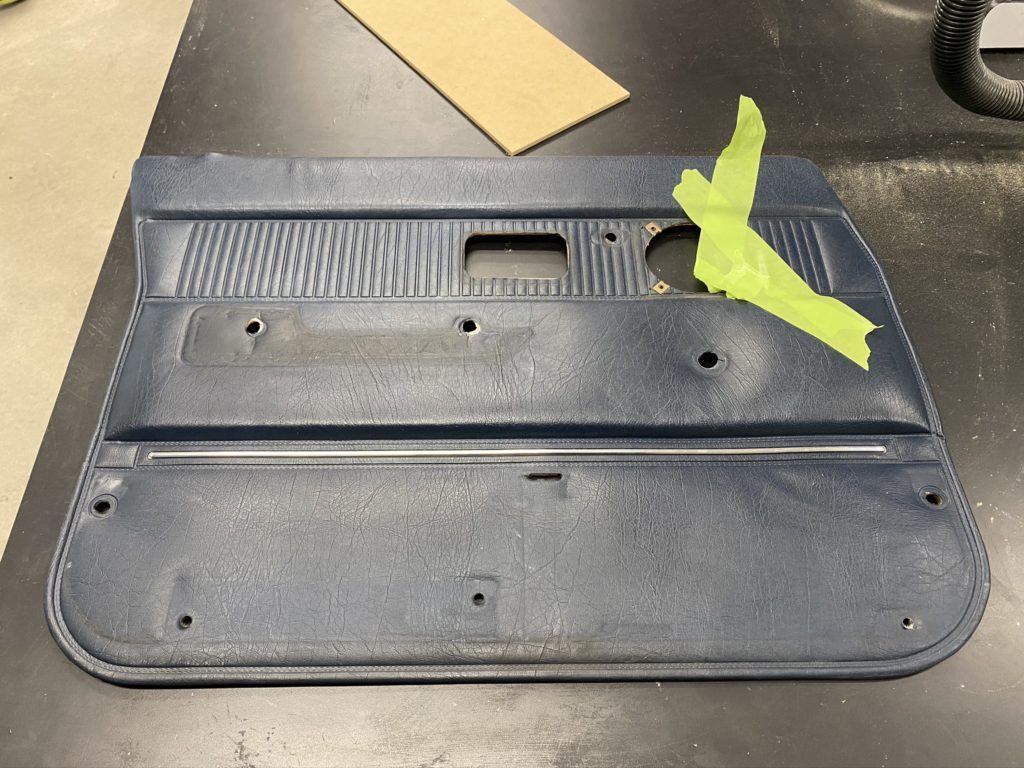
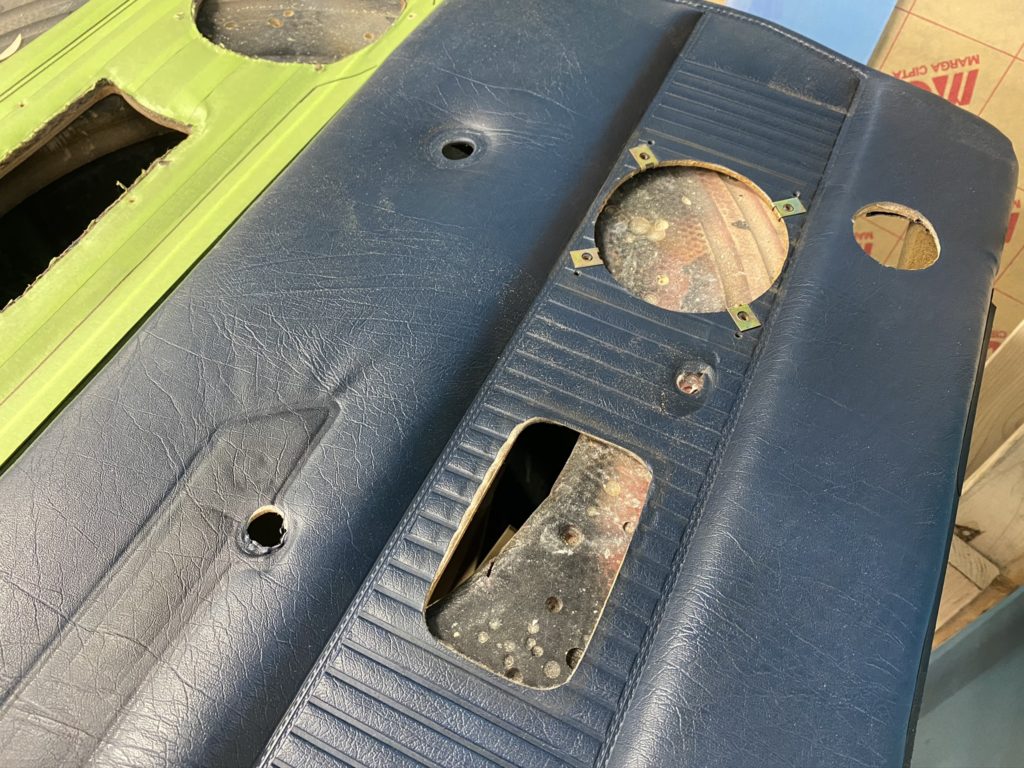
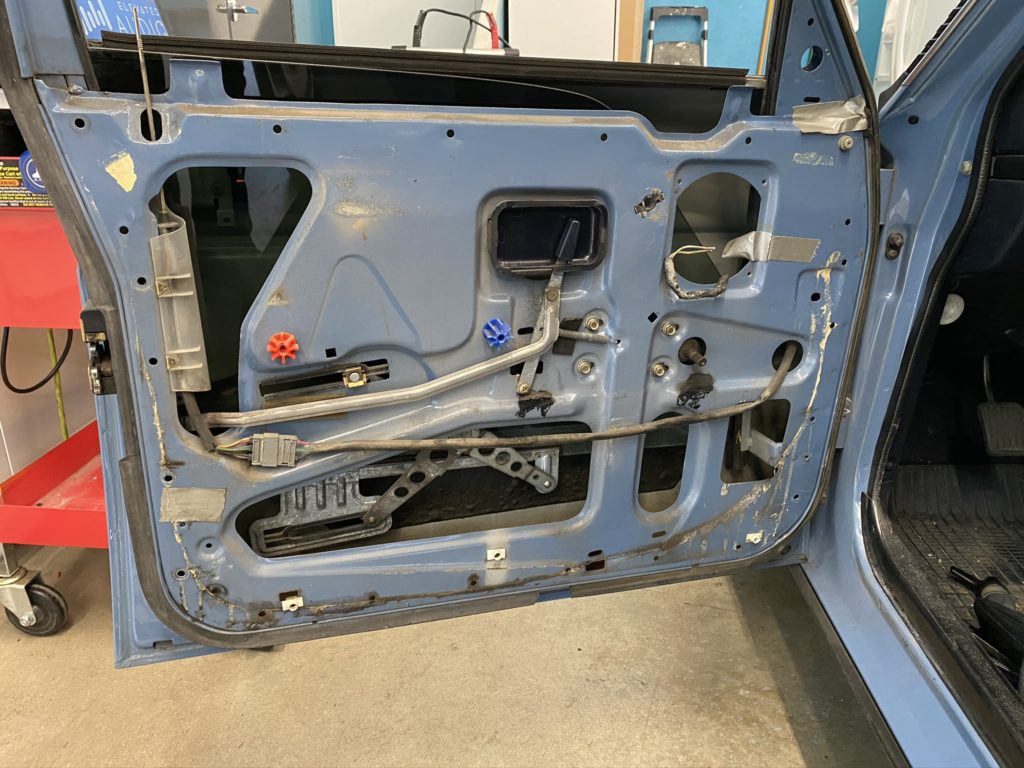
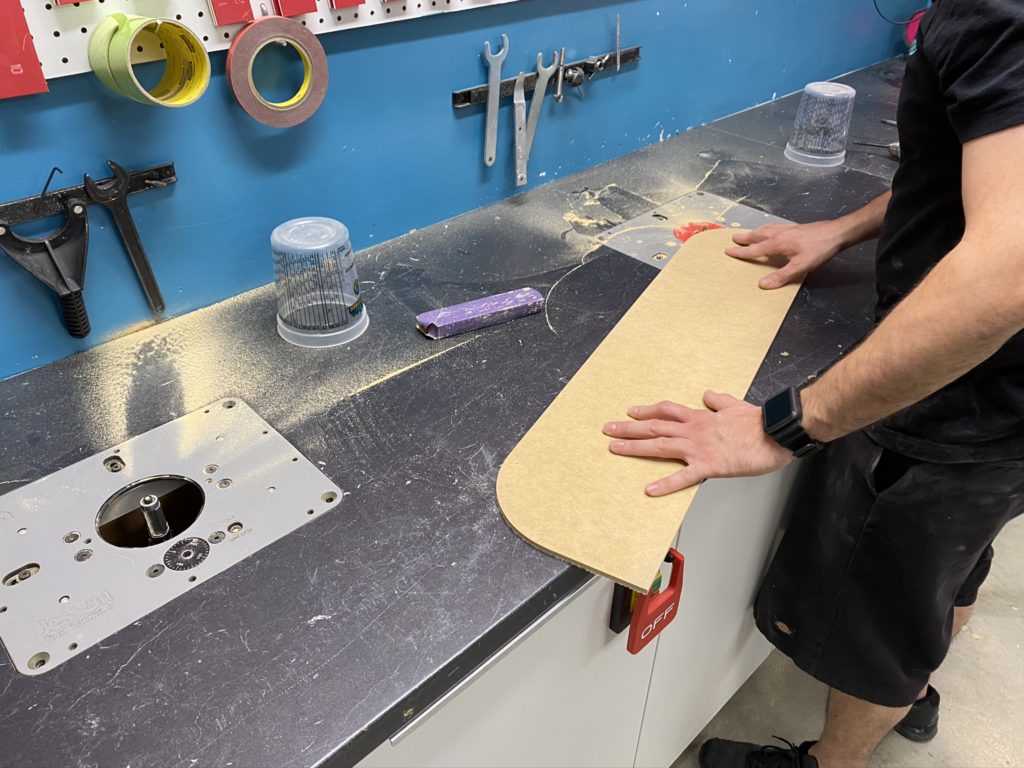
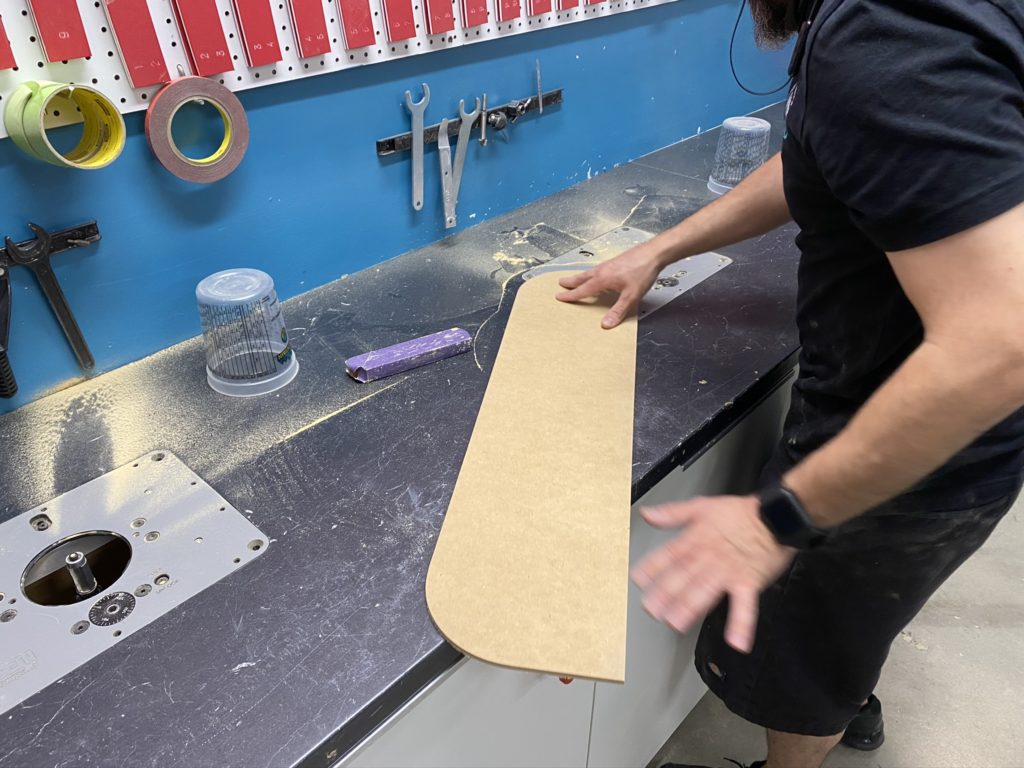
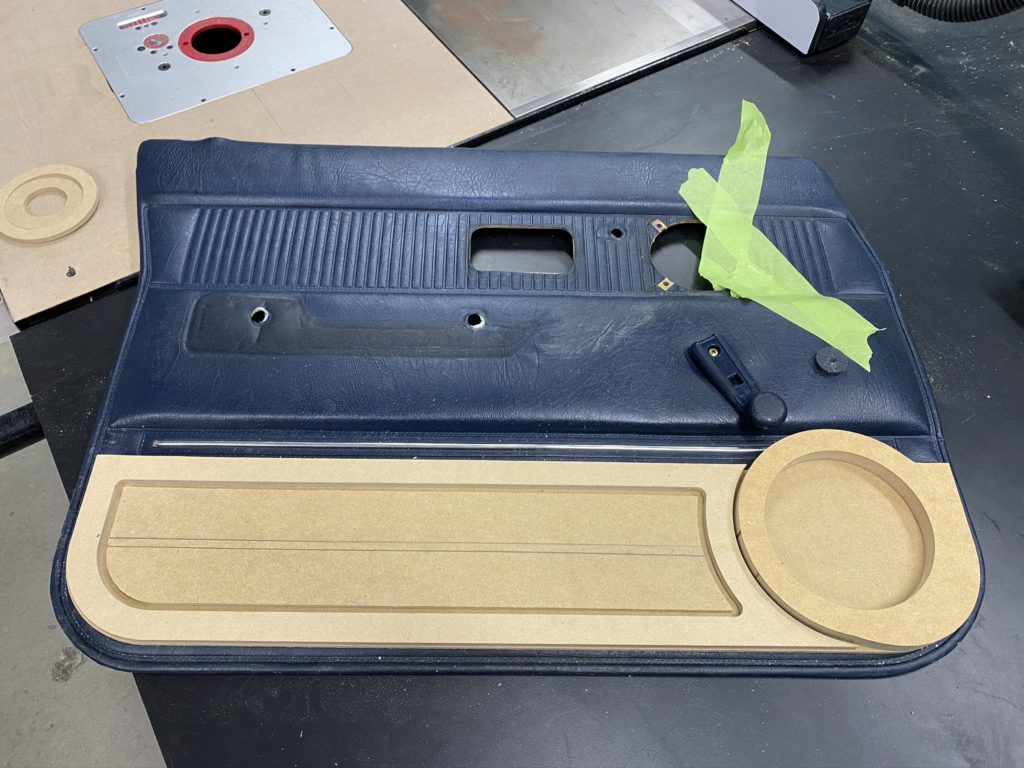
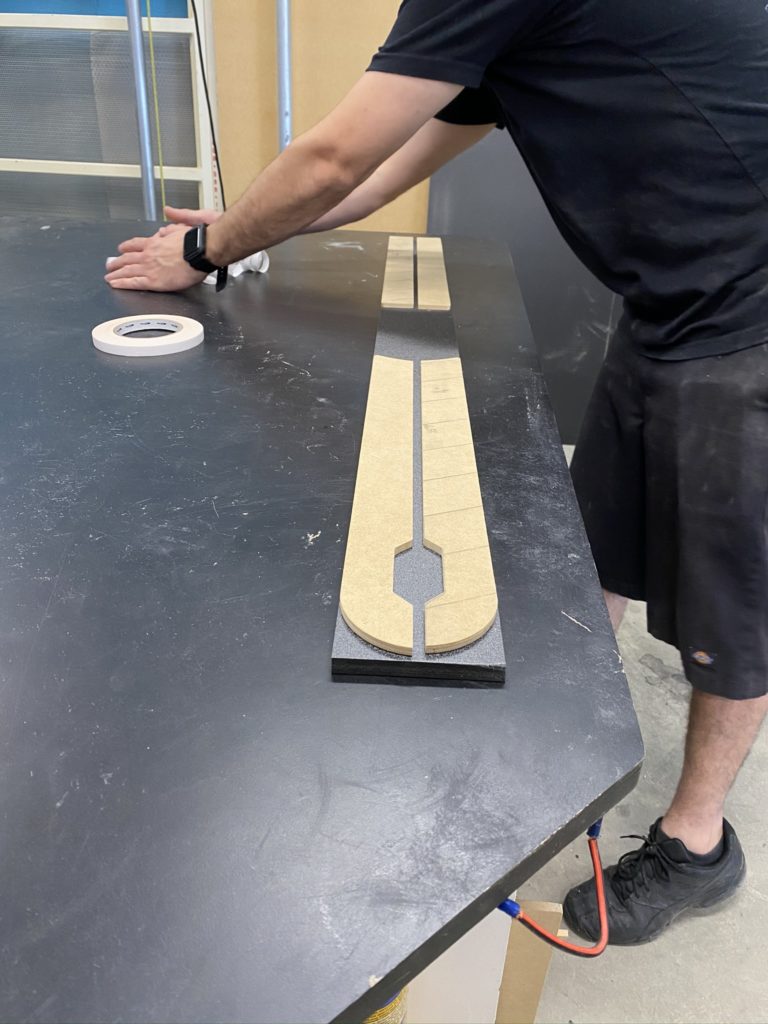
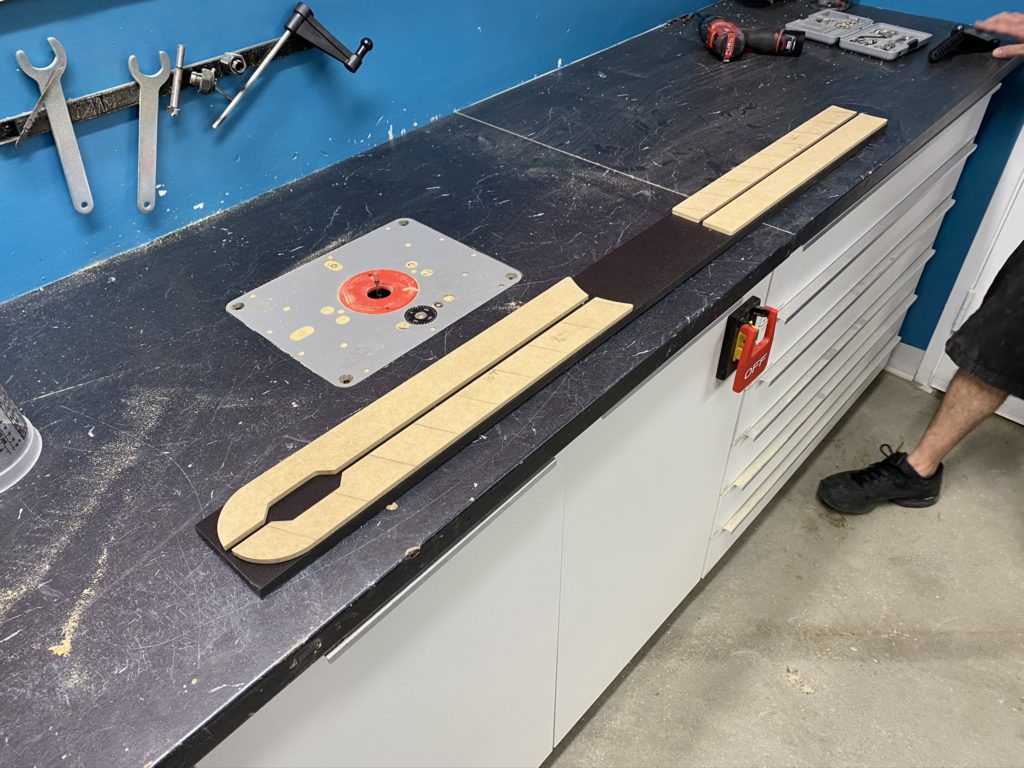
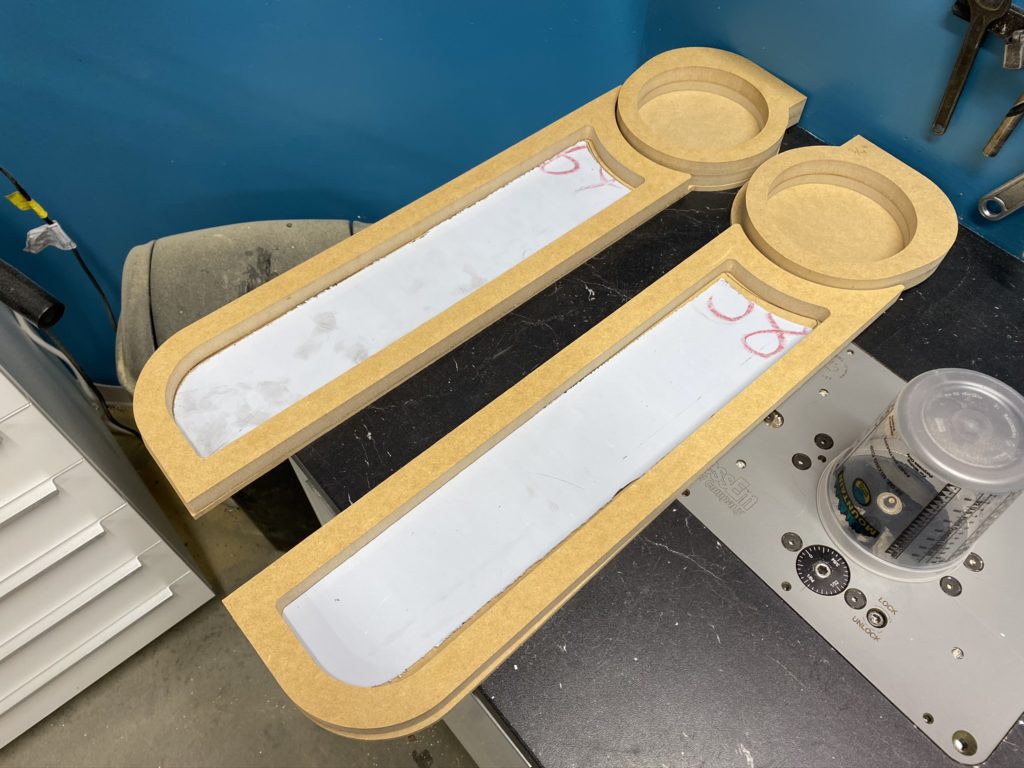
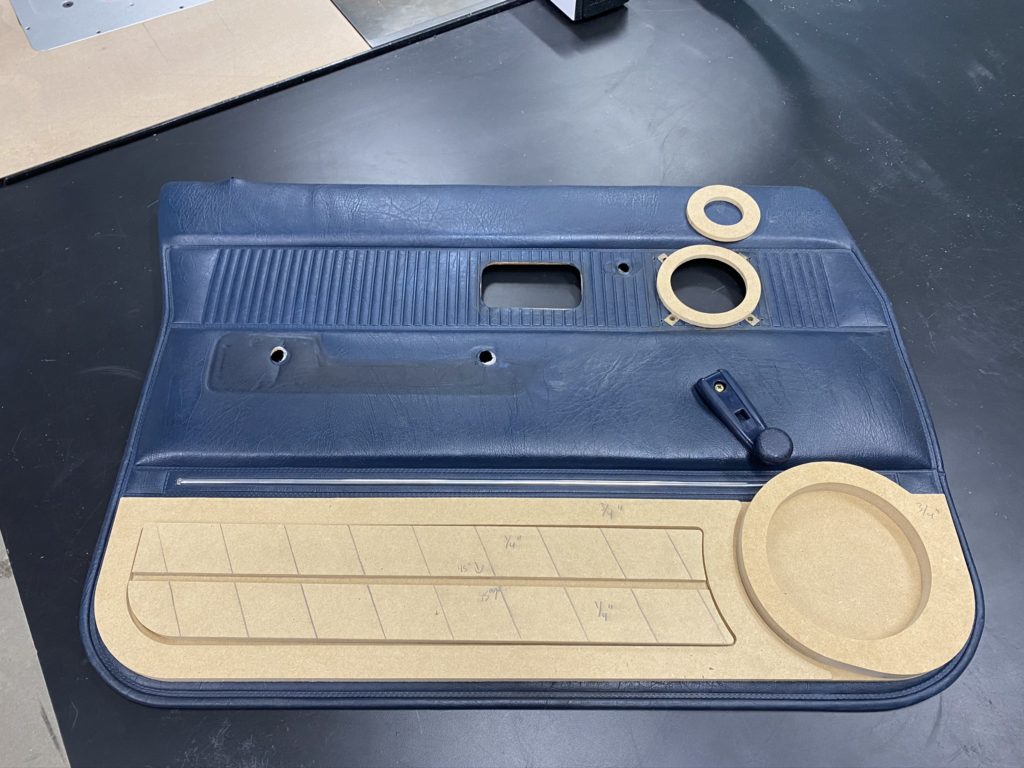
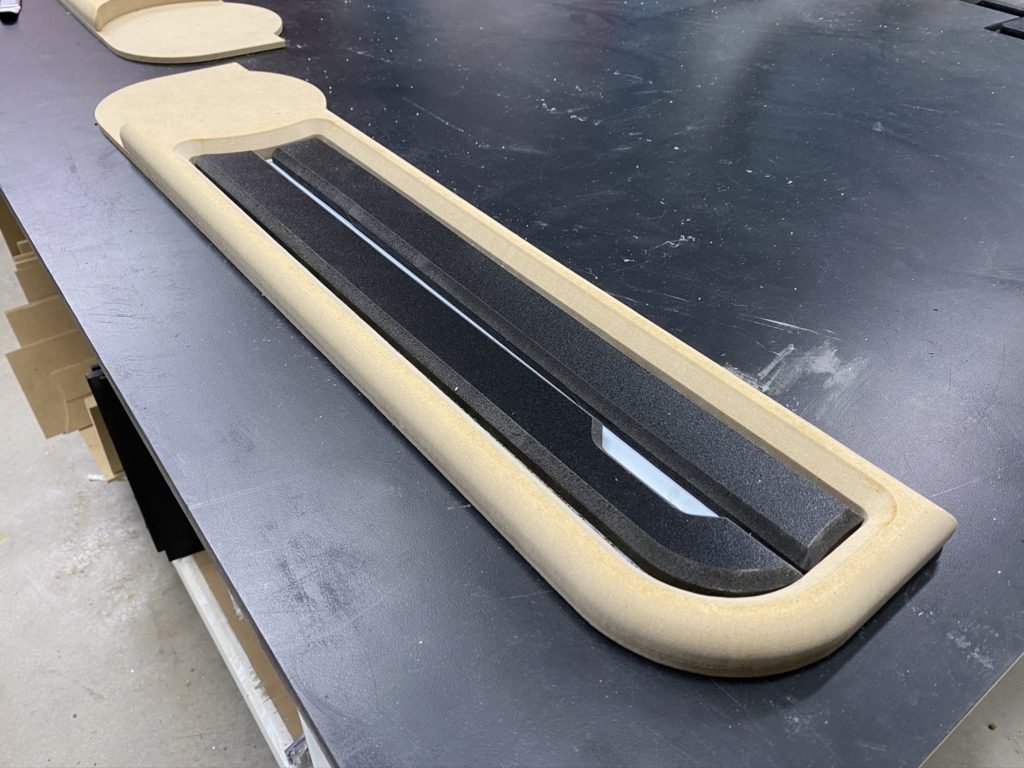
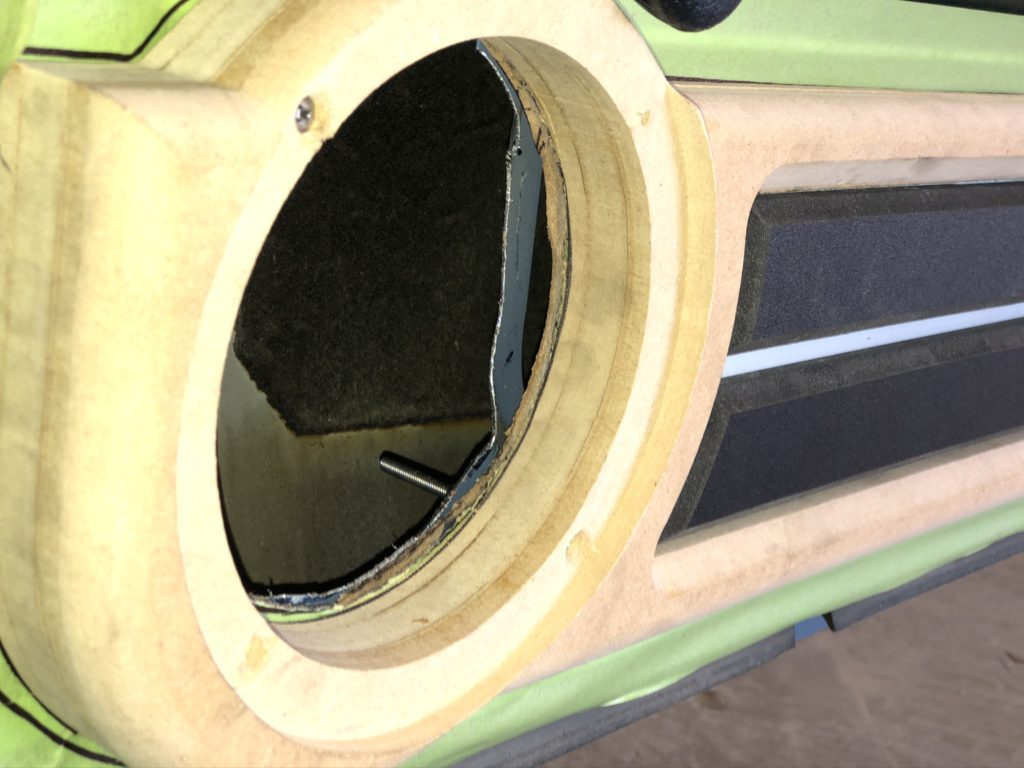
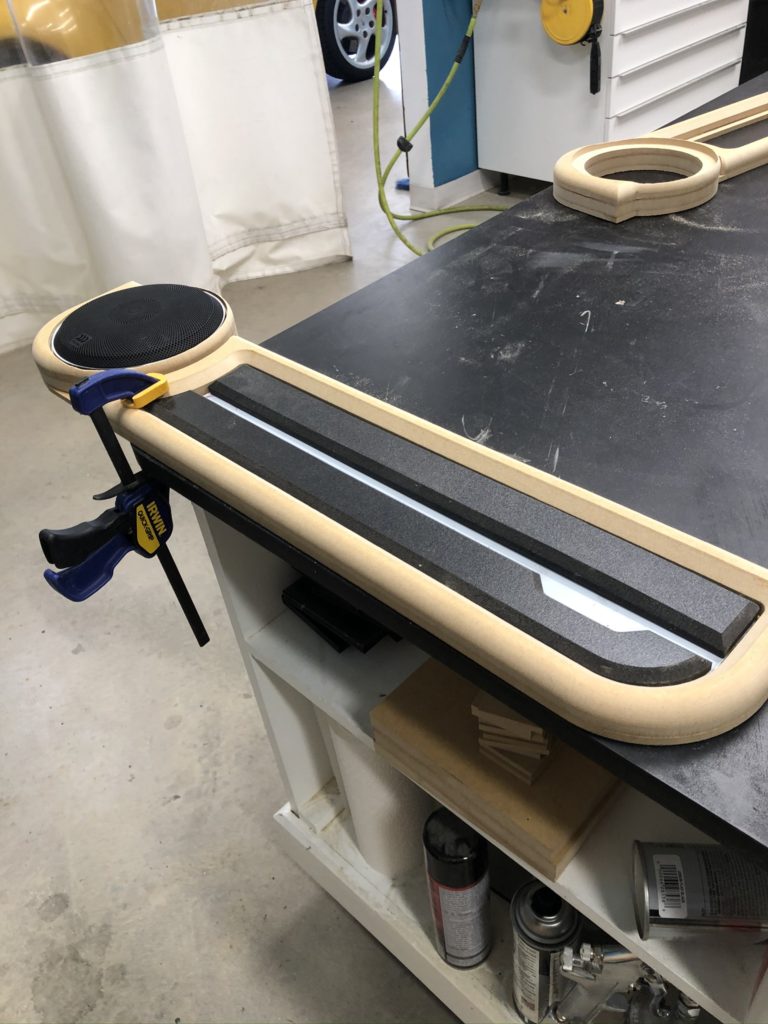
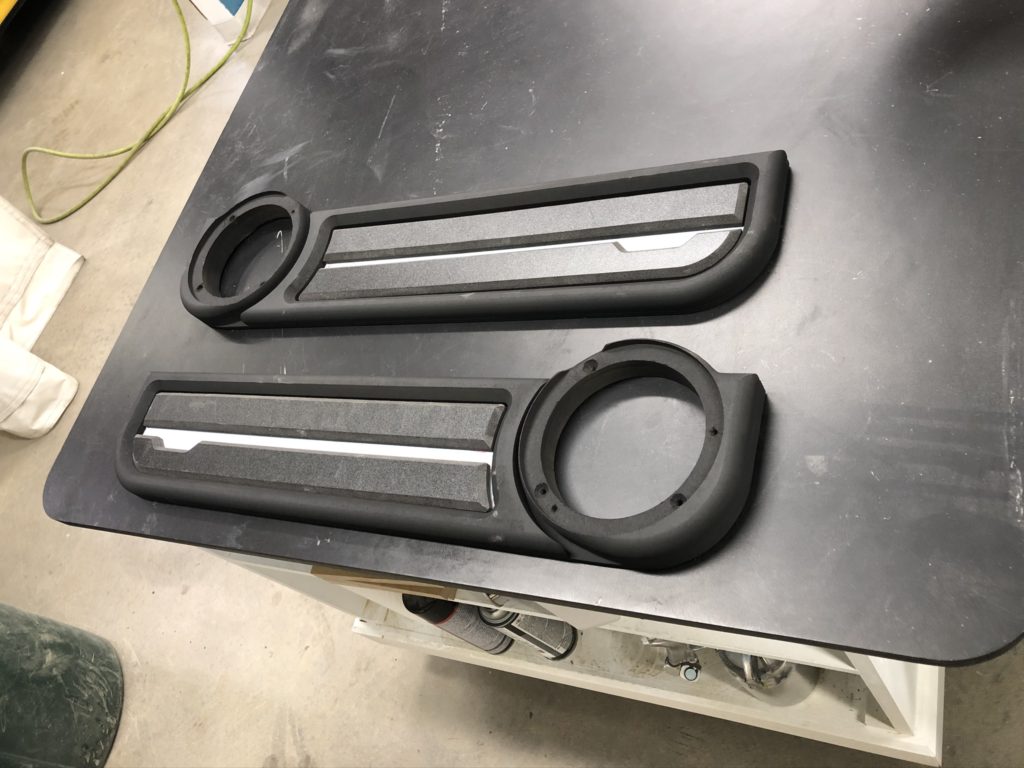
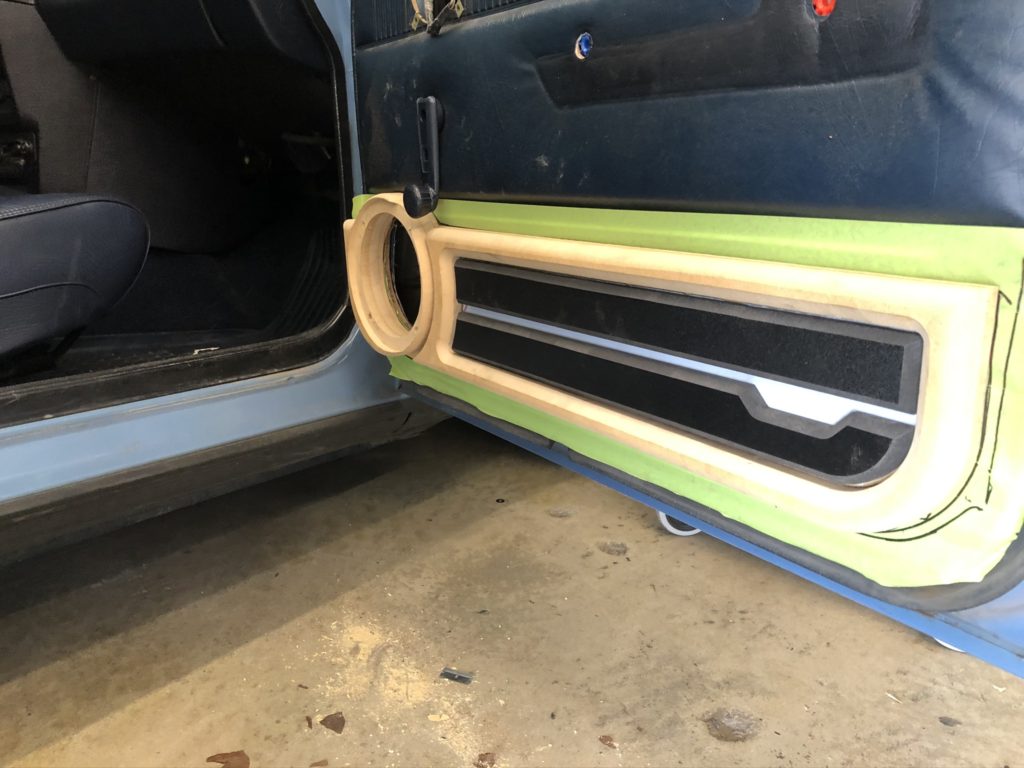
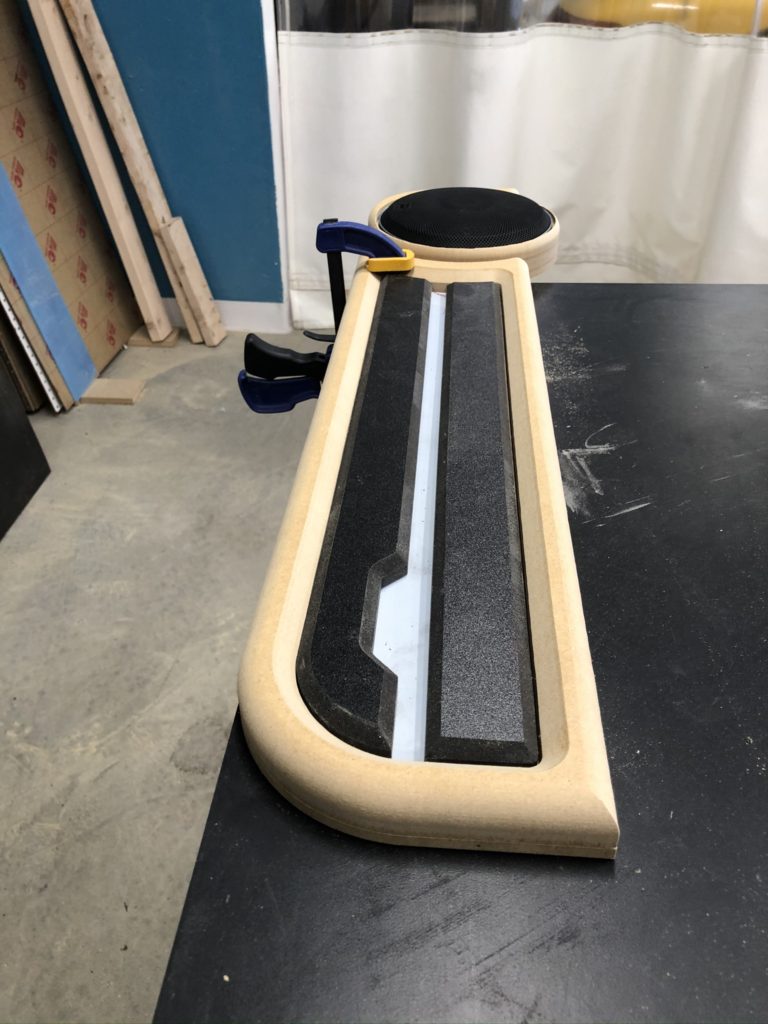
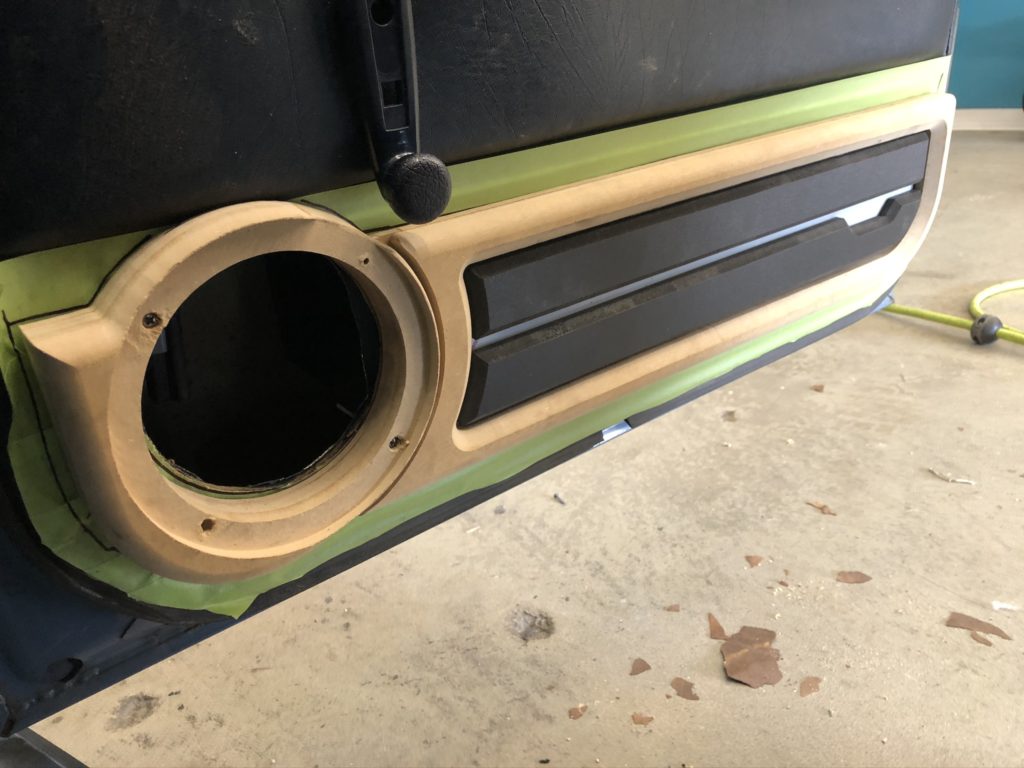
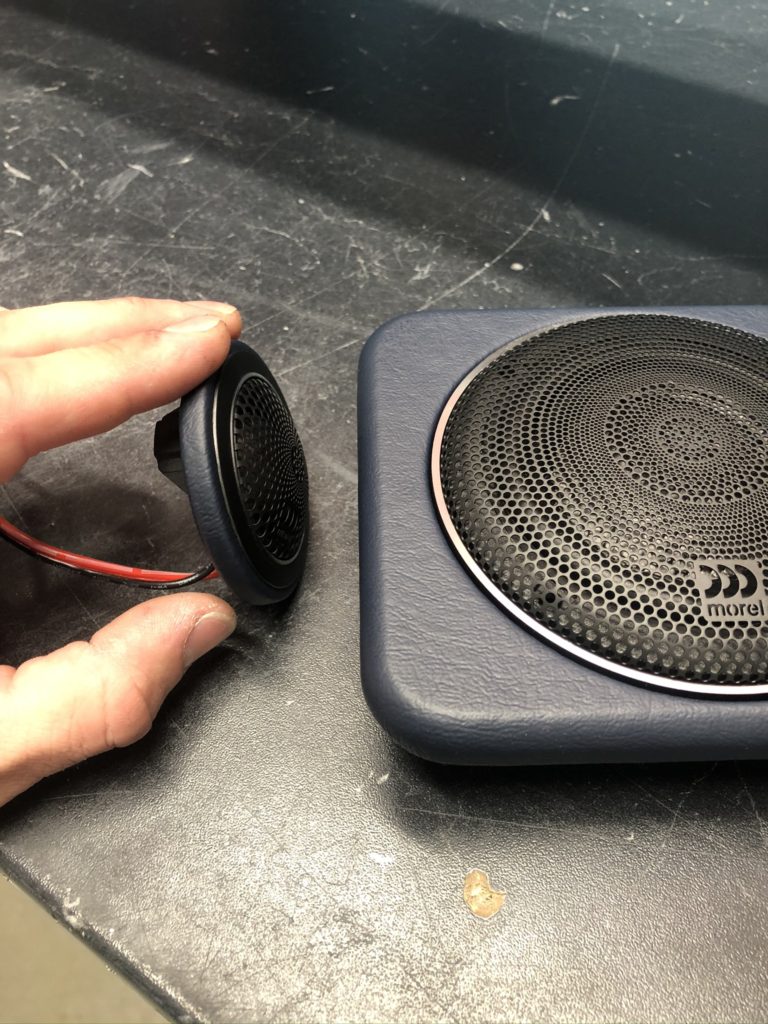
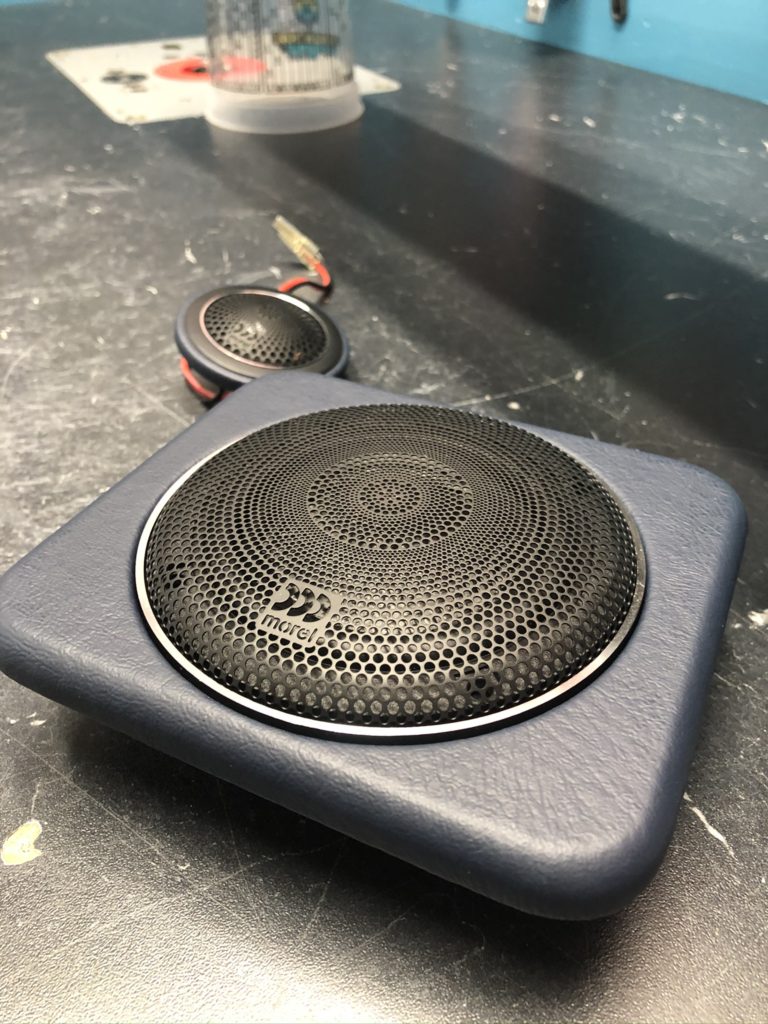
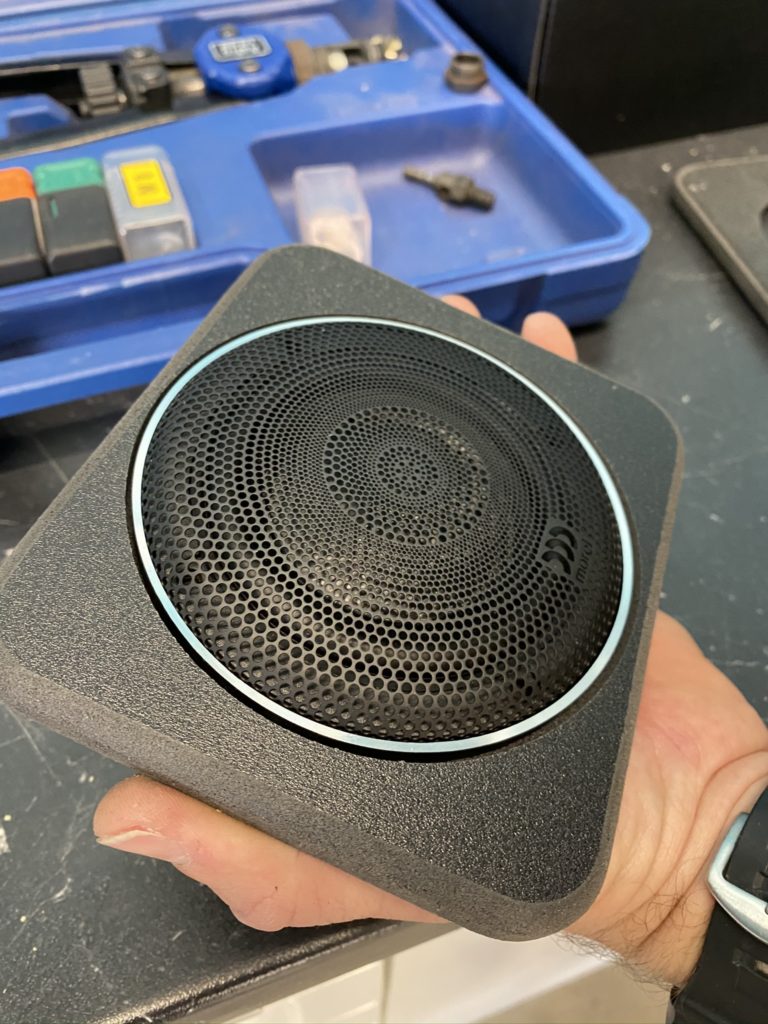
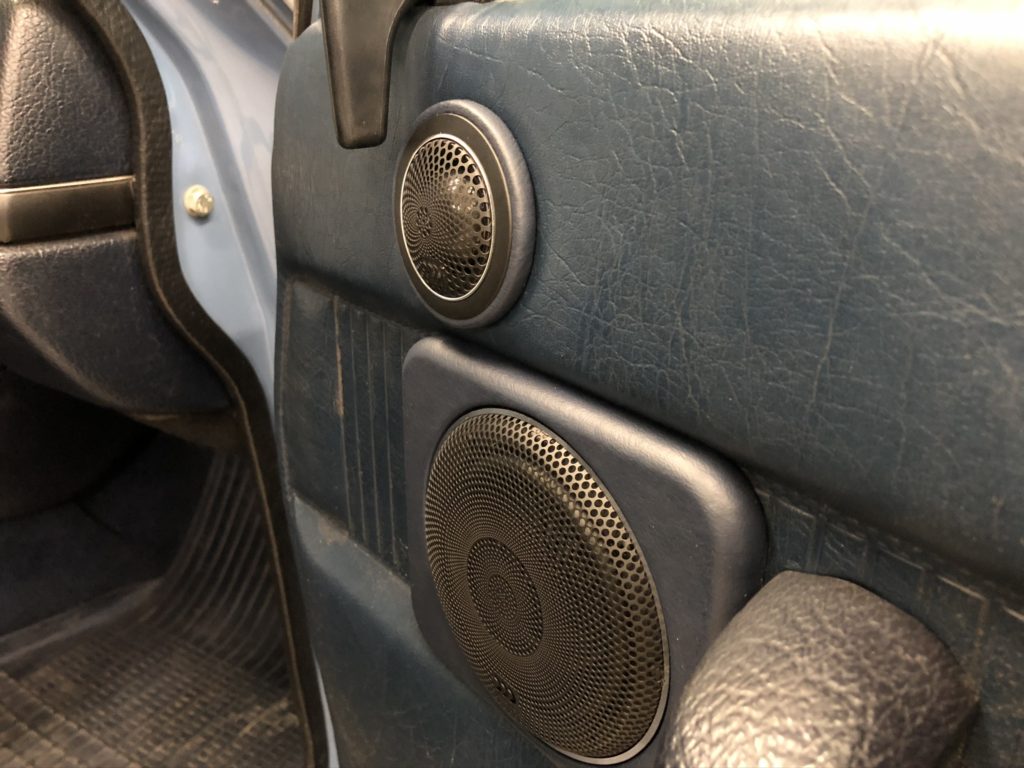
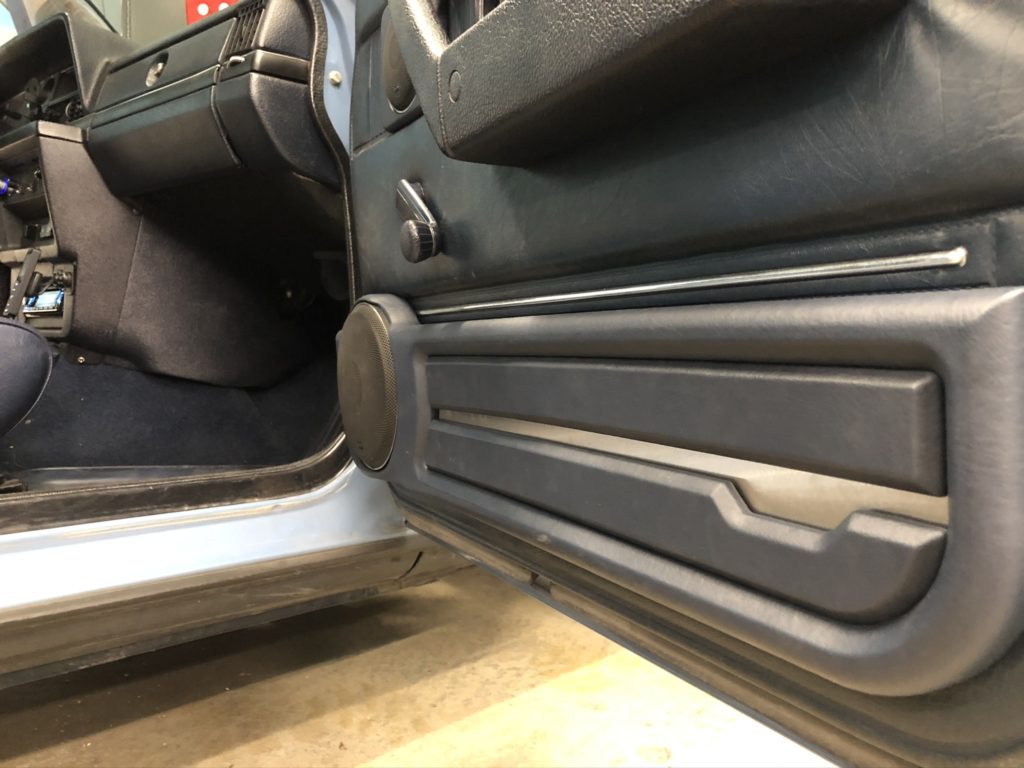
As for fitment of the new speakers, the factory door panels set up very nicely for the new speaker addition. We were able to use the factory door pocket locations for the new 6.5″ woofer and fabricate overlay-panels to house the new woofer. Anytime we are adding something aftermarket to an older vehicle, we try our best to make the addition look correct to the original time-period. We used the factory 4″ speaker location to house the new 3.5″ mid-range, and we flush-mounted the new Morel tweeter. We sourced blue vinyl that matched the factory vinyl very closely and wrapped the woofer and mid-range panels in the new vinyl. Accents were also added to the new woofer insert, and the lines are meant to mimic the factory lines on the door panel. The best part about this front stage upgrade is that all of the new speakers are exposed and therefore we are less likely to have tuning obstacles caused by the speaker locations and/or factory grills.
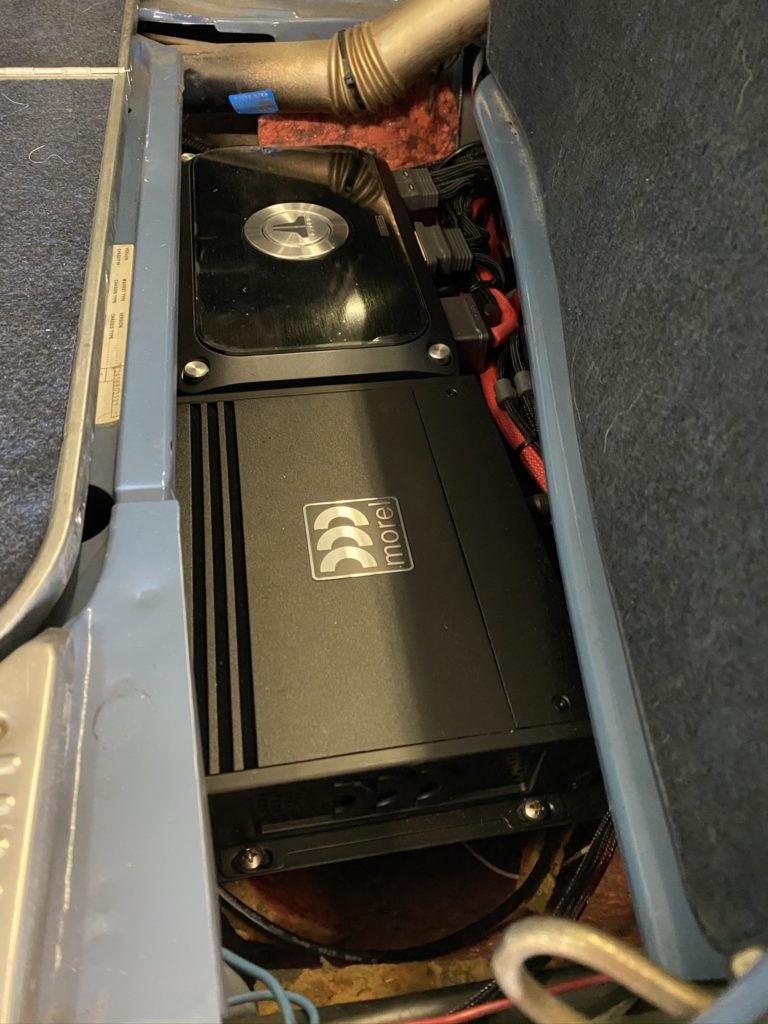
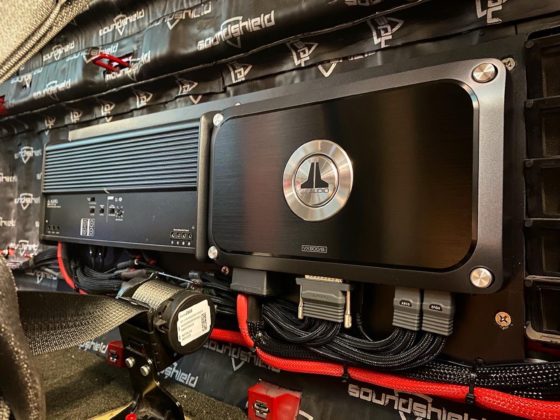
Added a JL Audio VXi Amplifier to Power the Front Stage – We used the JL Audio VX800/8i to power the front stage fully active, using a pair of channels bridged for each 6.5″ woofer. This is a very popular setup for us, the VXi amplifiers are compact, provide plenty of clean power, and they have the Digital Signal Processor (DSP) integrated. The other thing I love about the VXi line of amplifiers is that they make it easy to expand the system in the future by adding the VXi Hub and however many more amplifiers you need.
By bridging a pair of channels, we are able to provide 180 watts RMS for each 6.5″ woofer, which means plenty of volume and plenty of head-room. Each 3.5″ mid-range and each tweeter had its’ own dedicated channels as well, which means we have 100% control when tuning the system later.
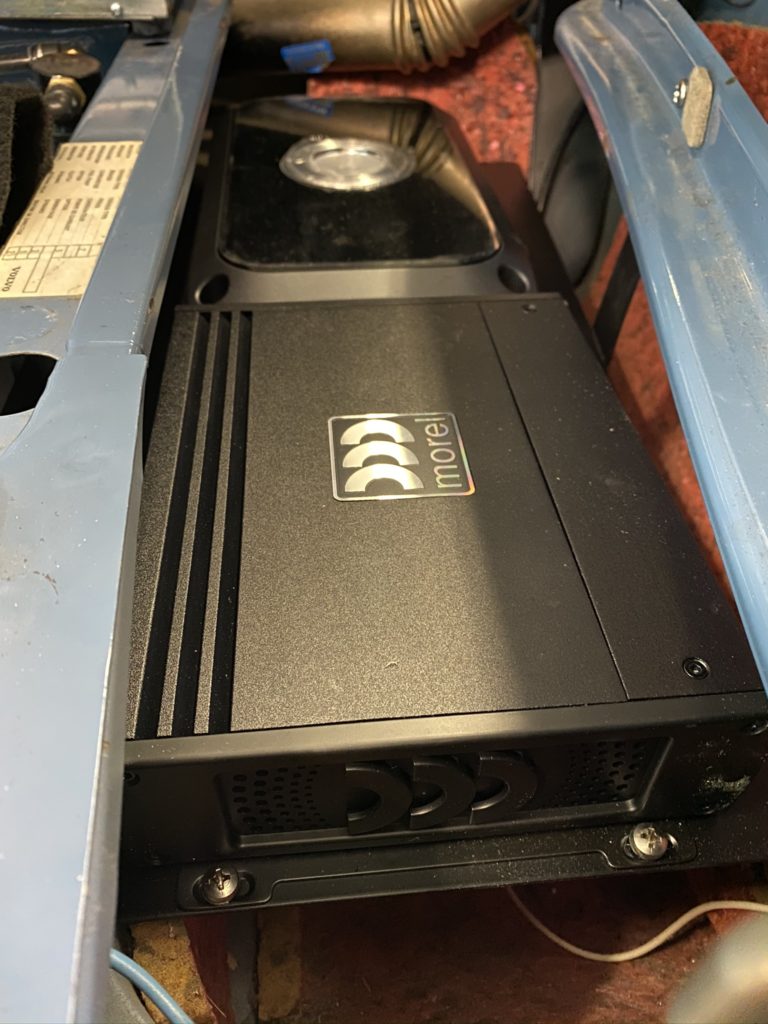
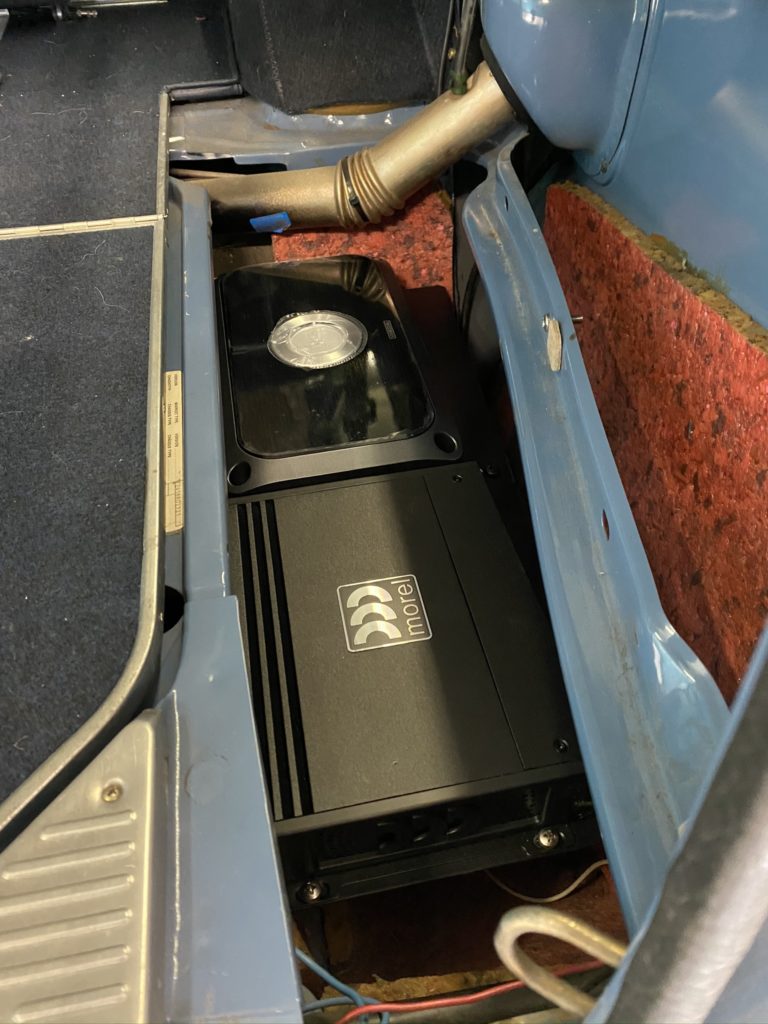
Added a Mono Amplifier to Power the Added Subwoofer – We used the Morel MPS 1.550 to power the subwoofer addition to the system, and we are able to use the pre-out on the VXi amplifier to incorporate the mono-amplifier into the DSP tune. We used a JL Audio 12w3 subwoofer in the system, the 2 ohm version, so the Morel MPS 1.550 provided the subwoofer 550 watts RMS. Again, this equates to plenty of output and head-room for the amplifier so it’s never running at 100%. This is going to help your system sound better and last longer.
HOW?
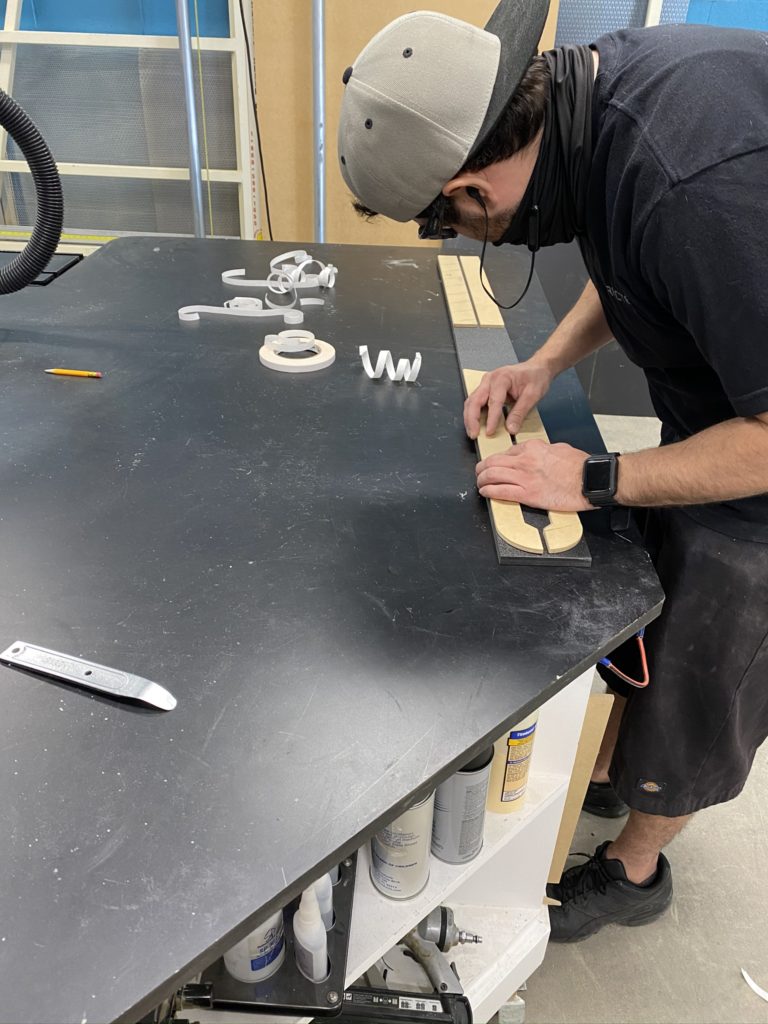
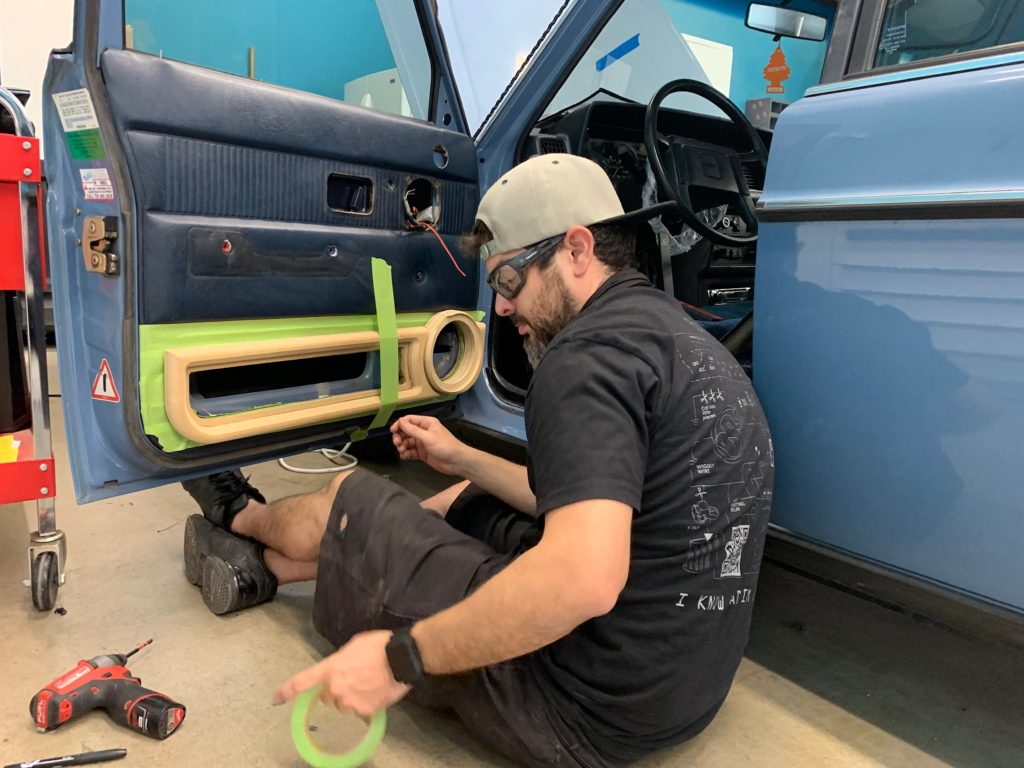
Elevated Audio is known first and foremost for our customer’s overall experience from beginning to end. Winning the North American 2018-2019 Customer Choice Award in the 12-volt industry validated our commitment to provide trusted interactions between our store in Denver and our customers. Luckily, we also have a 2019-2020 Top-12 mobile electronics technician working in our shop, Phil Cantu.
Here’s how we performed the installation.
FRONT STAGE SPEAKERS
We used some of the best sounding components we offer, the Morel Elate Carbons. With a 3″ voice coil in the 6.5″ woofer, and a 2.1″ voice coil in the 3.5″ mid-range, these speakers can handle power well and with much control. Also featuring the carbon fiber/Rohacell sandwich cones, these speakers sound ultra clean, even at those higher volumes! We custom fabricated over-lay panels for the new 6.5″ woofers in each door and Phil took inspiration from the vehicle to make the new speakers appear as seamless as possible. The new door panels looked first-class and the front stage sounded incredible.
SOUND DAMPENING
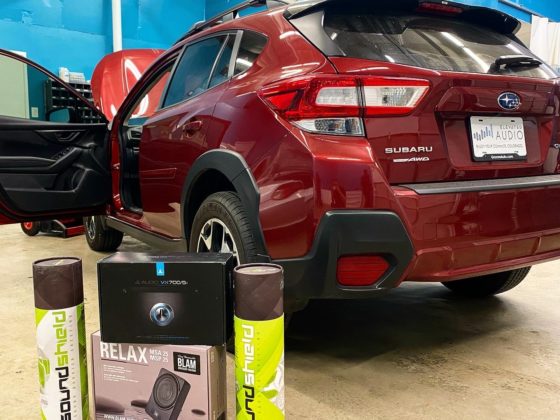
When installing upgraded speakers in the doors and providing the proper power to them, it’s extremely important to sound dampen the area around the speaker to prevent any energy transfer that may cause rattles and vibrations in the door panels. We applied a full roll of Sound Shield in each of the front doors of this Volvo to ensure the Elate woofers could perform at their best.
WIRING AND SIGNAL
We installed a Kenwood Excelon head unit in the vehicle in 2018, so we were able to use the high-voltage pre-outs on the Kenwood head unit to run signal to our JL Audio VXi amplifier. We used AudioQuest Golden Gate interconnect cables to run signal in this vehicle.
Power is supplied to the amplifiers utilizing our four gauge pure copper wiring. Never use copper clad aluminum (CCA) if you want the best current flow!
MOUNTING AMPLIFIERS
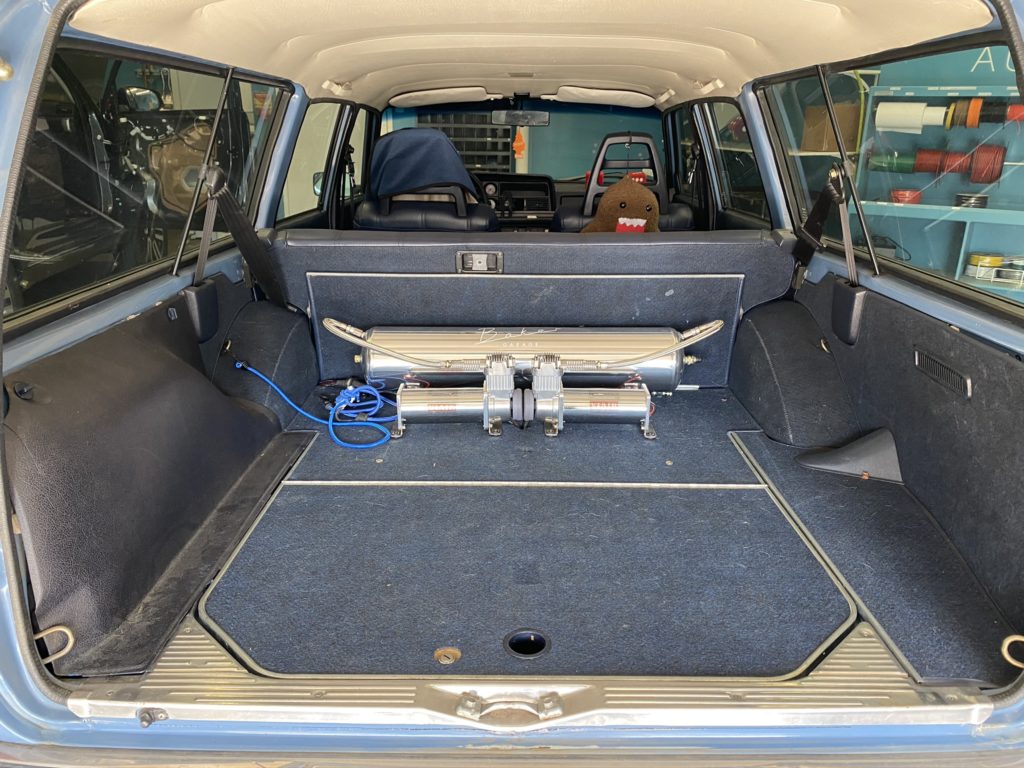
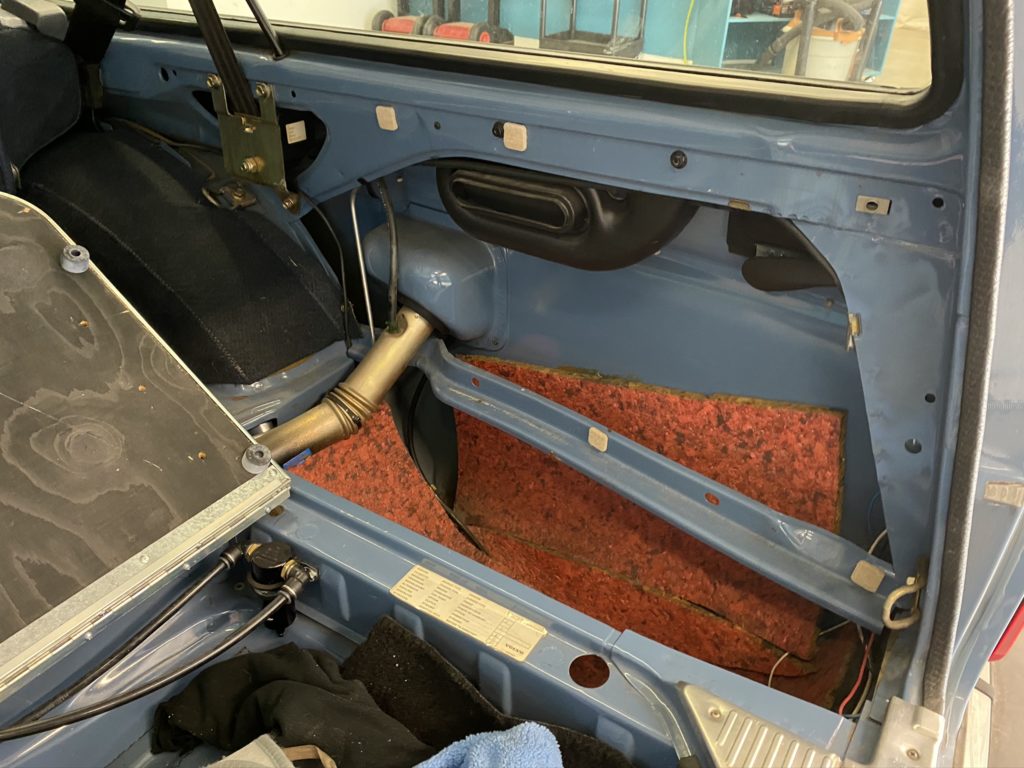
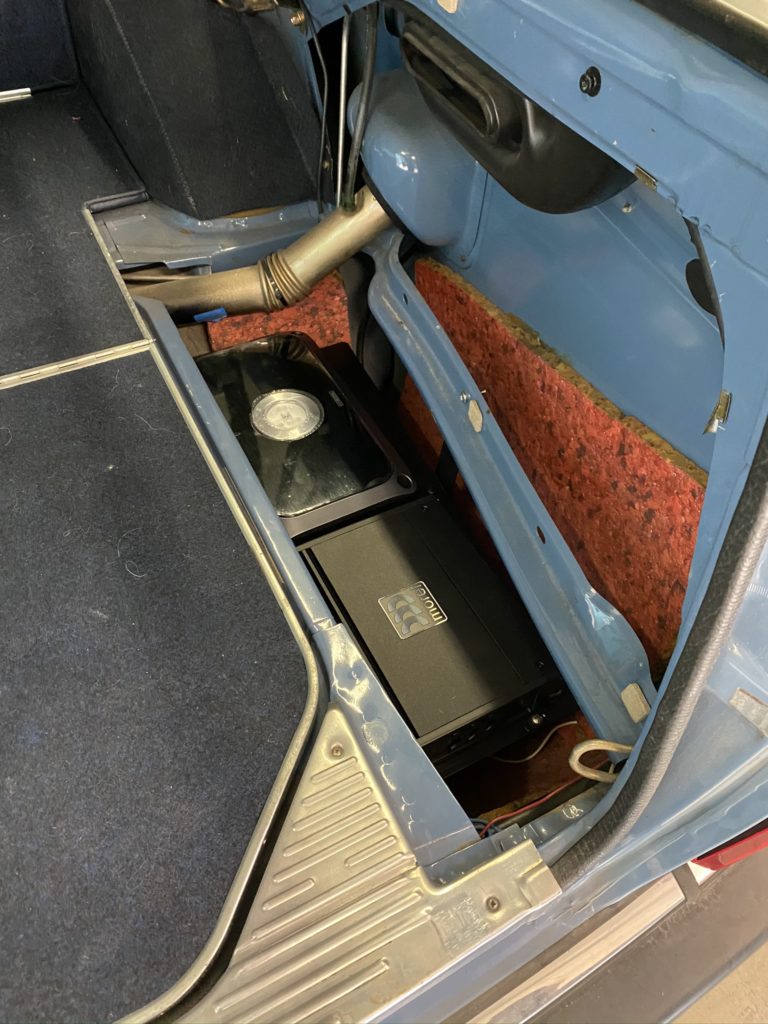
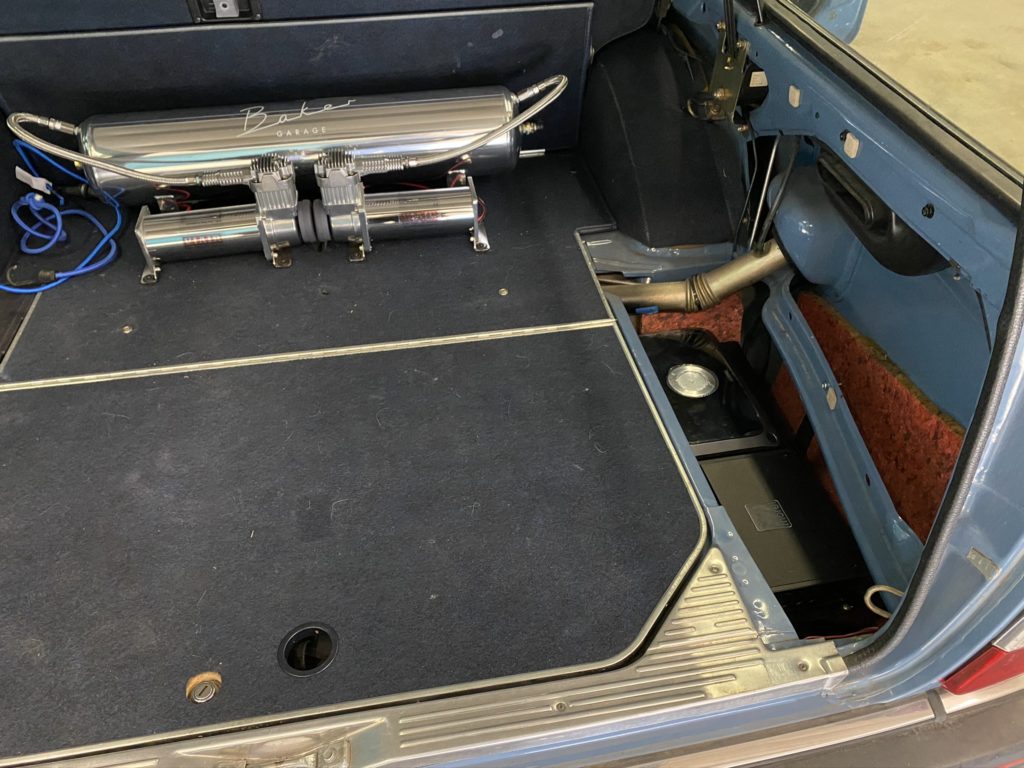
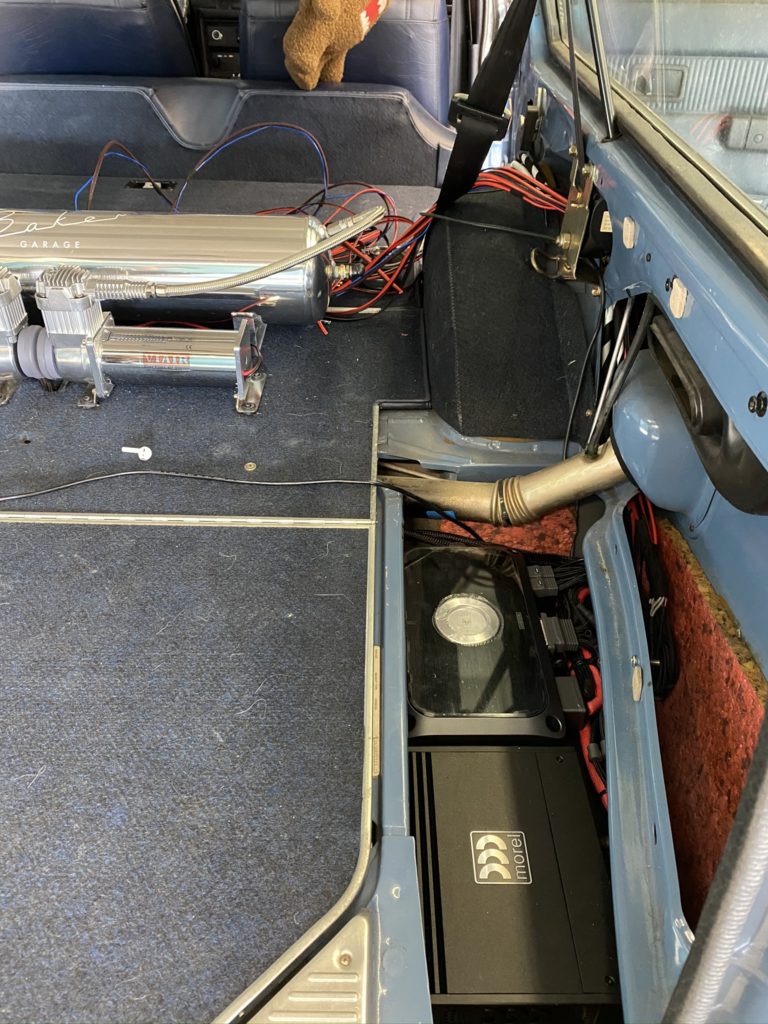
We were able to completely hide both of the amplifiers under a panel in the rear cargo area. When possible, we want to hide the amplifiers to keep them safe and out of the way. We were able to conceal 100% of the wiring behind factory panels to make it look as if the amps were never even added.
All wiring is wrapped in Tesa tape or tech-flex for a factory look and feel. The wiring routes in factory channels throughout the vehicle and is not merely “tucked” under panels, which always find a way to wiggle out after a few months. It’s our goal to make it hard to differentiate factory wiring from aftermarket.
CALIBRATING THE AMPLIFIERS
Amplifiers are useless unless set up correctly. Elevated Audio always sets the gains of our amplifiers by using an oscilloscope. This tool allows us to read the clipping point and set the amplifier to play up to that point but never beyond it, protecting the entire system and your ears!
LEVEL CONTROLLER
We used the JL Audio DRC-100 for the level control knob in this setup. The DRC-100 allows you to independently adjust the level of the subwoofer, as well as toggle through different tunes on your VXi amplifier/DSP.
SUBWOOFER
We used a JL Audio 12″ w3 subwoofer in a JL Audio ported enclosure for this setup. Our customer wanted a lot of bass and the JL Audio high-output enclosures offer fantastic bass at a great price. We secured the subwoofer enclosure in the cargo area to ensure it can’t hit the tanks in the back.
DSP & TUNING
We used the integrated VXi DSP for this setup and tuned the system using JL’s TuN software. We place a microphone in the desired listening position to analyze the sound while we are tuning, thus ensuring we make the correct adjustments to the system. By using a DSP to tune the system, we can create a stereo image in the driver or passenger seat to provide a better listening experience.
THE RESULT!
We strive to provide the best possible service at Elevated Audio, but also we want to ensure we make your equipment perform as well as it possibly can. This setup was no different, it performed great and the sound quality provided by the Morel Elate Carbons was top notch!
Out customer was blown away when he saw the finished product. It’s always a joy to deliver a project like this and see our client’s reaction. This Volvo now has an audio system to compliment the rest of the vehicle, which is in near-perfect condition at 36-years-old.
Please contact us for your own custom audio system design consultation because, while this is an fantastic setup, it may not be what you need. We tailor each build to our customer’s needs and expectations, so we must build something special just for you.
Music. It’s What Moves Us.
-Elevated Audio